Being a former owner of a cabinet shop, I must tell you that margin is only one measure of profitability, as there are capital investments in materials and machinery that span years, not to mention specialized tooling and skilled labor.
The cabinet/woodworking business is tough, as you compete with mass produced items that sell for much less than anything you could produce.
The key is having a niche market, or a “rent payer” product that you manufacture for a client on a continual basis. I had a florist supply that I made little mirrored boxes for; many times it paid the rent.
You also have to know your business; computerized cutting programs save money and increase yield. Batching orders can reduce or optimize milling costs, and buying equipment at wholesale auctions can reduce your cost of capital equipment. Shops are always selling their surplus equipment, and a good deal equals money in your pocket. Saving 10% on materials by buying in bulk (i.e.; buying a skid of 40 sheets of plywood vs. the 20 you need), you know you will use the inventory – this can put 10% back in your pocket. My shop had a standing “inventory” of Plywood and lumber, usually bought at discount.
My thought on the matter is that cabinet shops have 3% to 10% profitability, depending on their market and flexibility in lean times. And lean times can be seasonal, especially if you build cabinets for the housing markets or remodeling.
I often miss my shop, but not having the rent/equipment lease/payroll/saw sharpener/dumpster costs helps me sleep at night.


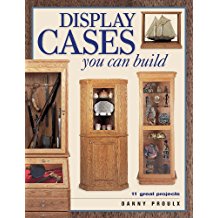
 If your logs are larger then 10″ and heavy, your best solution is to purchase a small sawmill. This book is available on Amazon, and worth reading, so that you understand the principles and capabilities of a portable saw mill.

 Woodsman siding Stain, from Amazon