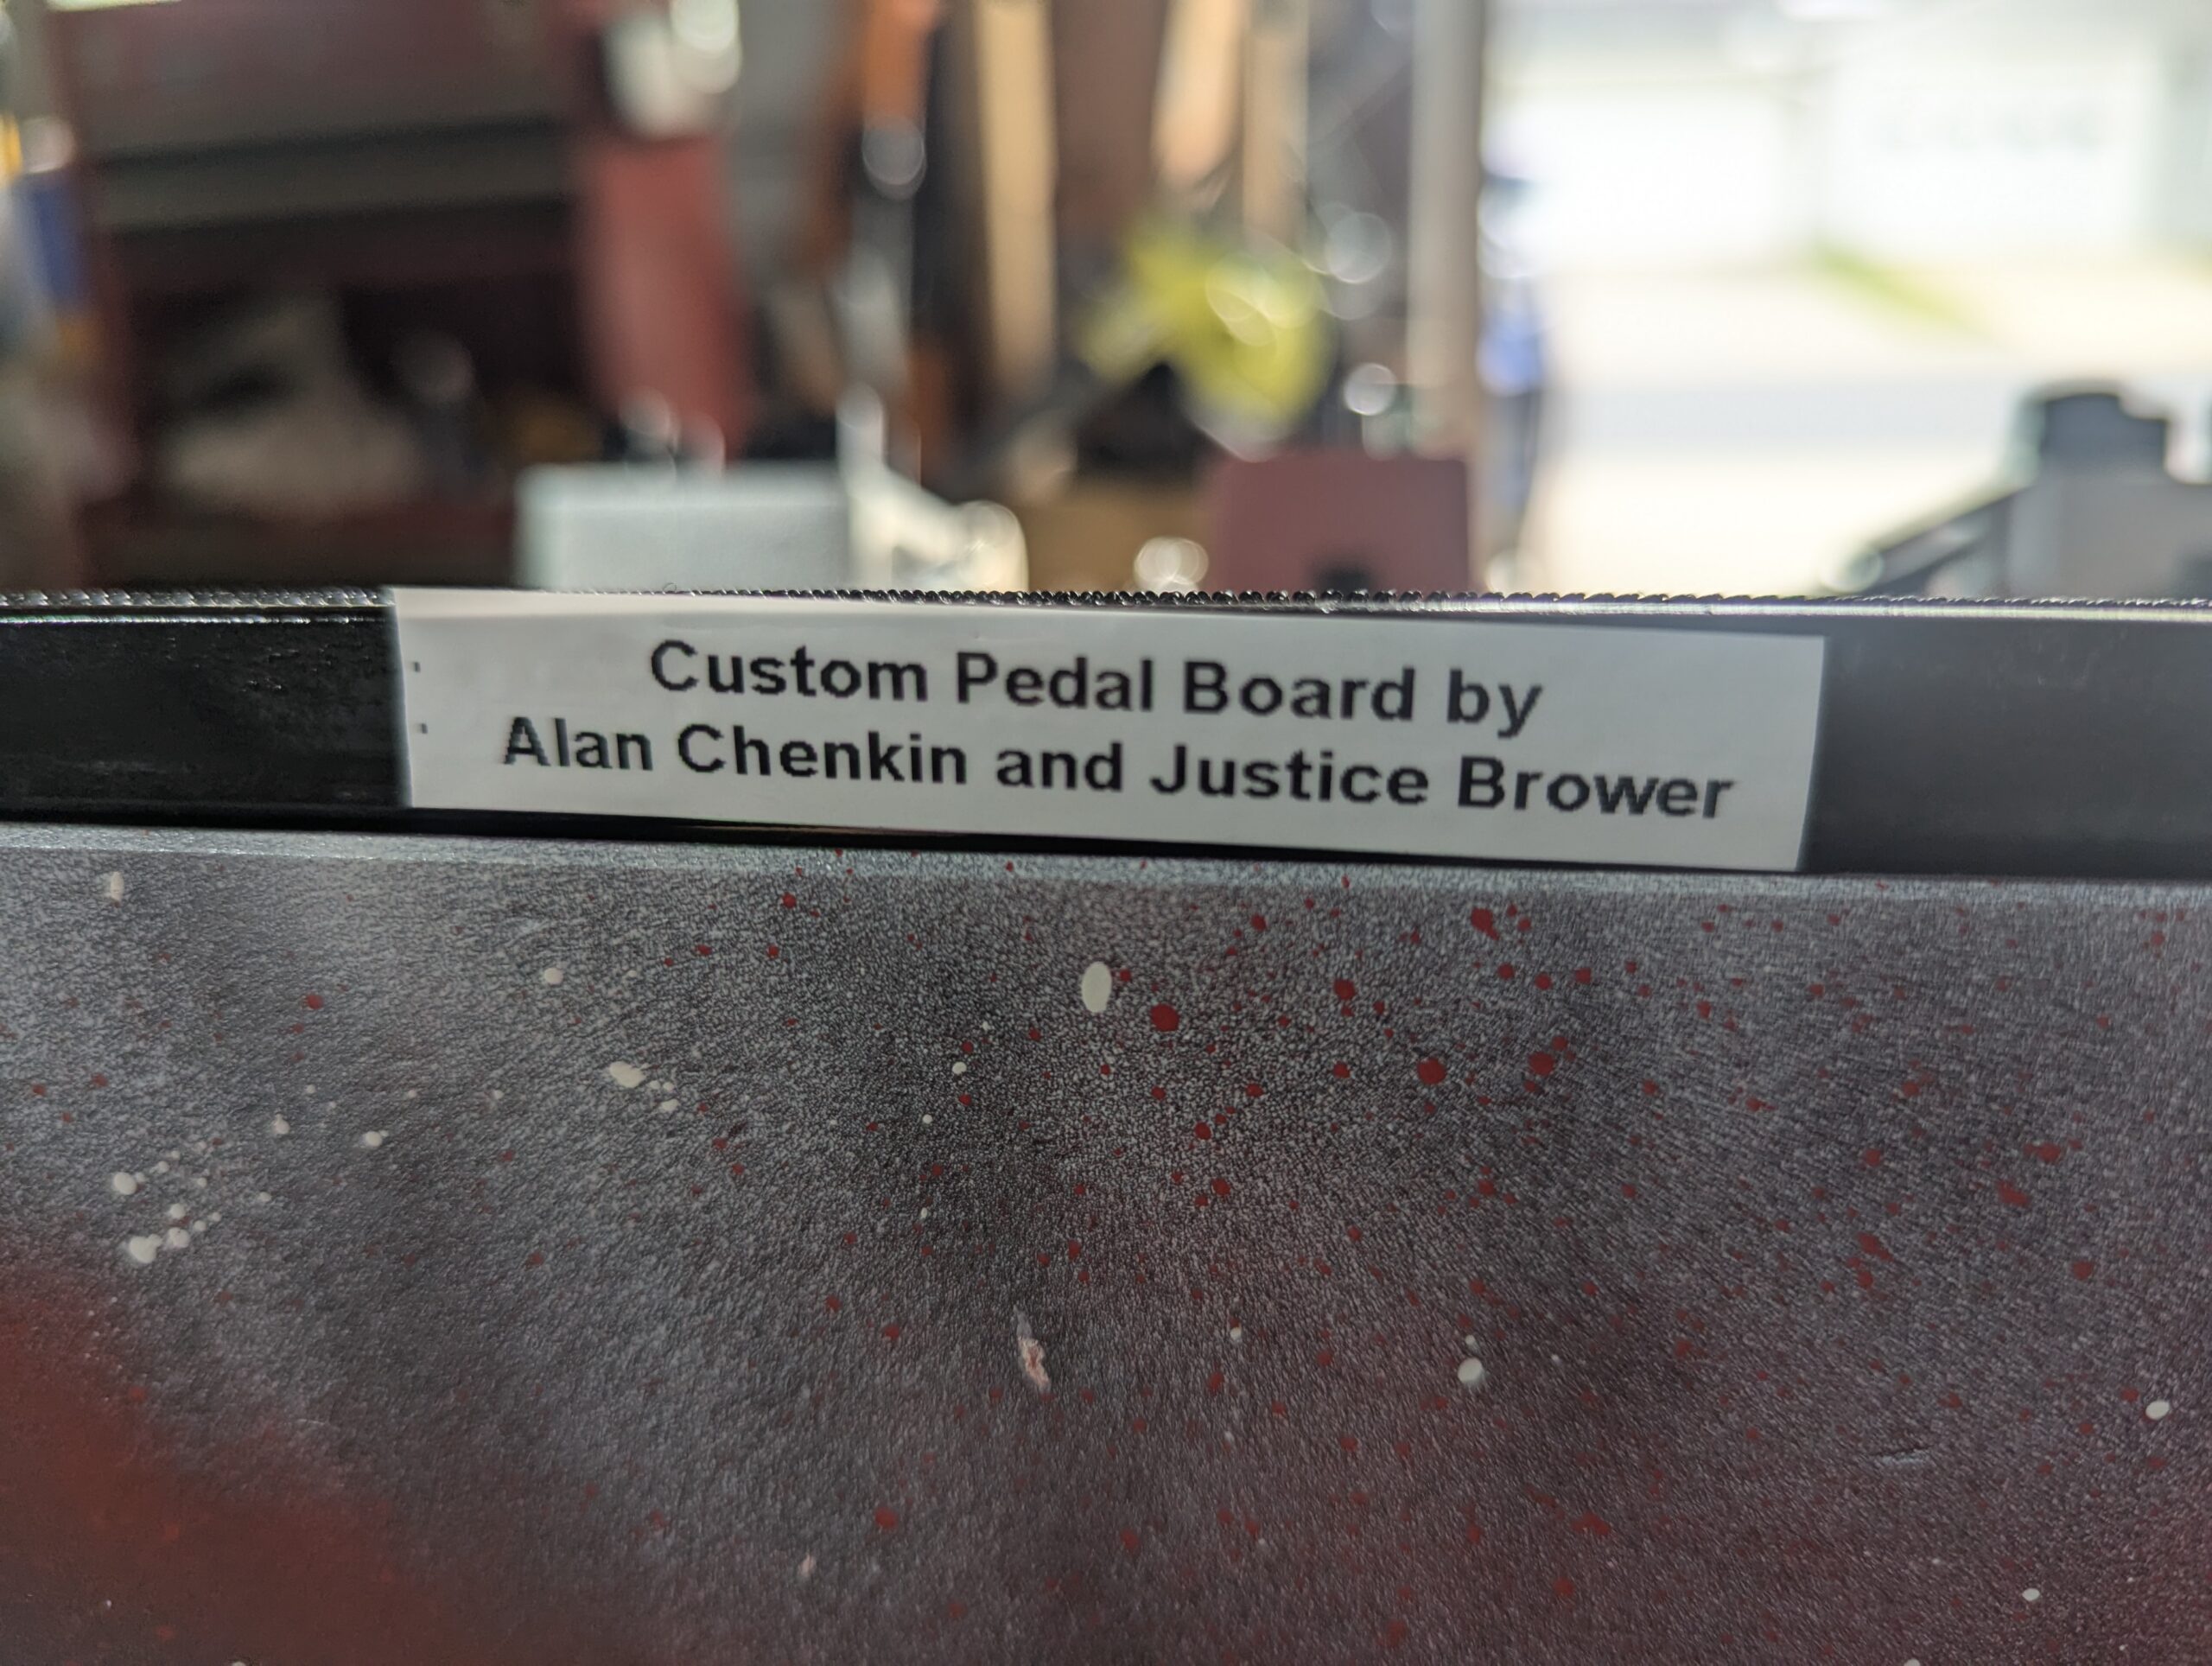
My grandson is becoming a serious guitar player, and wanted a pedal board (and some basic pedals) for his electric guitar. We looked online, and found that there were some professional options (Like these on Amazon) , but we wanted one that could open for storage and was made in my workshop.
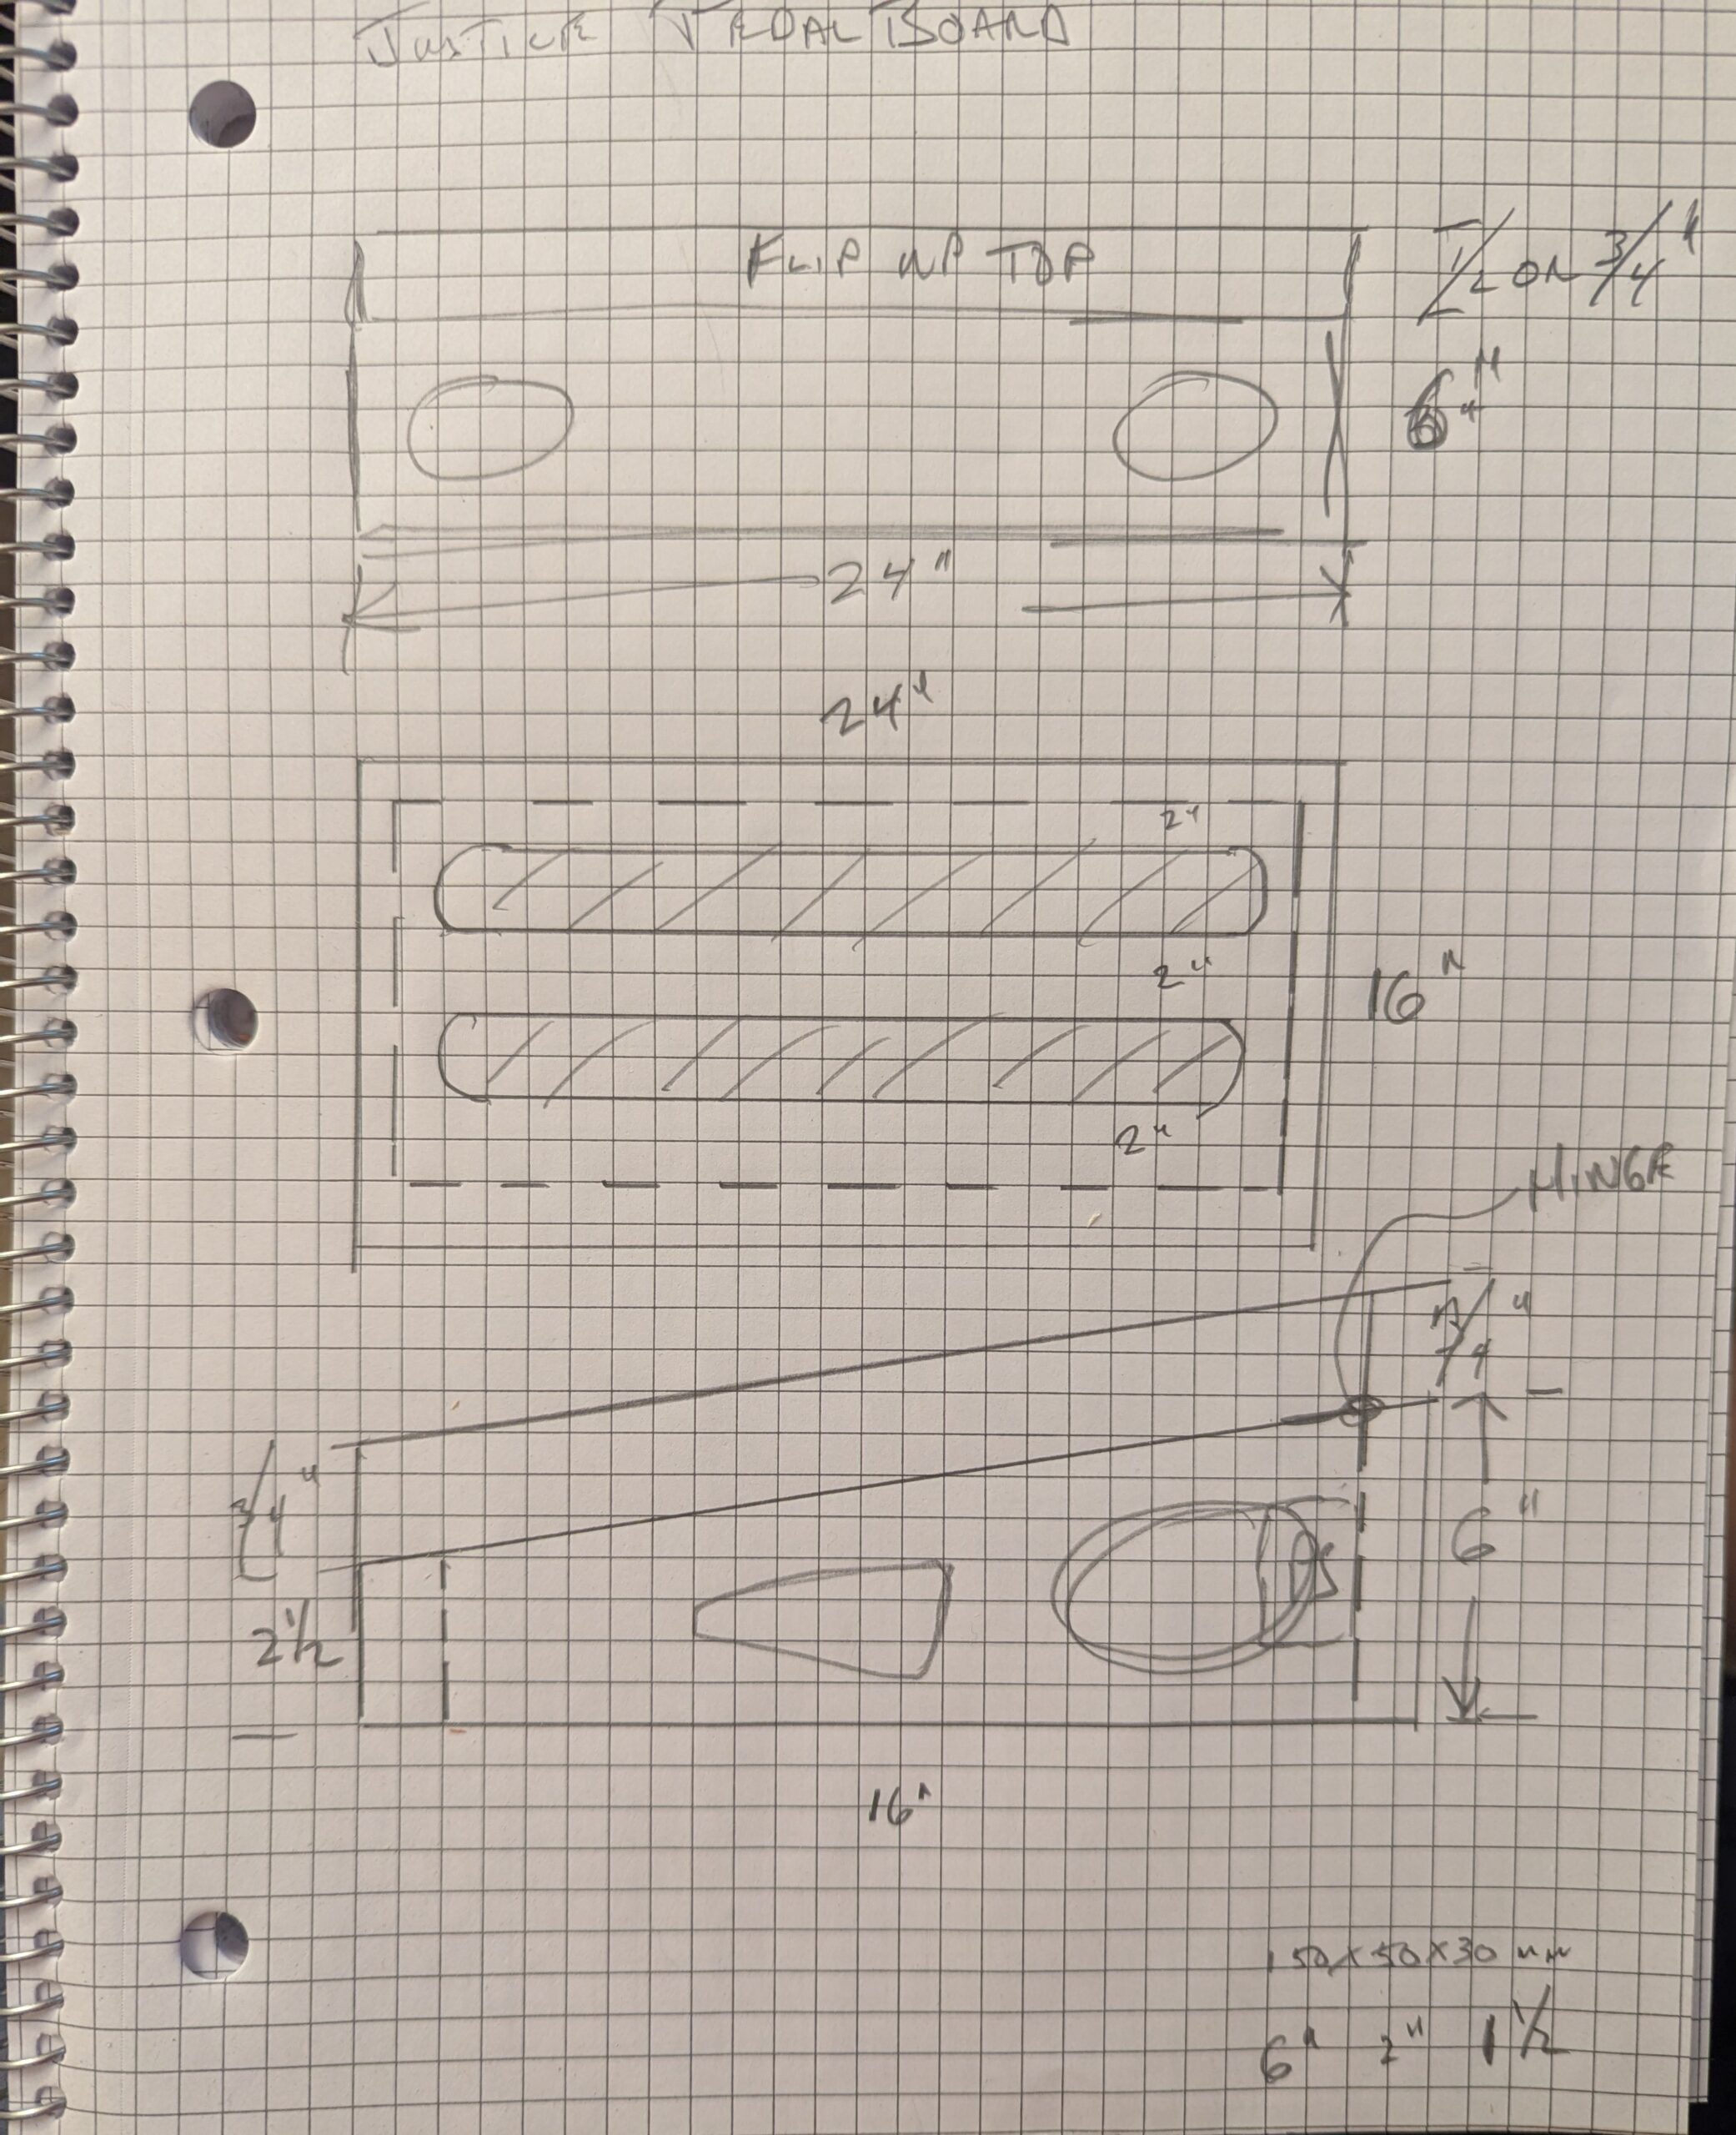
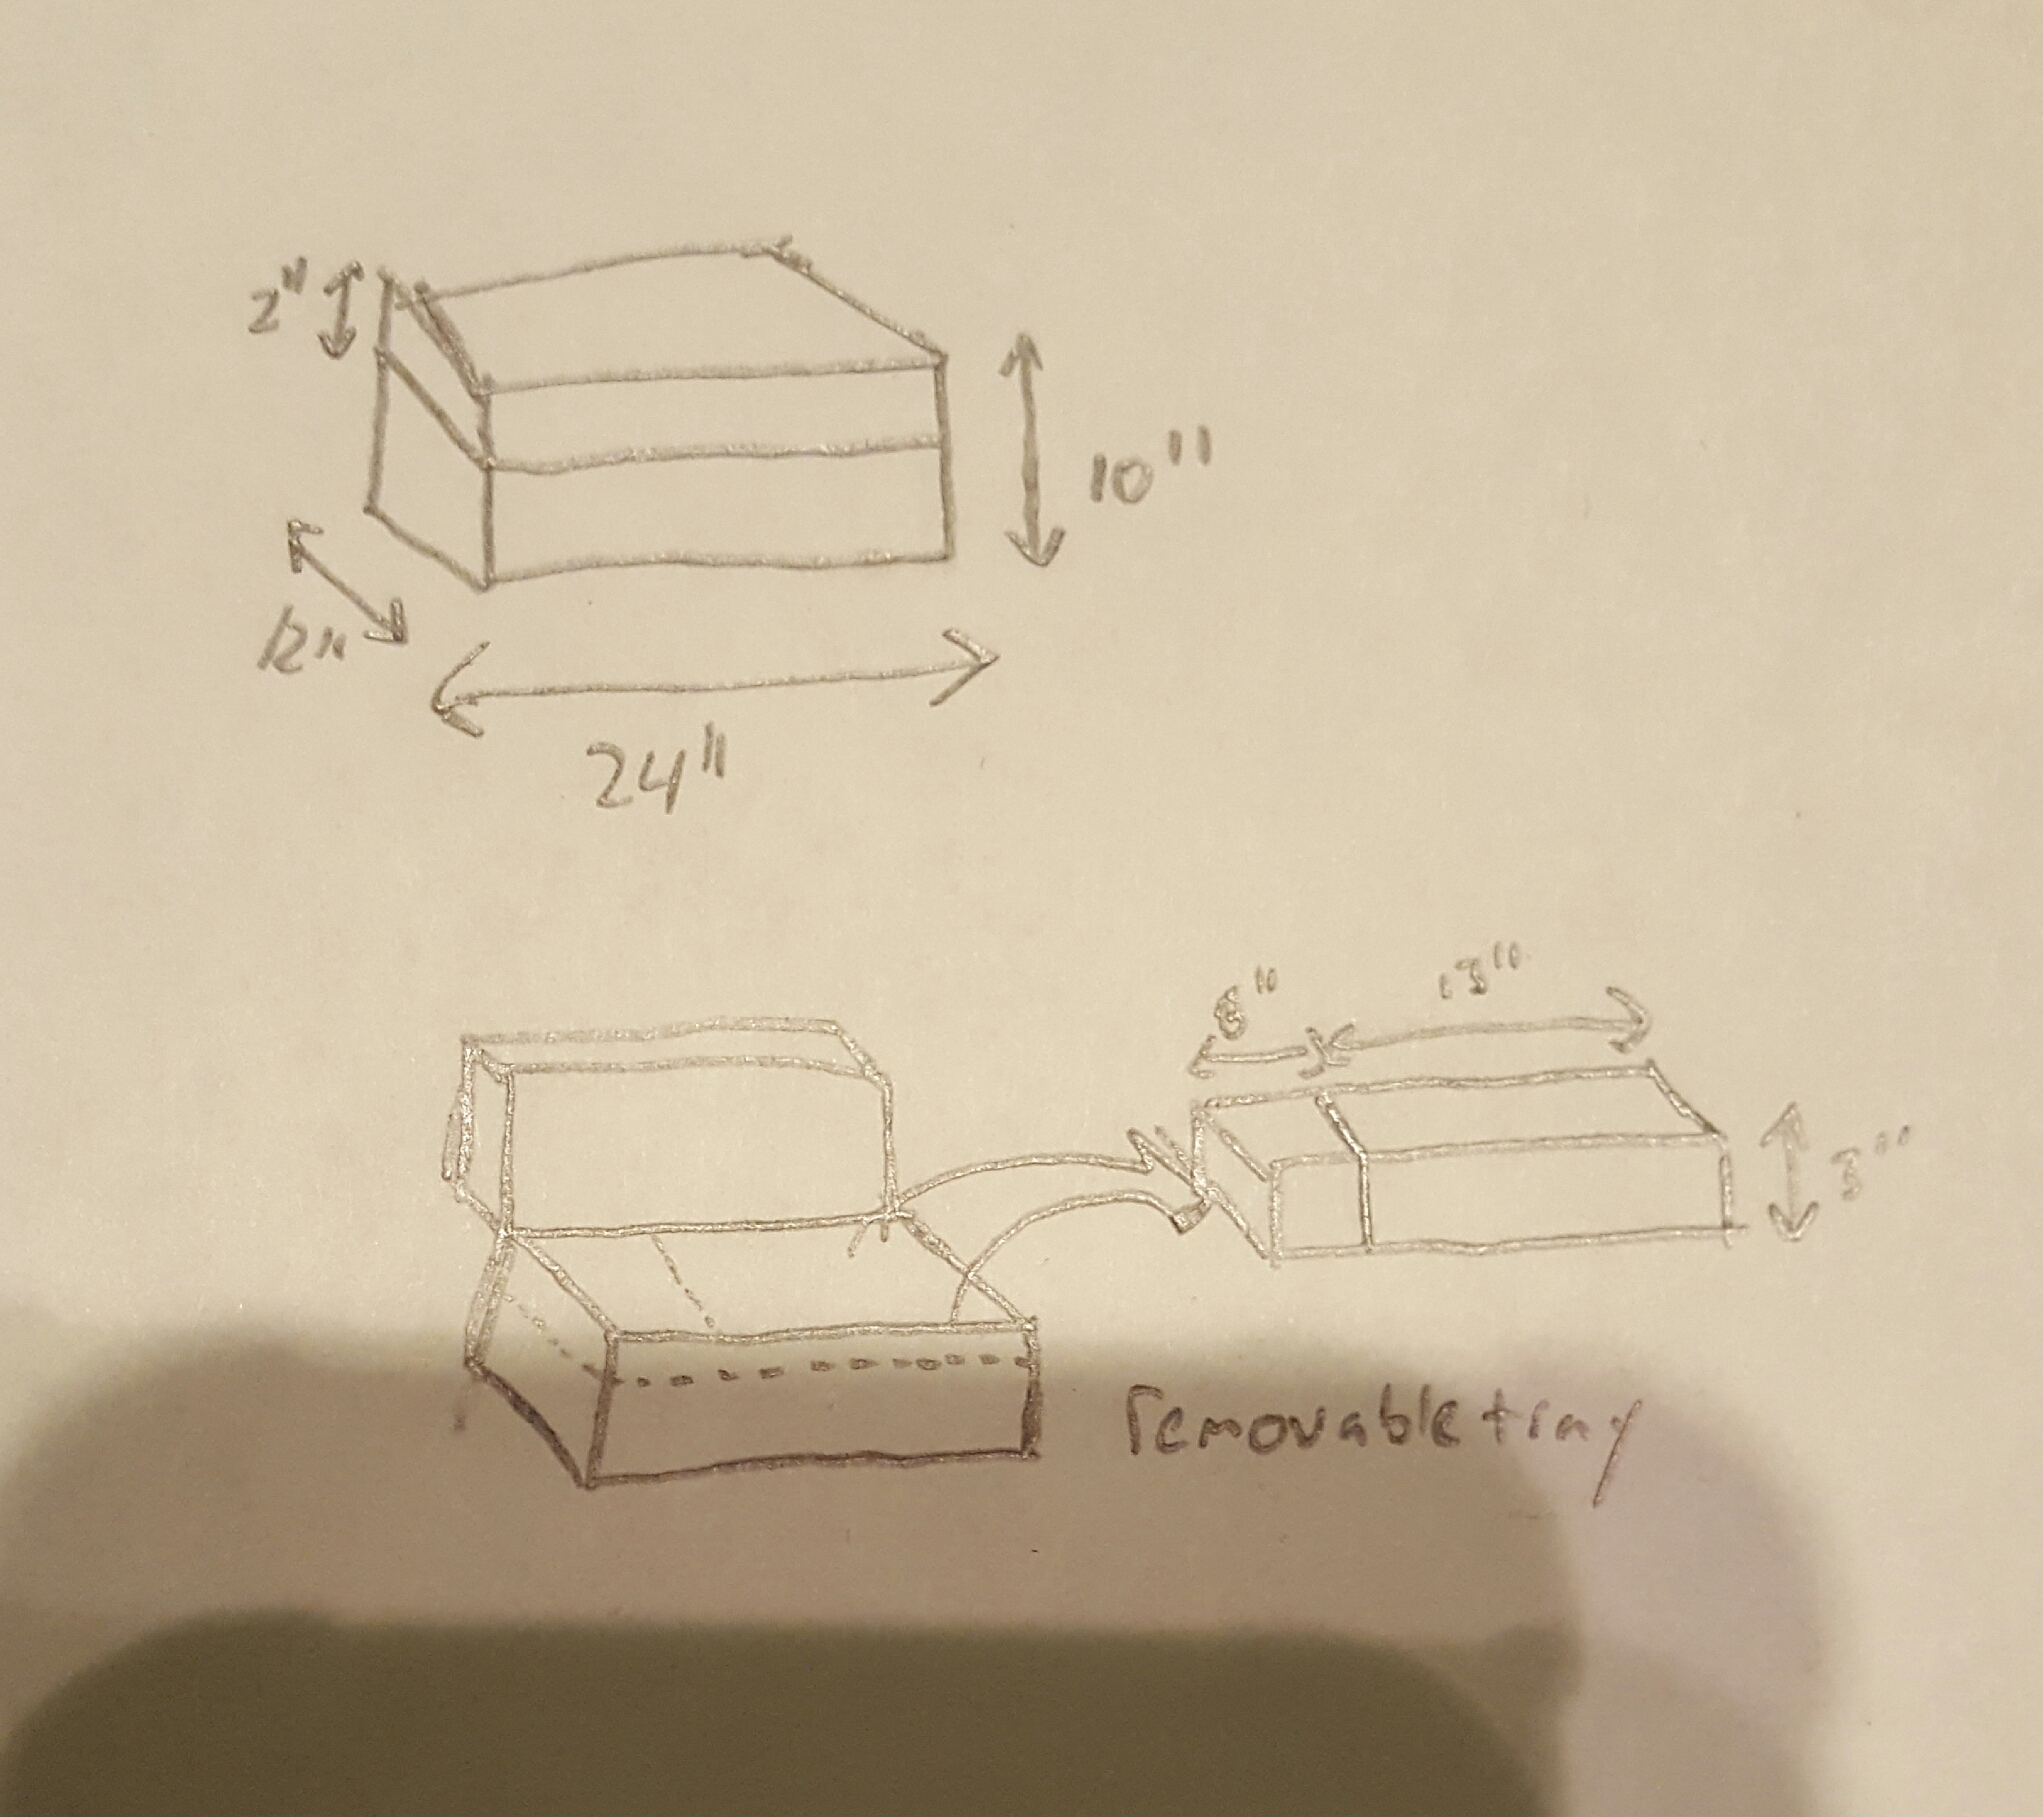
After agreeing on a basic design, which would house the power supply, power cables, and pedal cables, we were “off to the races”. when we started laying out the design on the wood panel for the top, we realized the size was too large, so we reduced the length and width to approximately 16 inches wide by 12 inches,
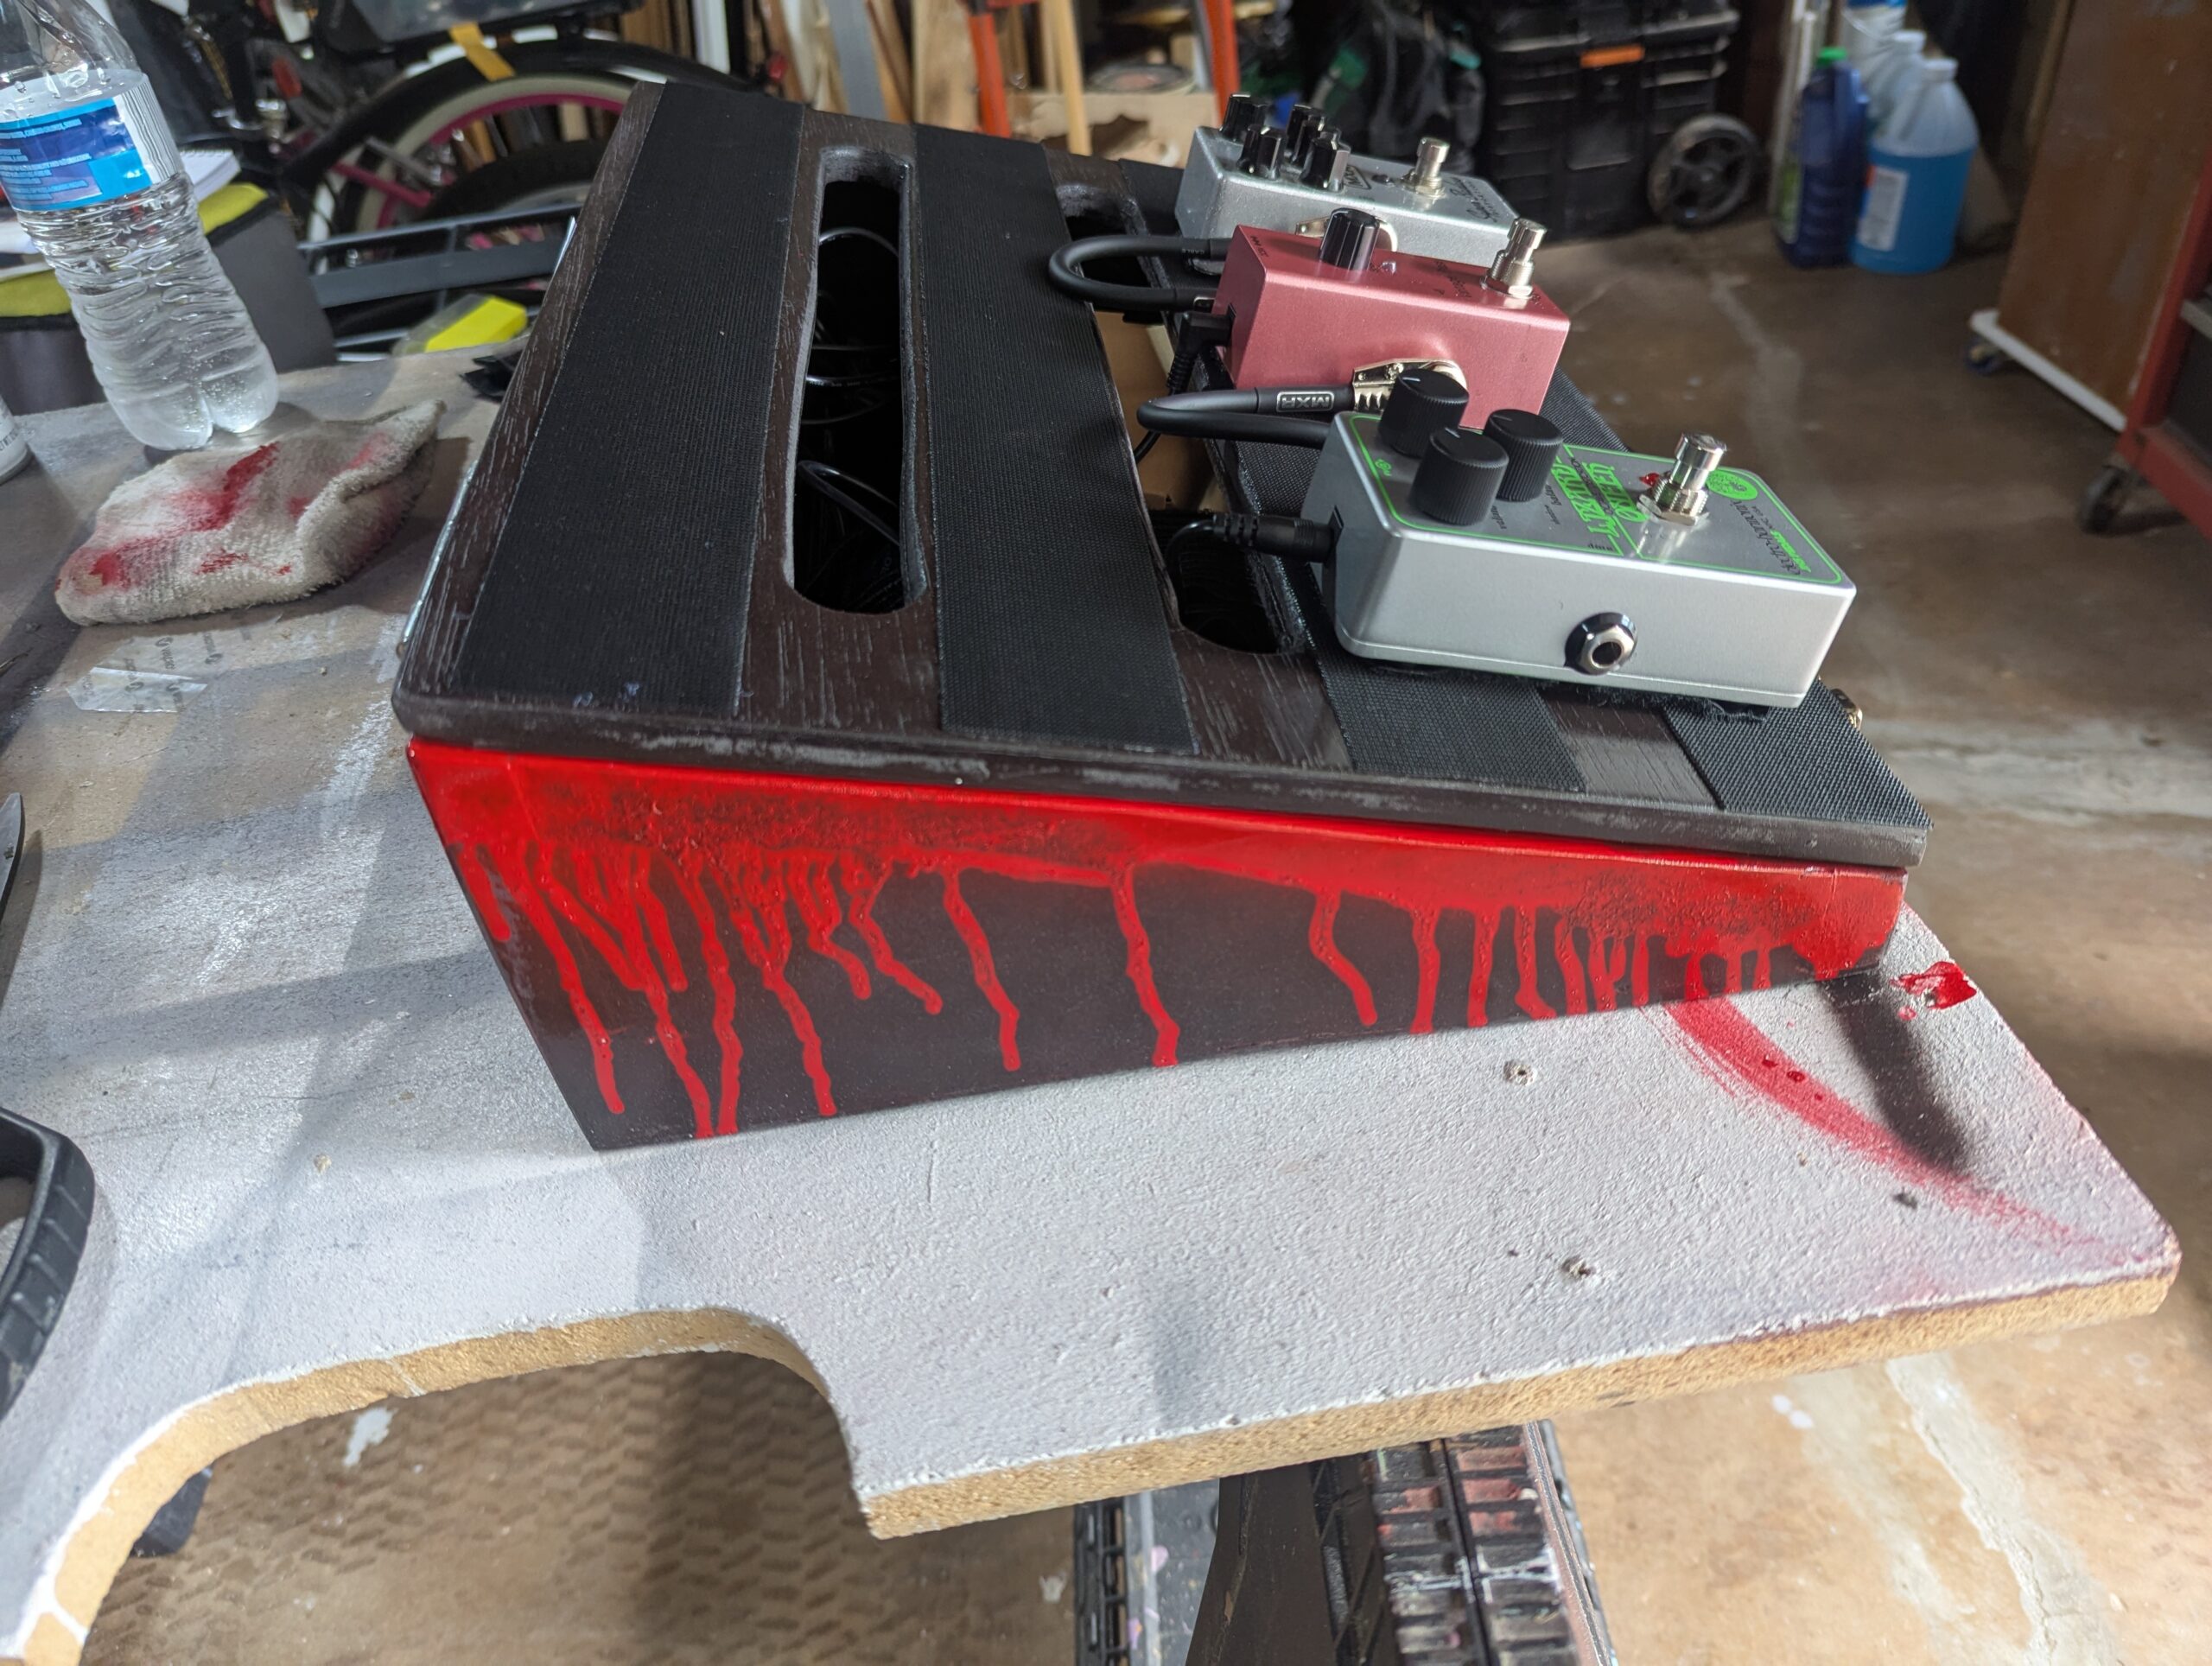
From the top layout, we determined the angle and height of the board.
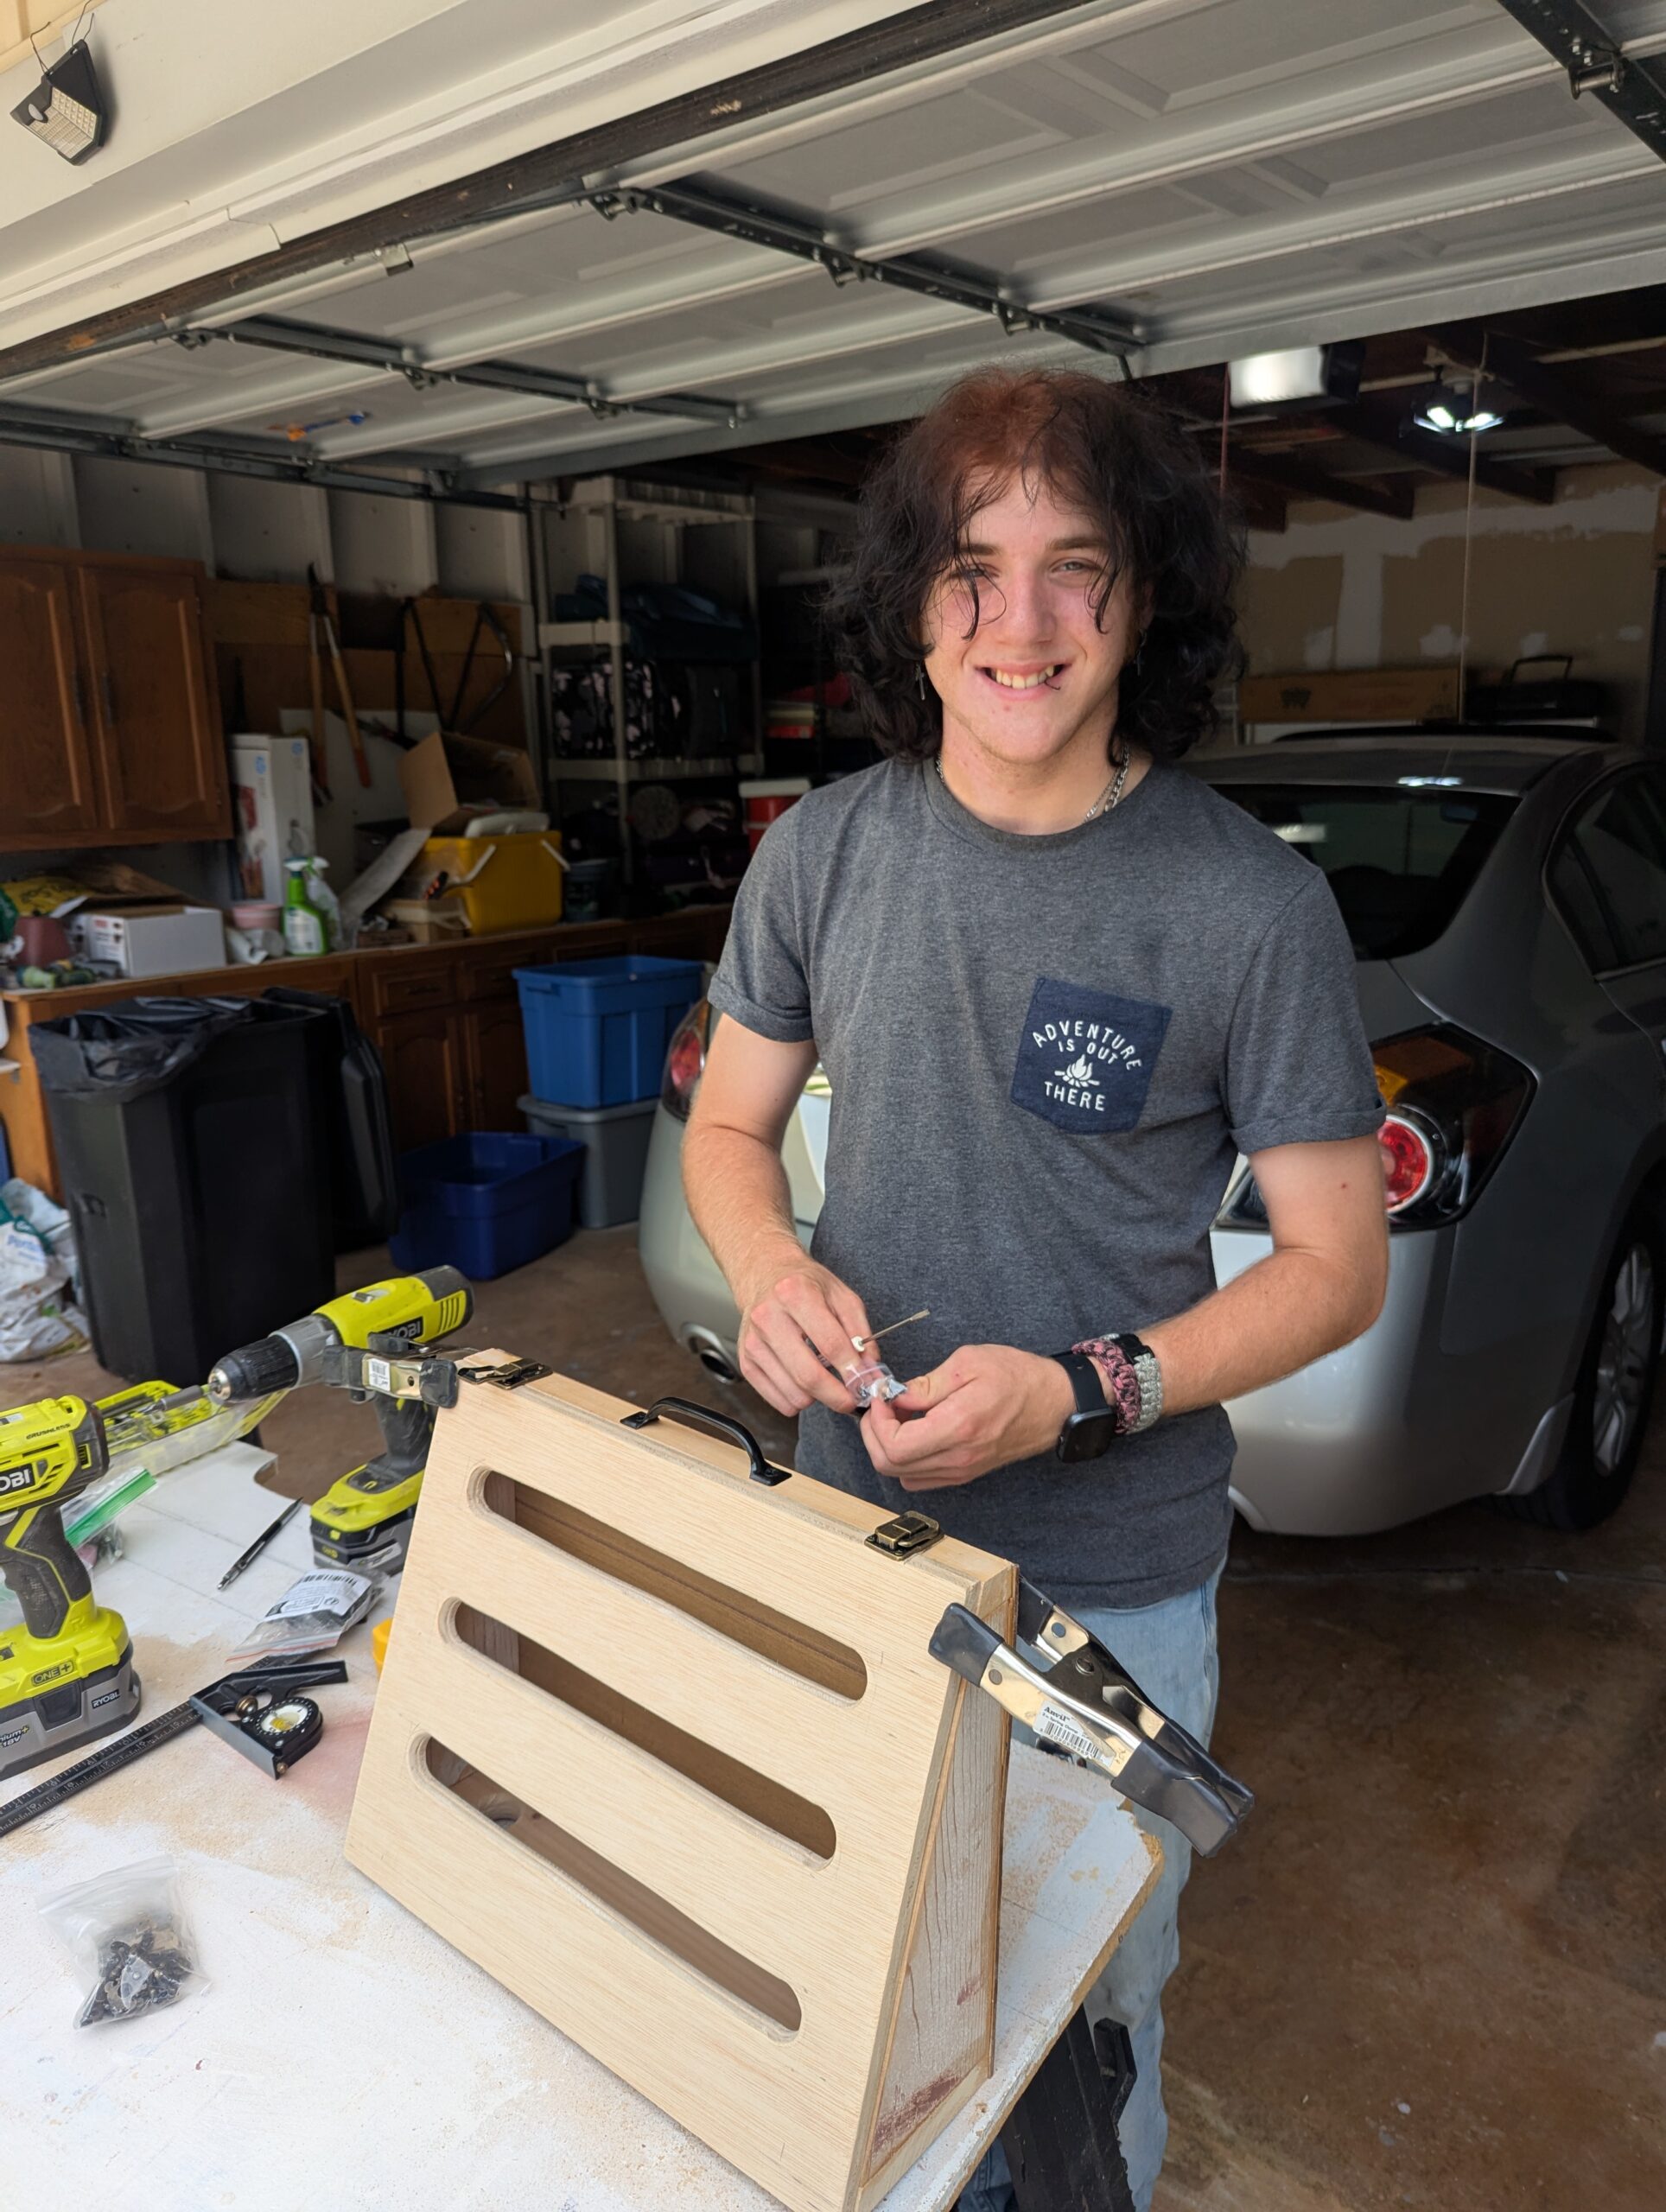
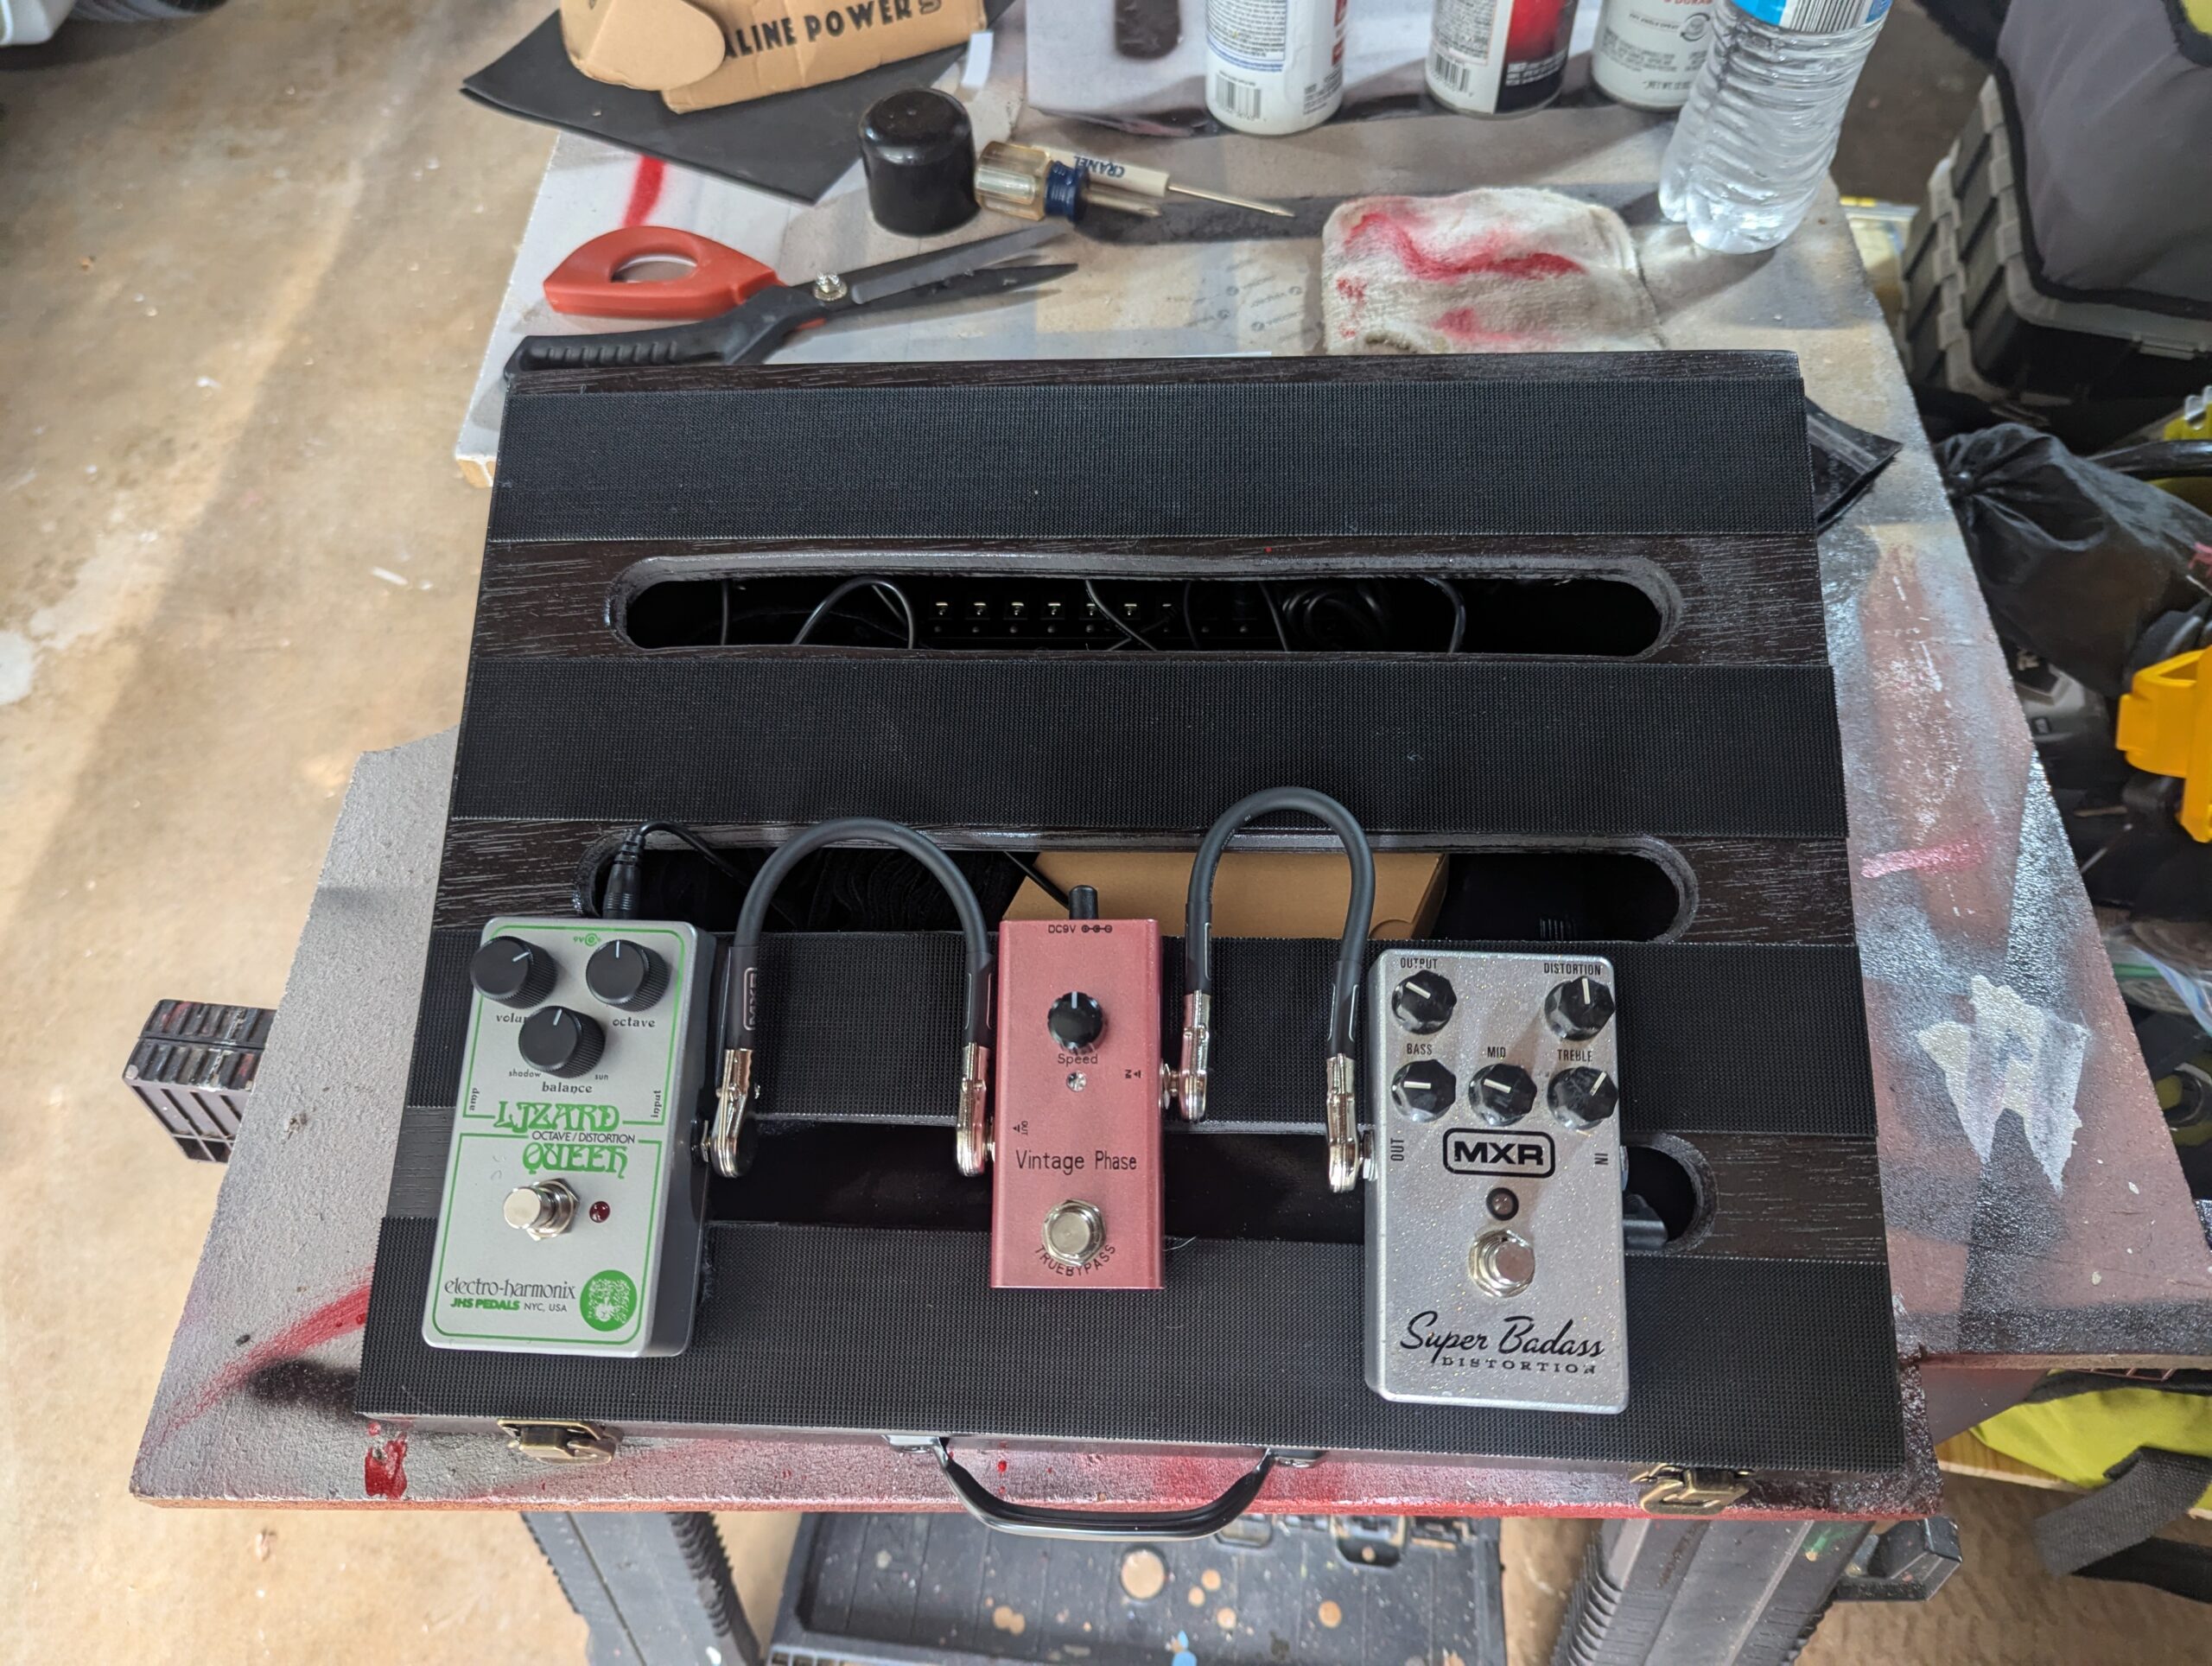
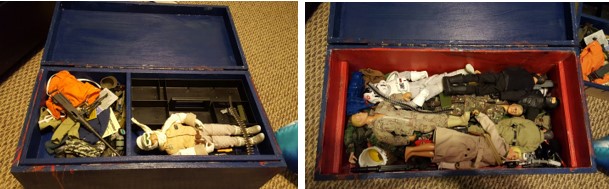
We built it exclusively from cutoffs and Pallet boards, so the material cost was negligible. The pedals needed 2″ strips of Hook and Loop fasteners, with a slot in-between the strips of approximately one inch, for the wires to the pedals. (side note – pedals kill batteries rather quickly, so a power supply is a must have)! Justice drilled 1″ holes at each end of the slot, and then used a jigsaw to connect them. We then used a rasp to even out the slots, and a rounding-over bit in a trim router to relieve the sharp edges of the slot. after the holes were finished, we sanded it with 150 grit sandpaper, so that it was ready for finishing.
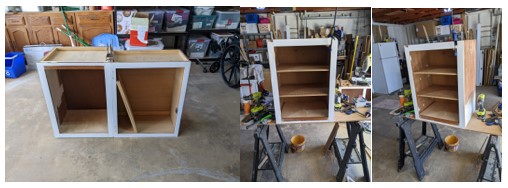
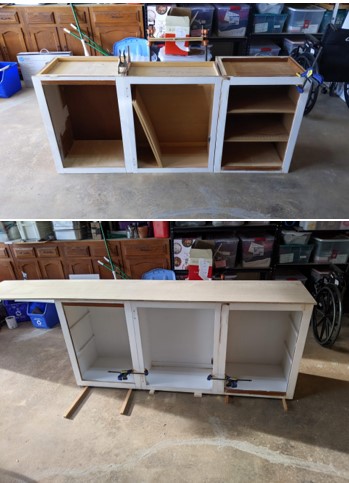
After the top was prepped, we cut the front, back, and side pieces. This required an angle jig with a table saw, as well as making bevel cuts on the front and back. all the pieces were sanded and test fitted prior to assembly.
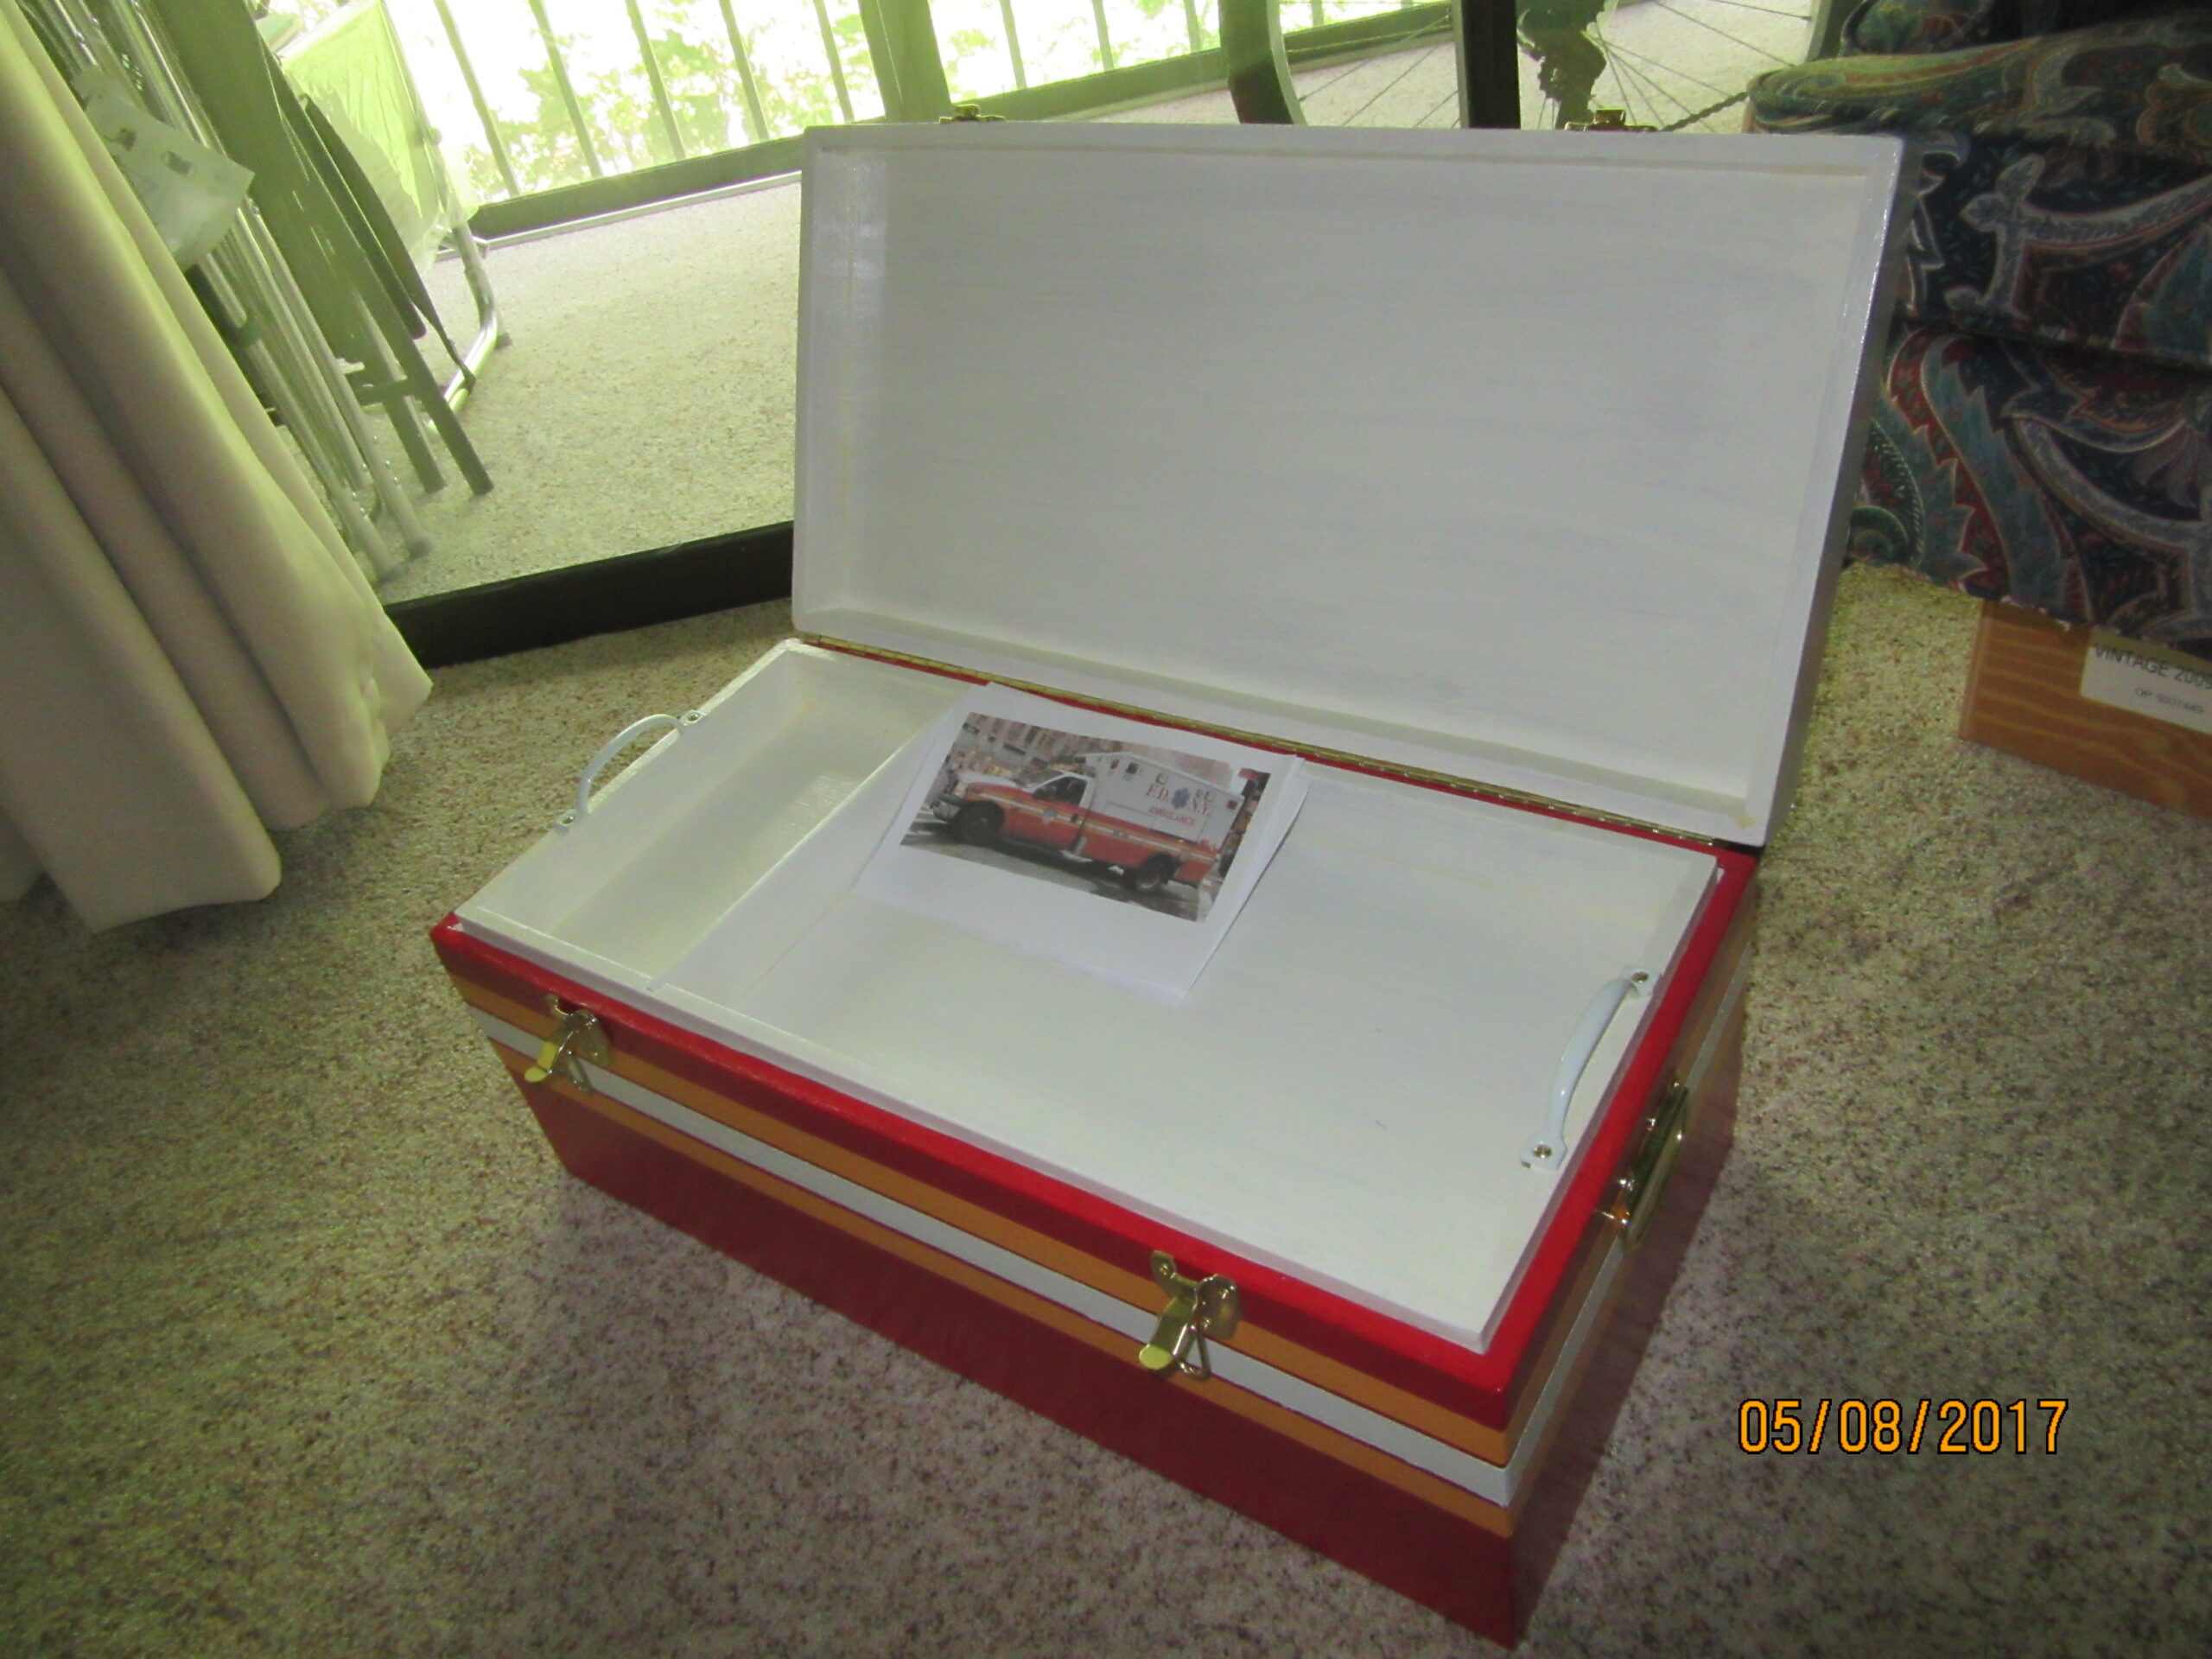
We assembled the board with waterproof wood glue and 18 gauge by 1-1/4 inch staples. While the glue was drying, we cut a 1/4″ bottom (in this case, a left over piece of paneling). We also got the hardware ready. There are lots of options in hardware selection. We mortised the hinges for the top, but surface mount hinges would have worked just as well. Once the board was ready, we fastened the bottom on with glue and staples, and fit all the hardware.
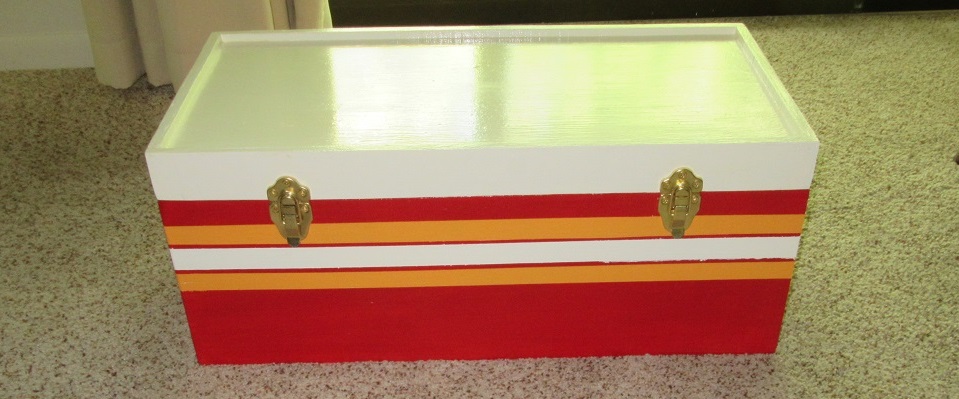
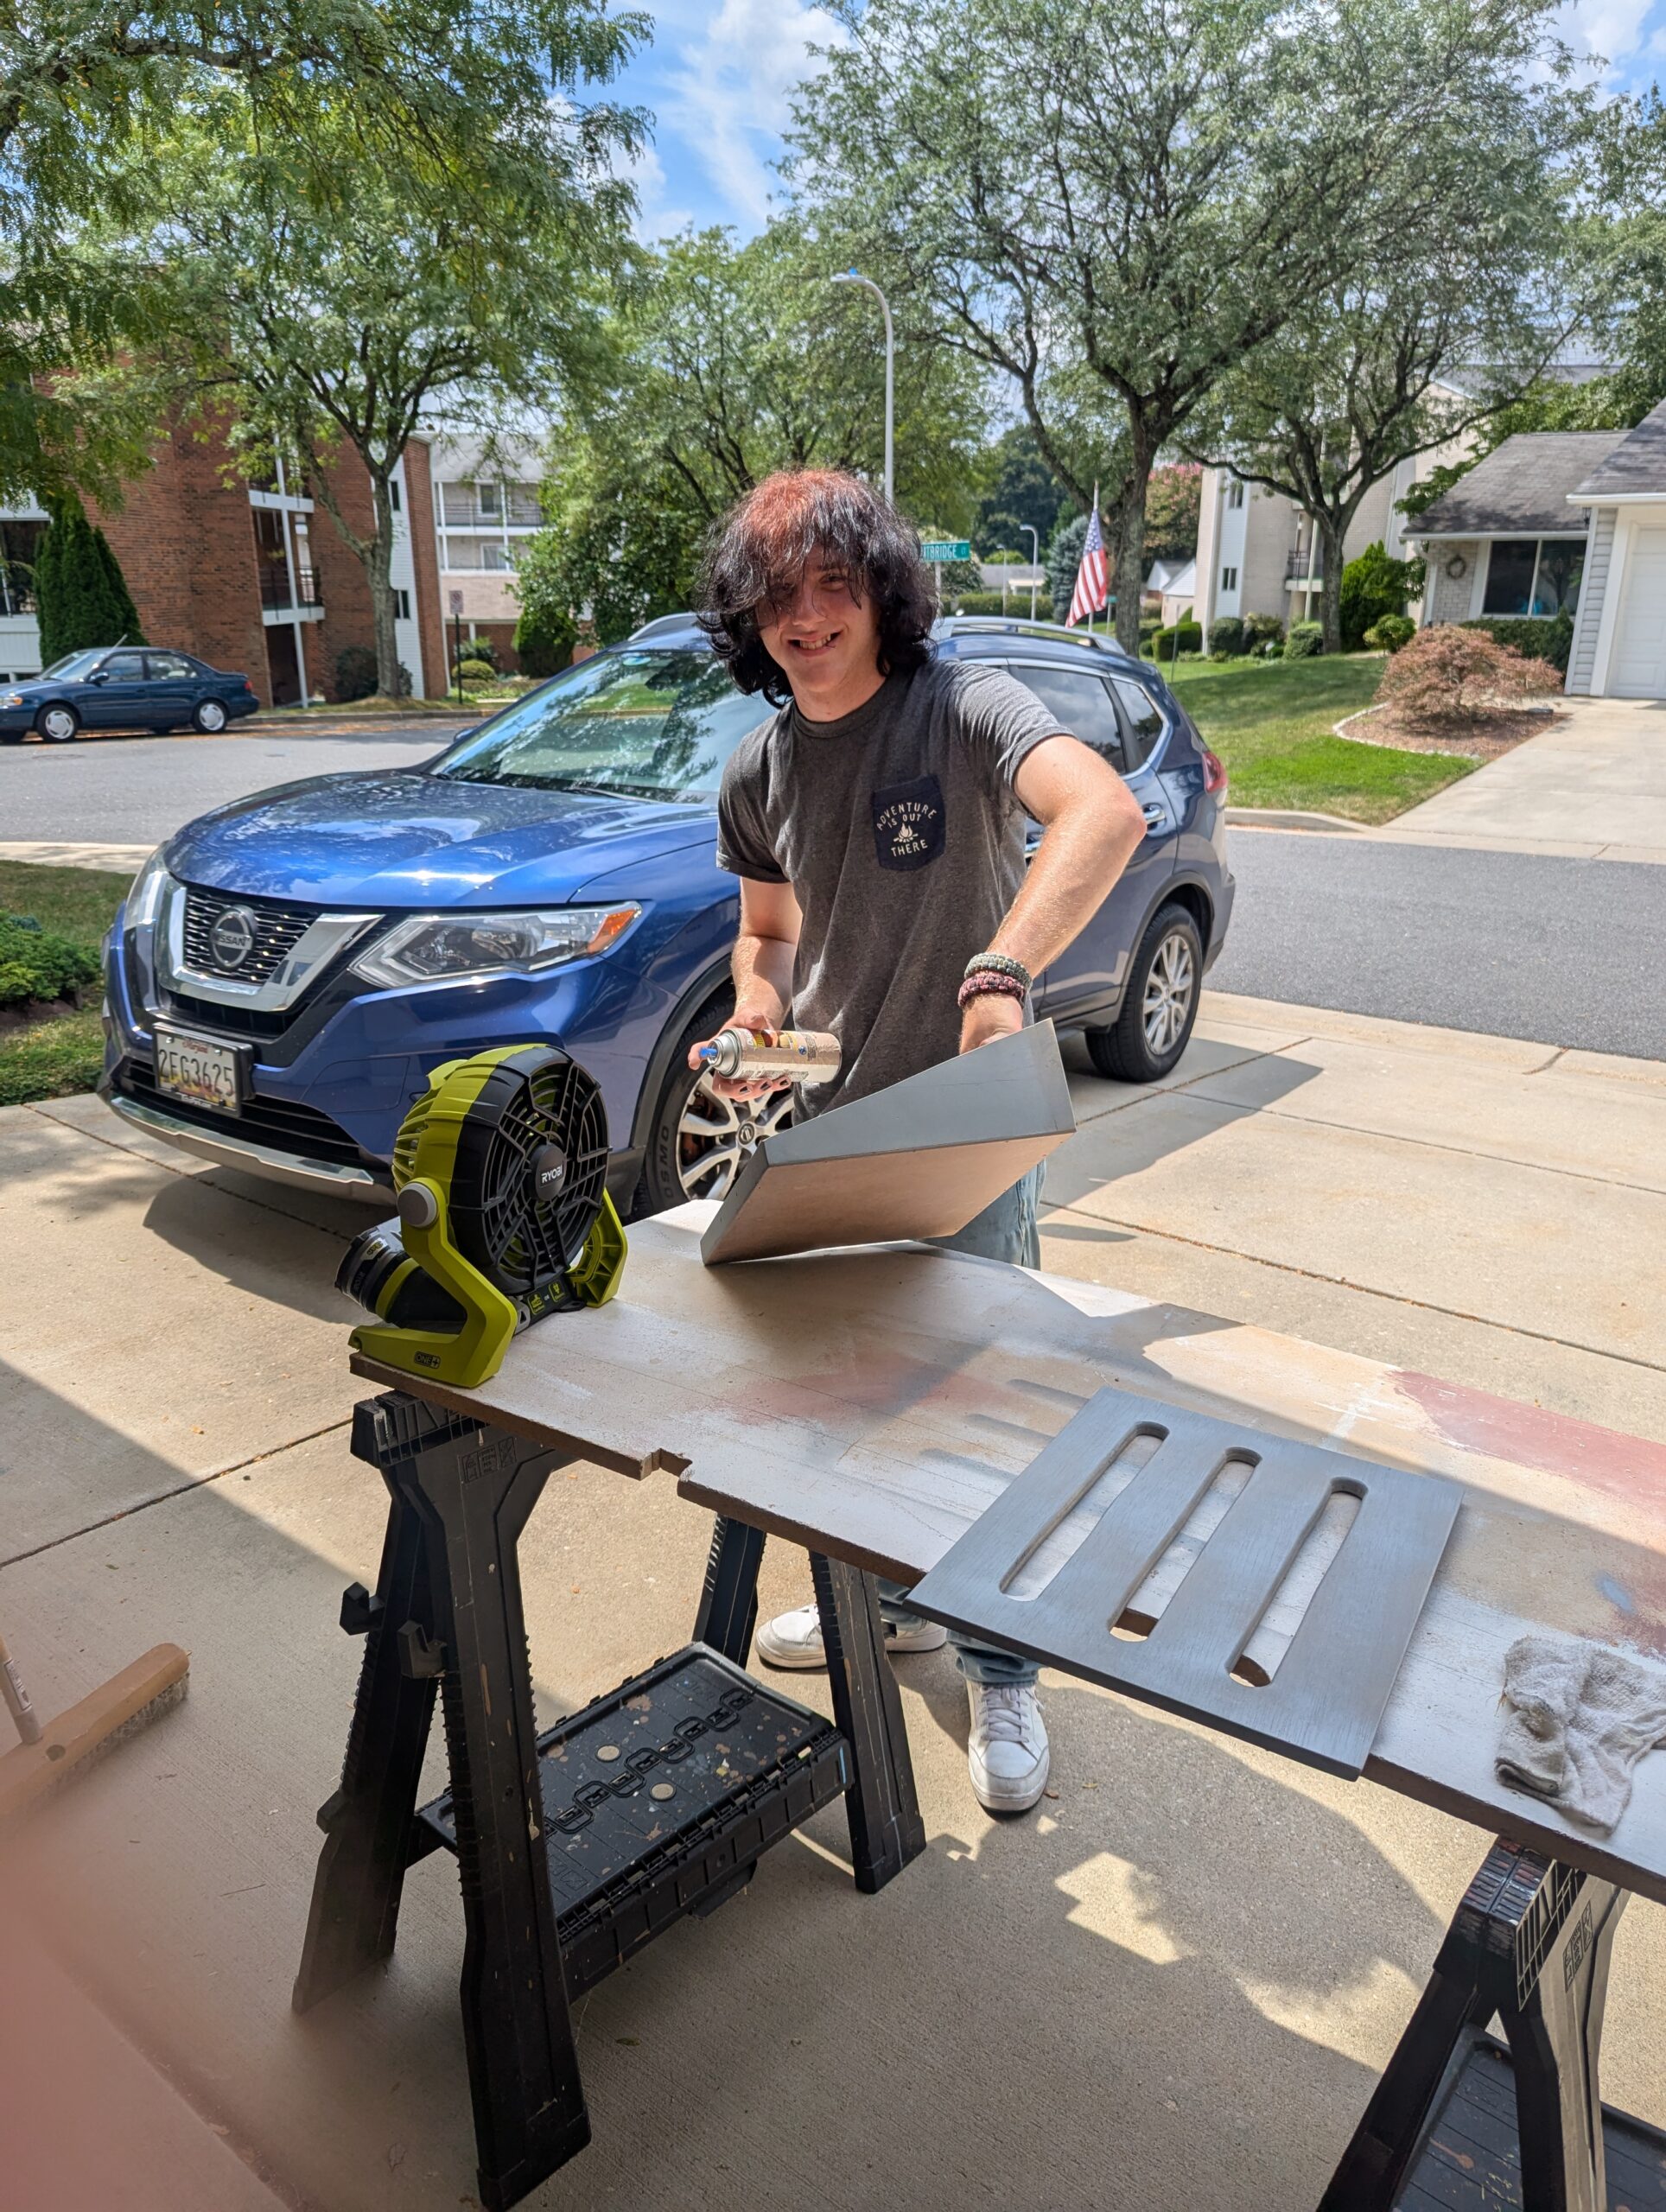
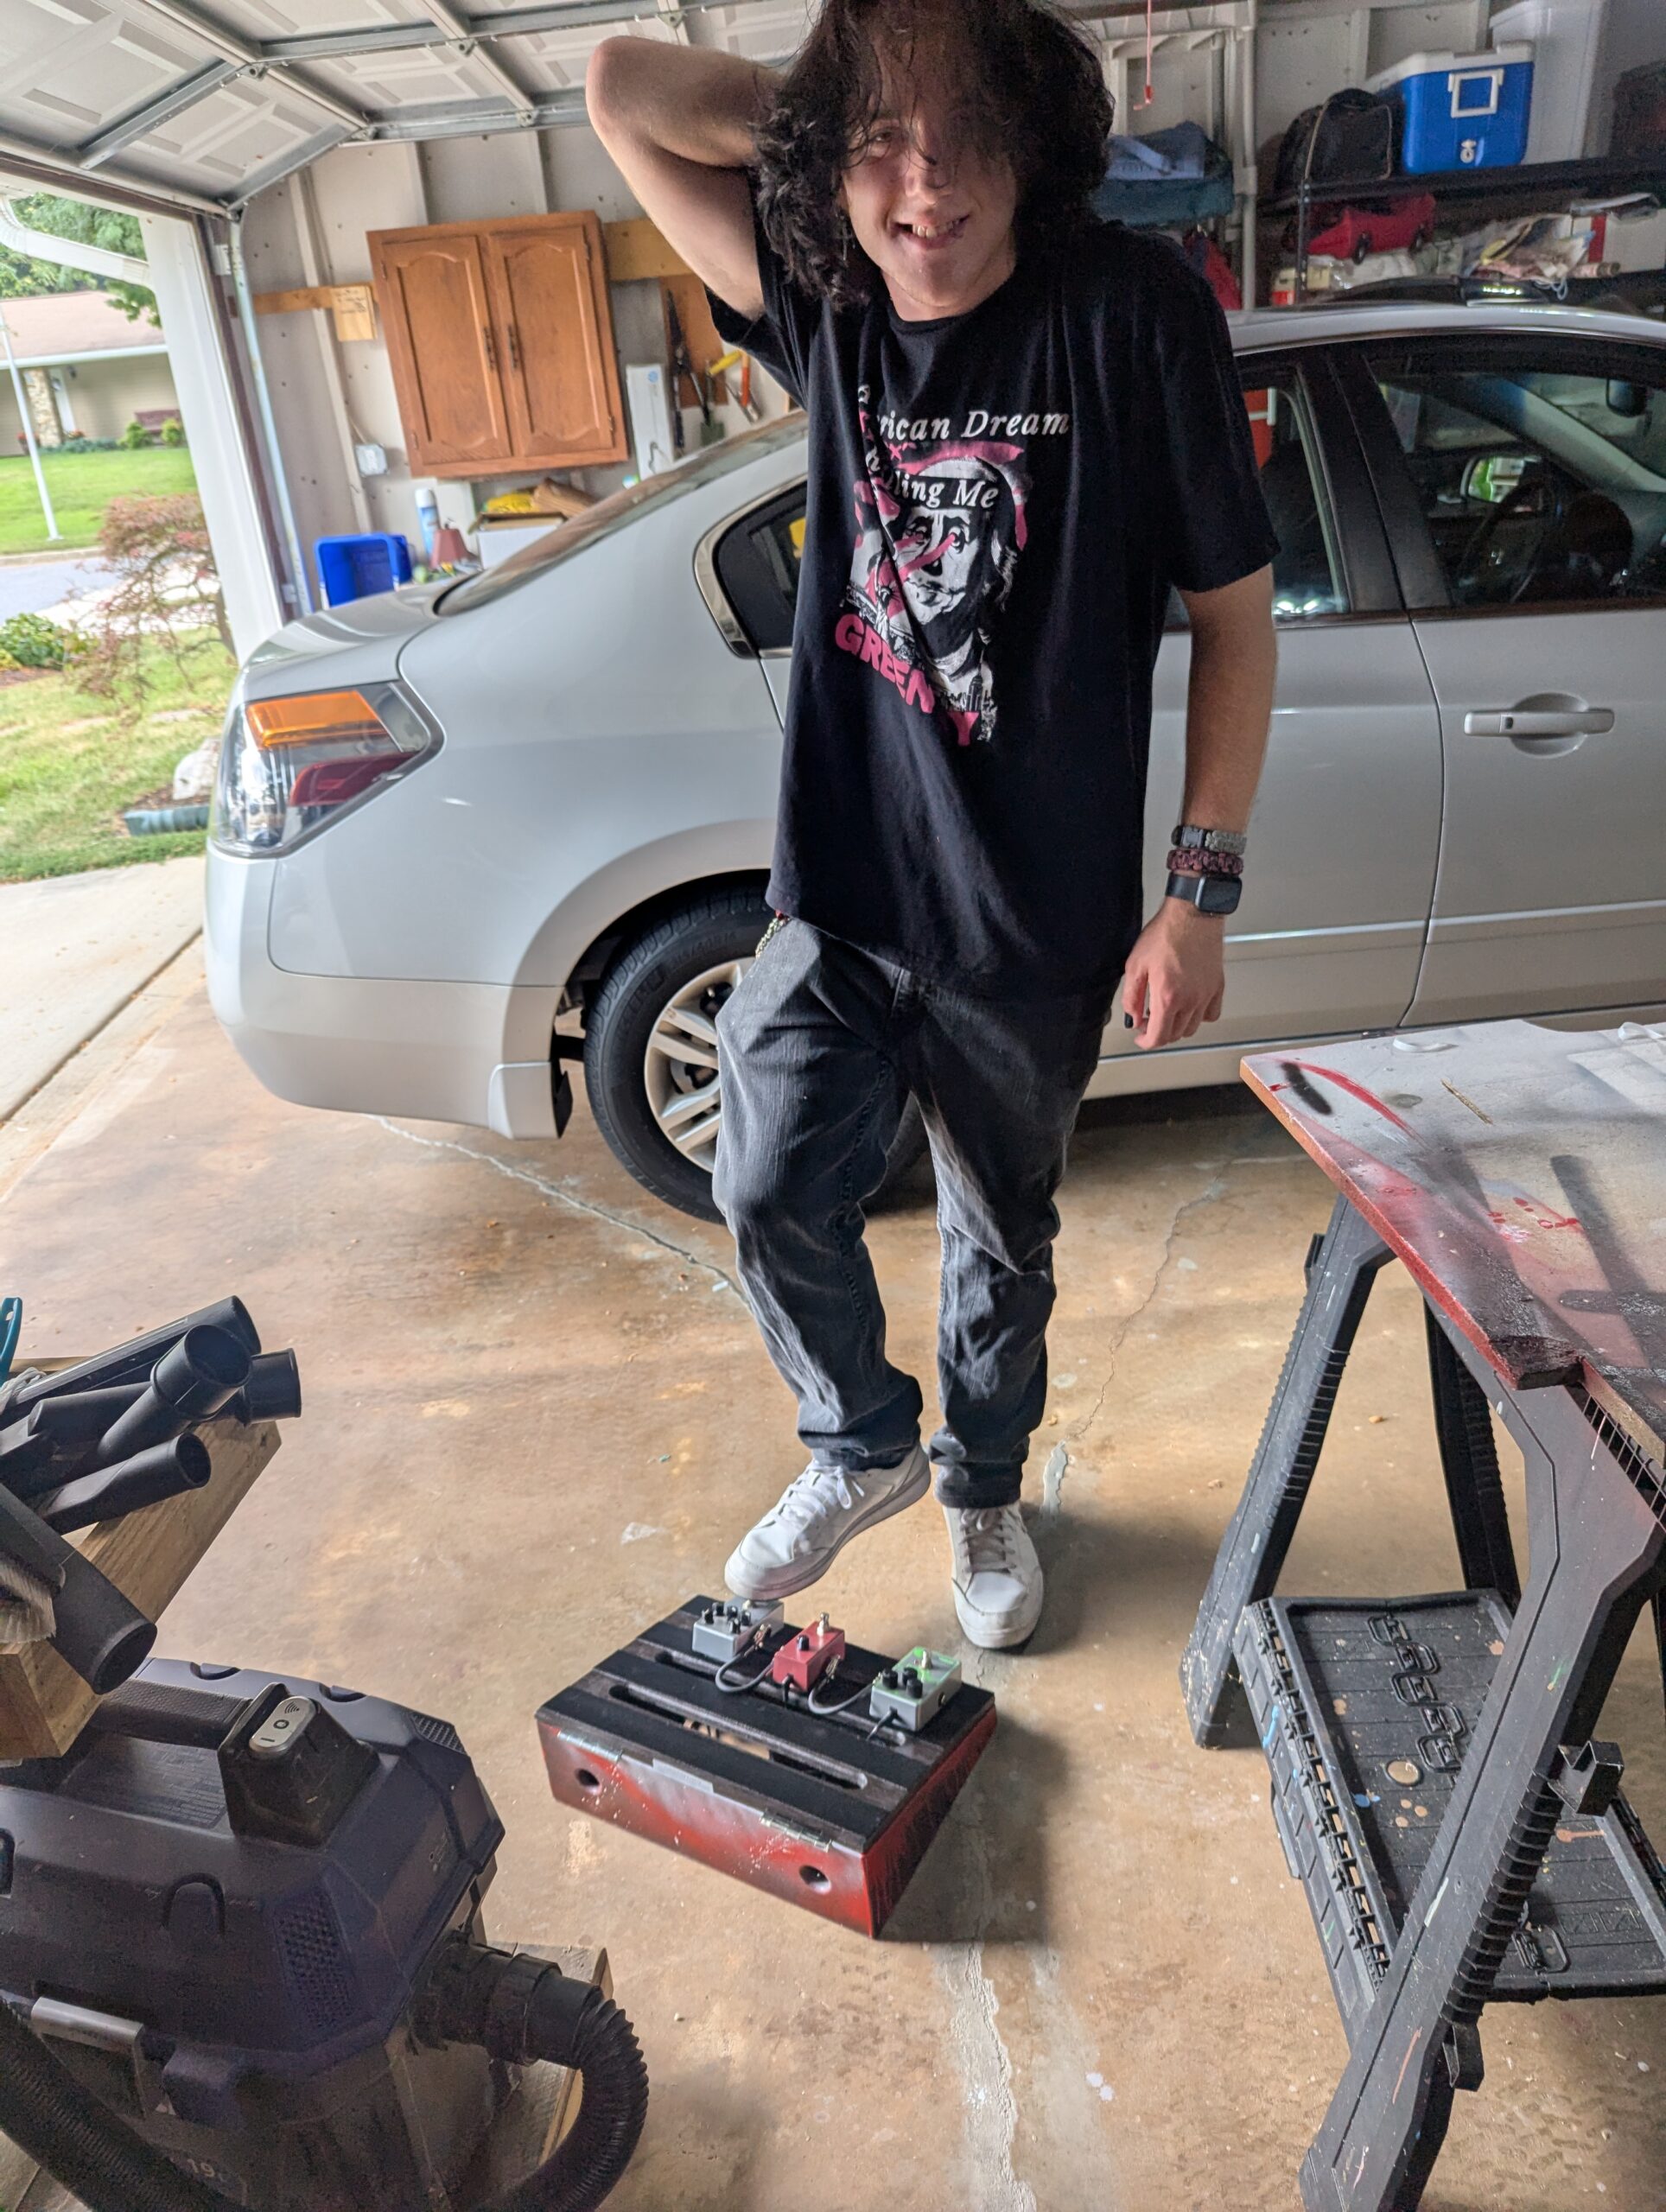
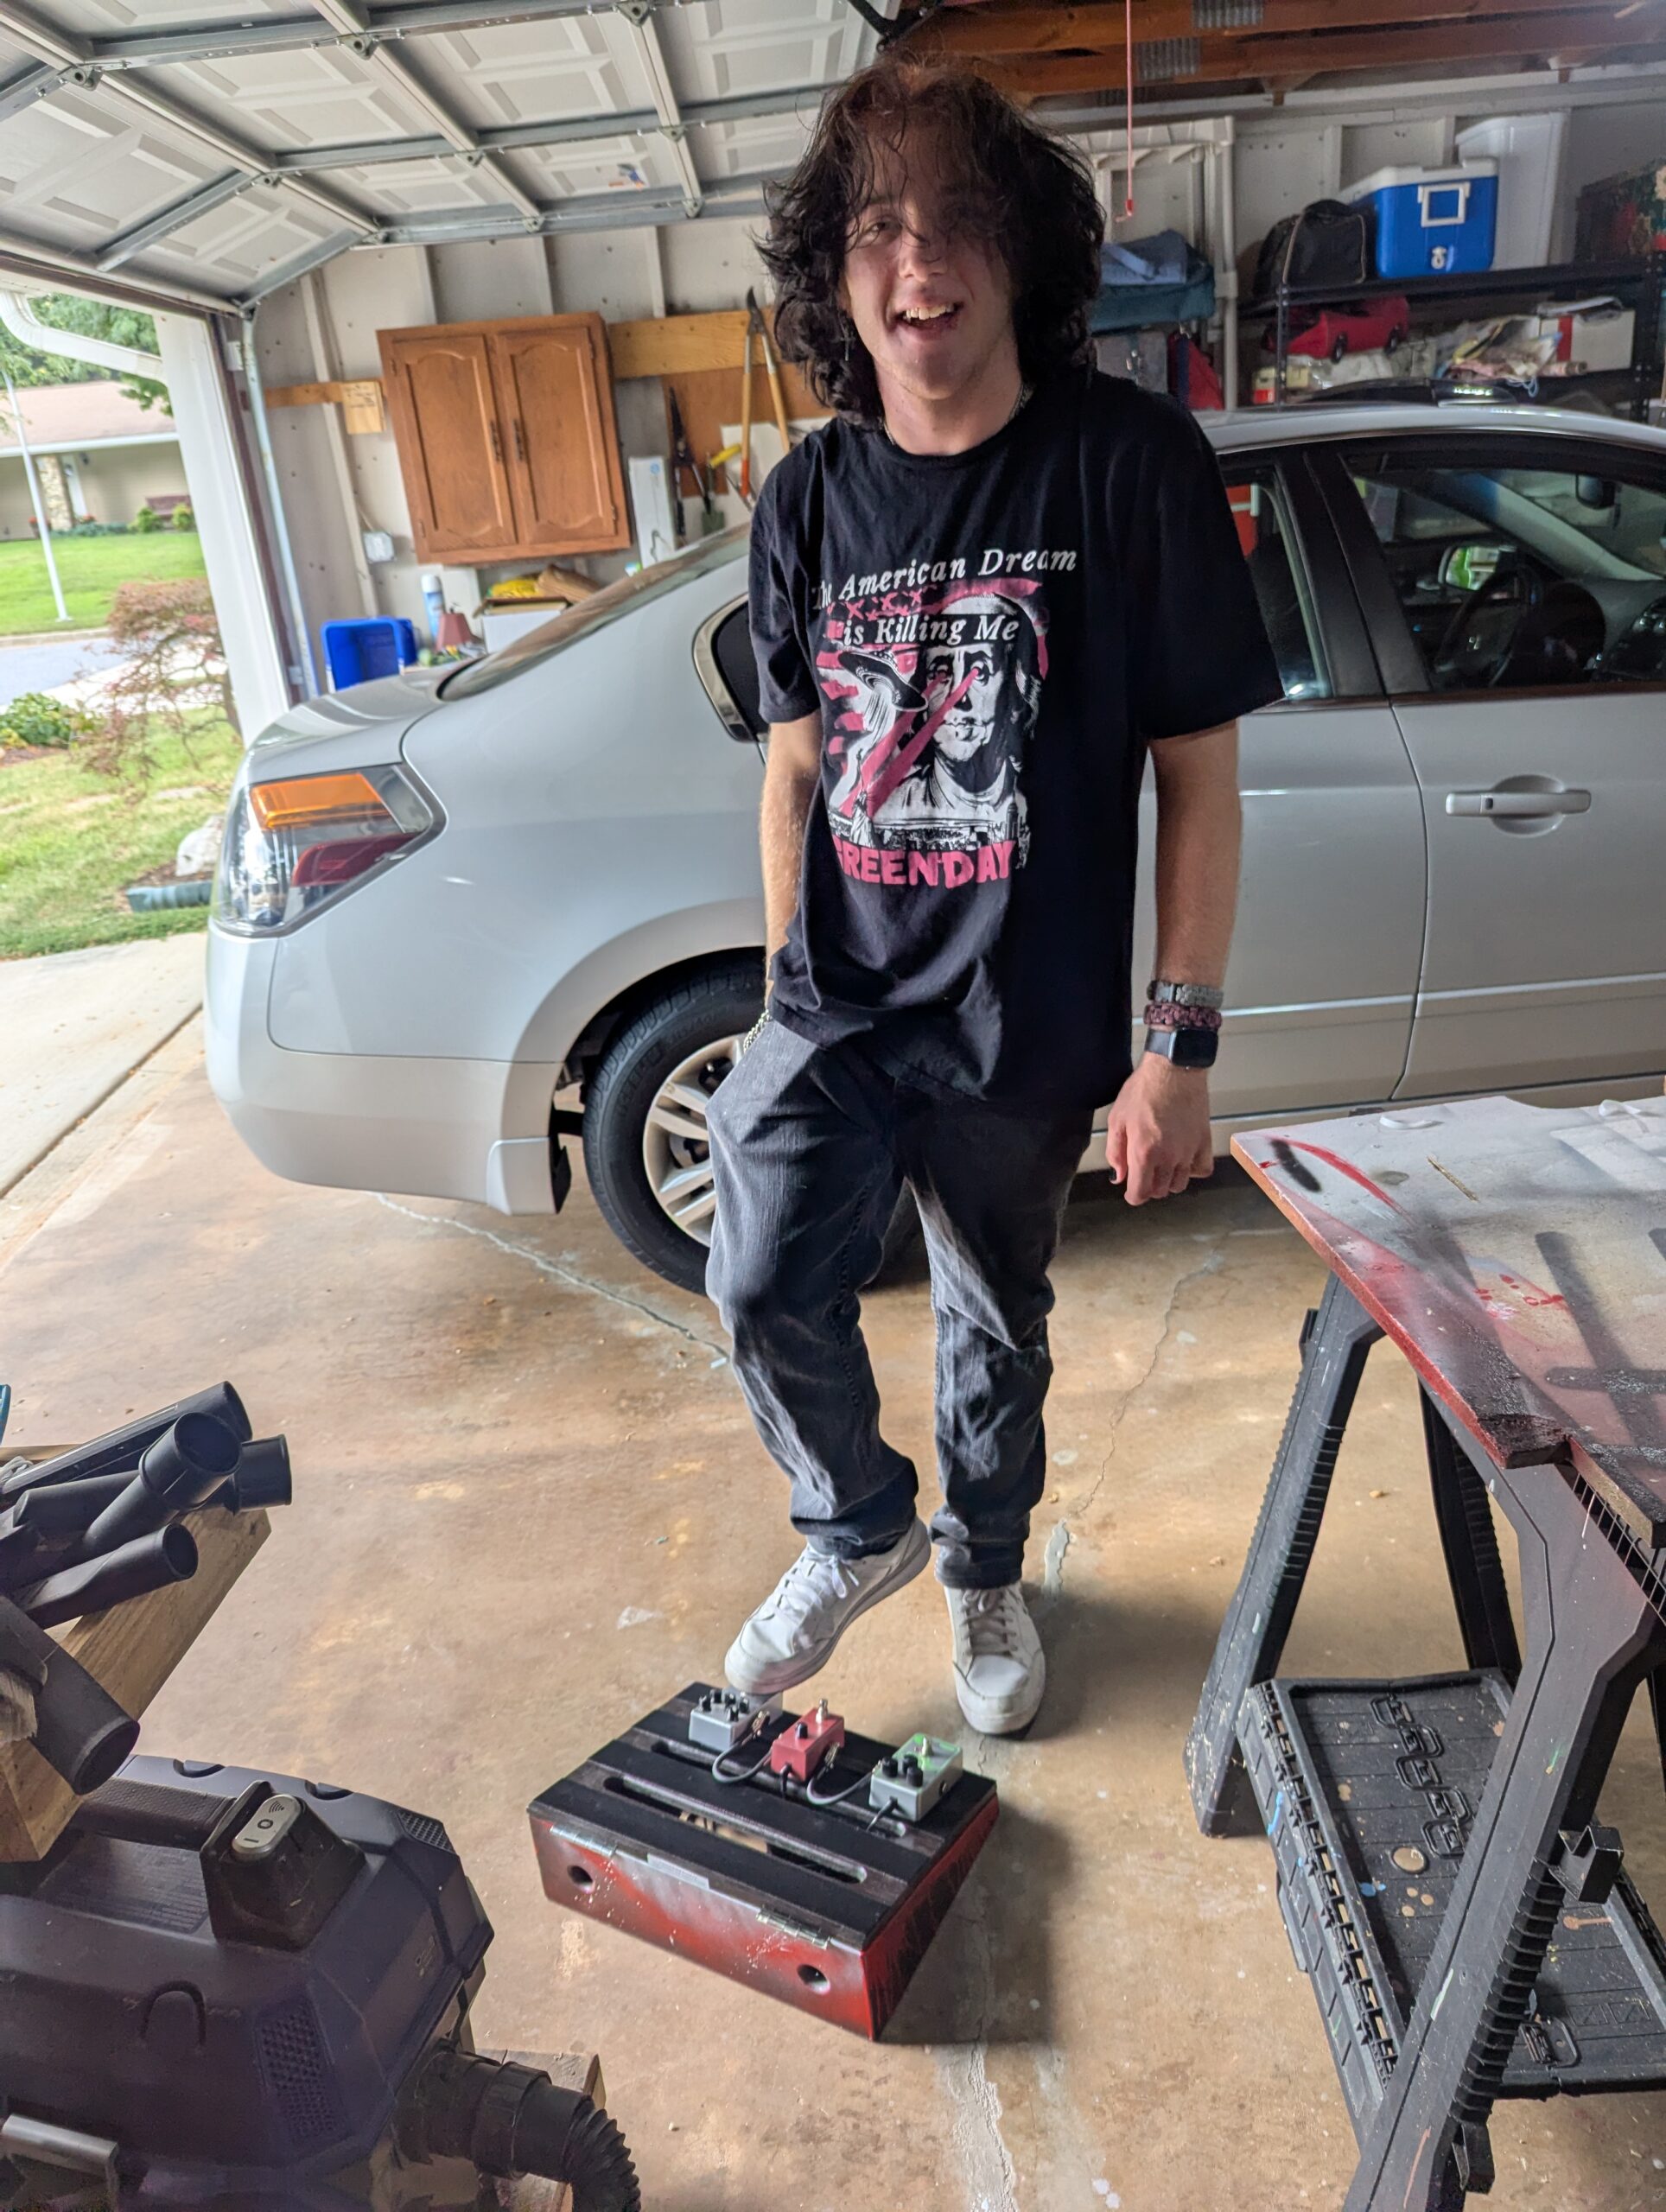
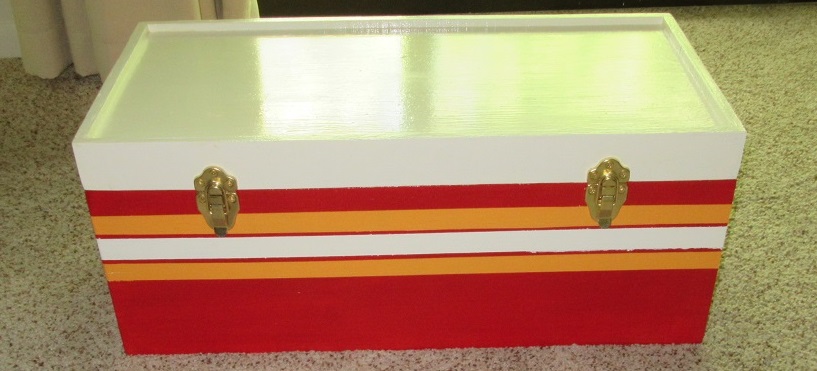
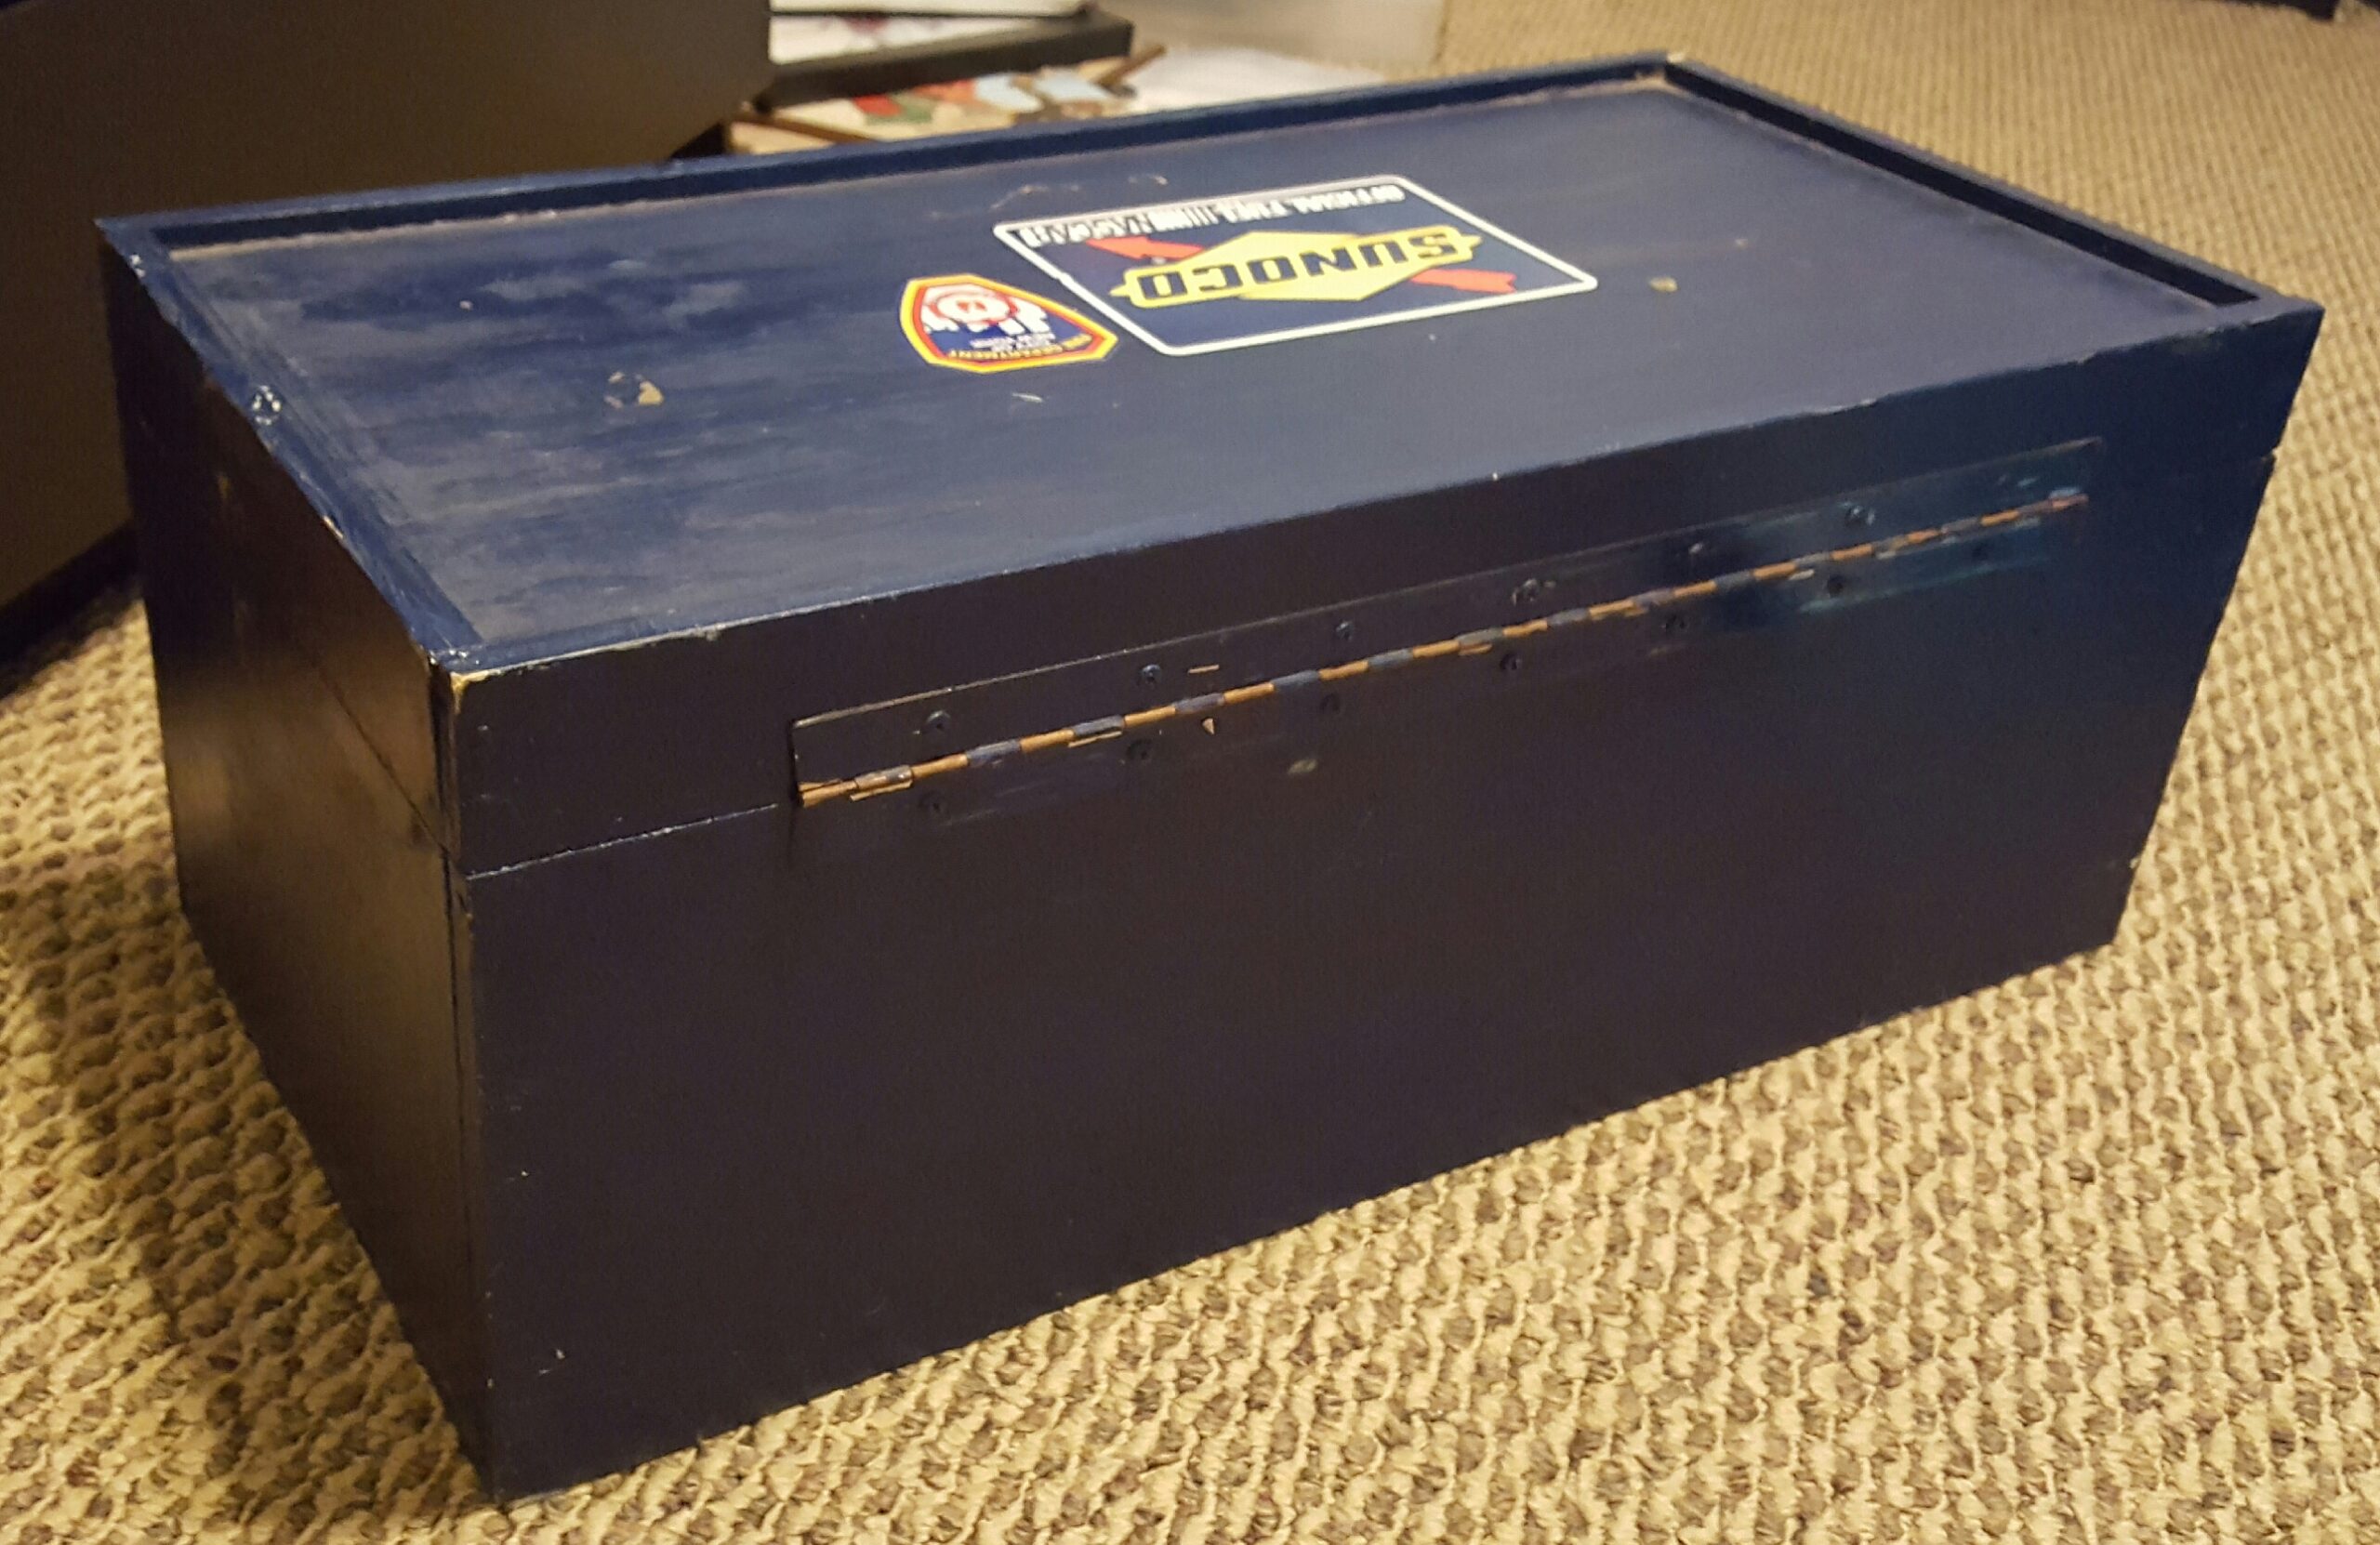
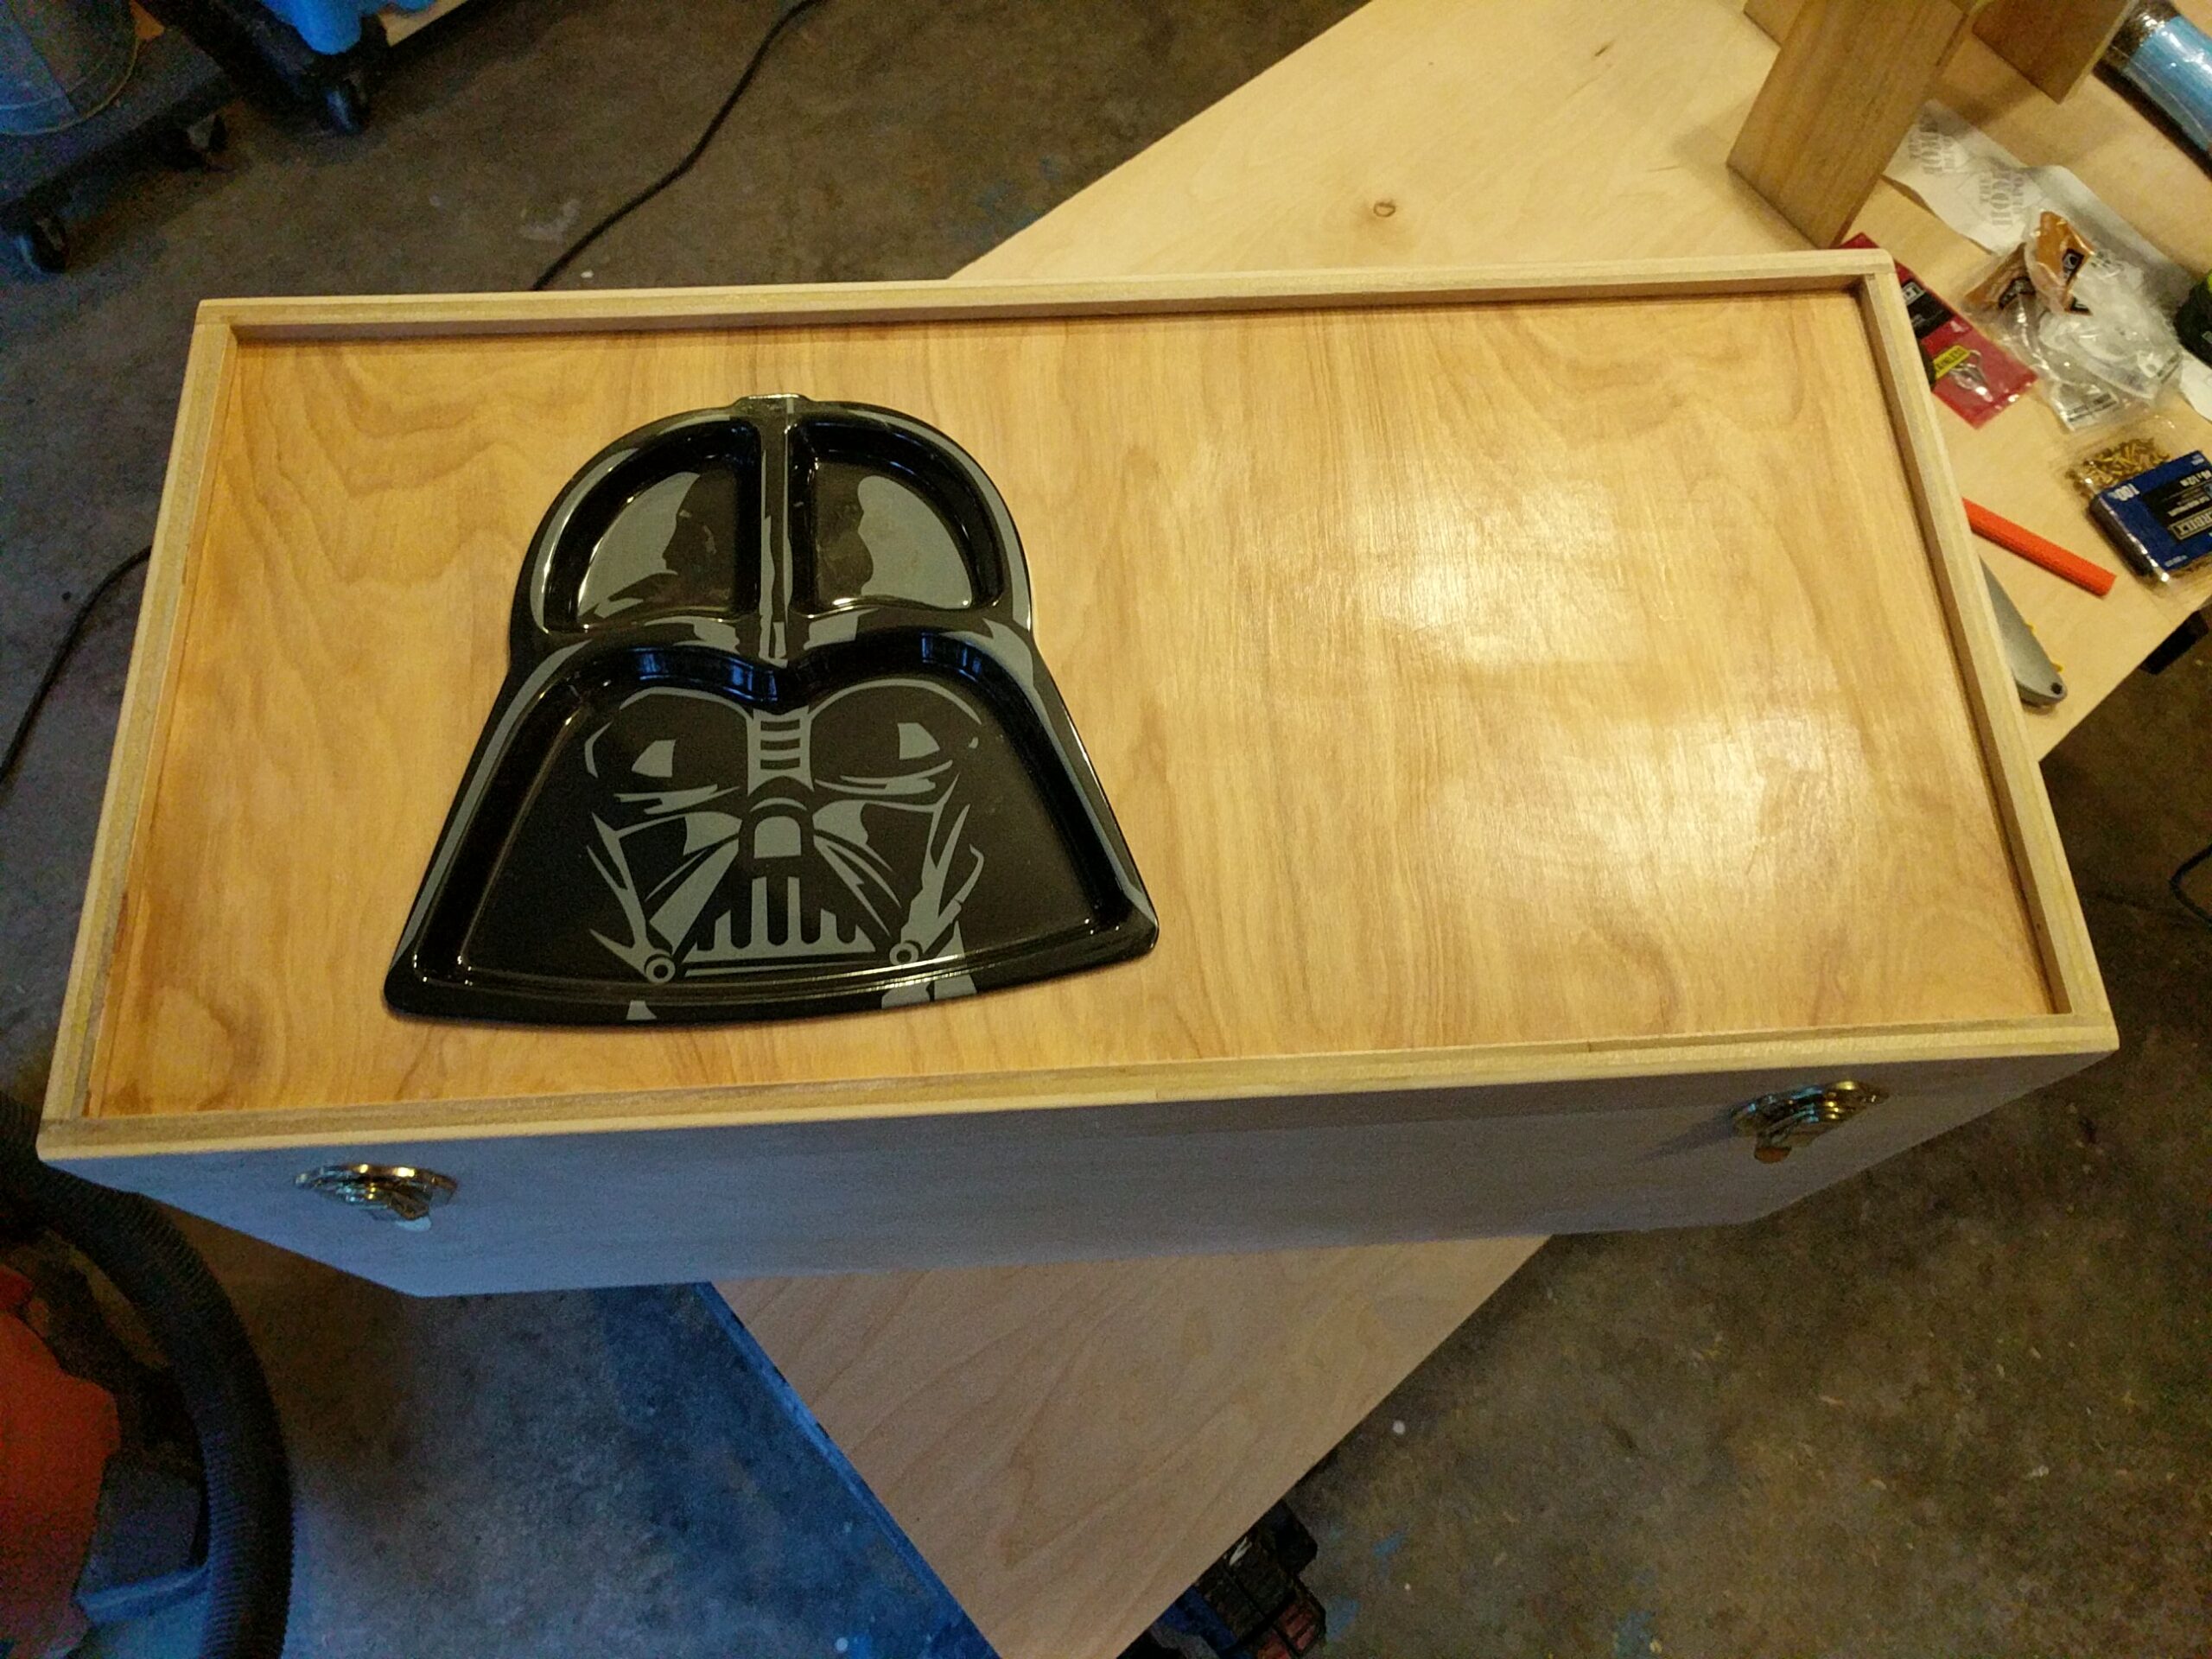
After we were satisfied with the fit, it was time to get painting, Justice is a Graduate of Wilson Tech, and was eager to show me his edgy paint work!
The pedal Board was given a black base coat, inside and out, although some wood surfaces need a sanding sealer first.


 ,
,  ,
,  , and more in my work shop. this depends on whether you will be “blind fastening” (no exposed fasteners) or using exposed fasteners (nails, screws) and filling or covering the holes.