What Sizes do Table Saws Come In?

Table saws come in many different sizes and configurations.

Light duty portable saws come in 10″ models, and are meant to be placed on sawhorses or a folding stand.

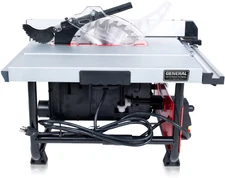
10 Benchtop ang Portable Contractor Table Saw Rip Fence Mitre Gauge Push Sticks

Typical Benchtop Table saw, available on eBay. 

Note: there are “mini” table saws, you can see them on eBay too.  They are usually for craft and hobby work.

Jobsite saws are heavier, with 10″ blades, folding stands and sometimes wheels. Usually 1.5 to 2.5 horsepower.
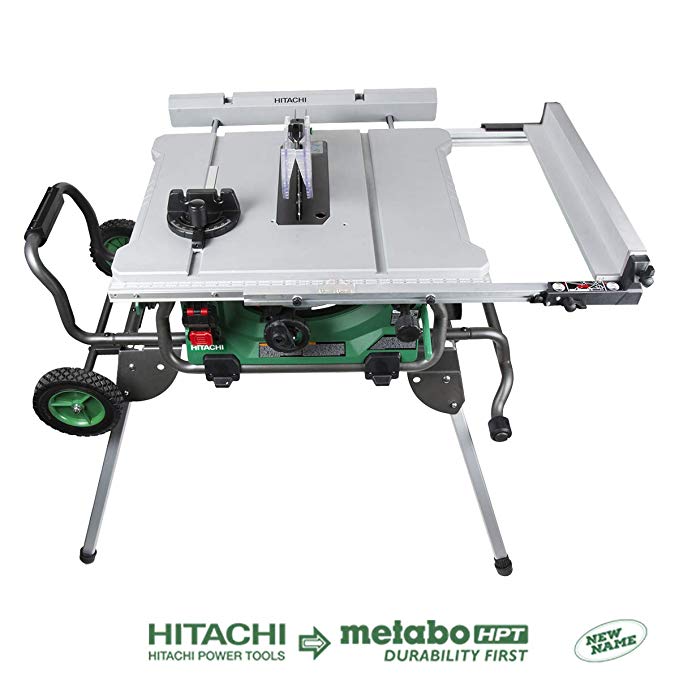
Hitachi C10RJ 10" 15-Amp Jobsite Table Saw with 35" Rip Capacity and Fold and Roll Stand
My Hitachi Jobsite Saw, available on Amazon.

Stationary saws have 10″ or larger blades, larger power draw, and multiple configurations. Fence systems, sliding tables, dust collection, power feeders, stackers, and more are available as options. Cabinet saws may have scoring blades, and additional features for making clean and accurate cuts.
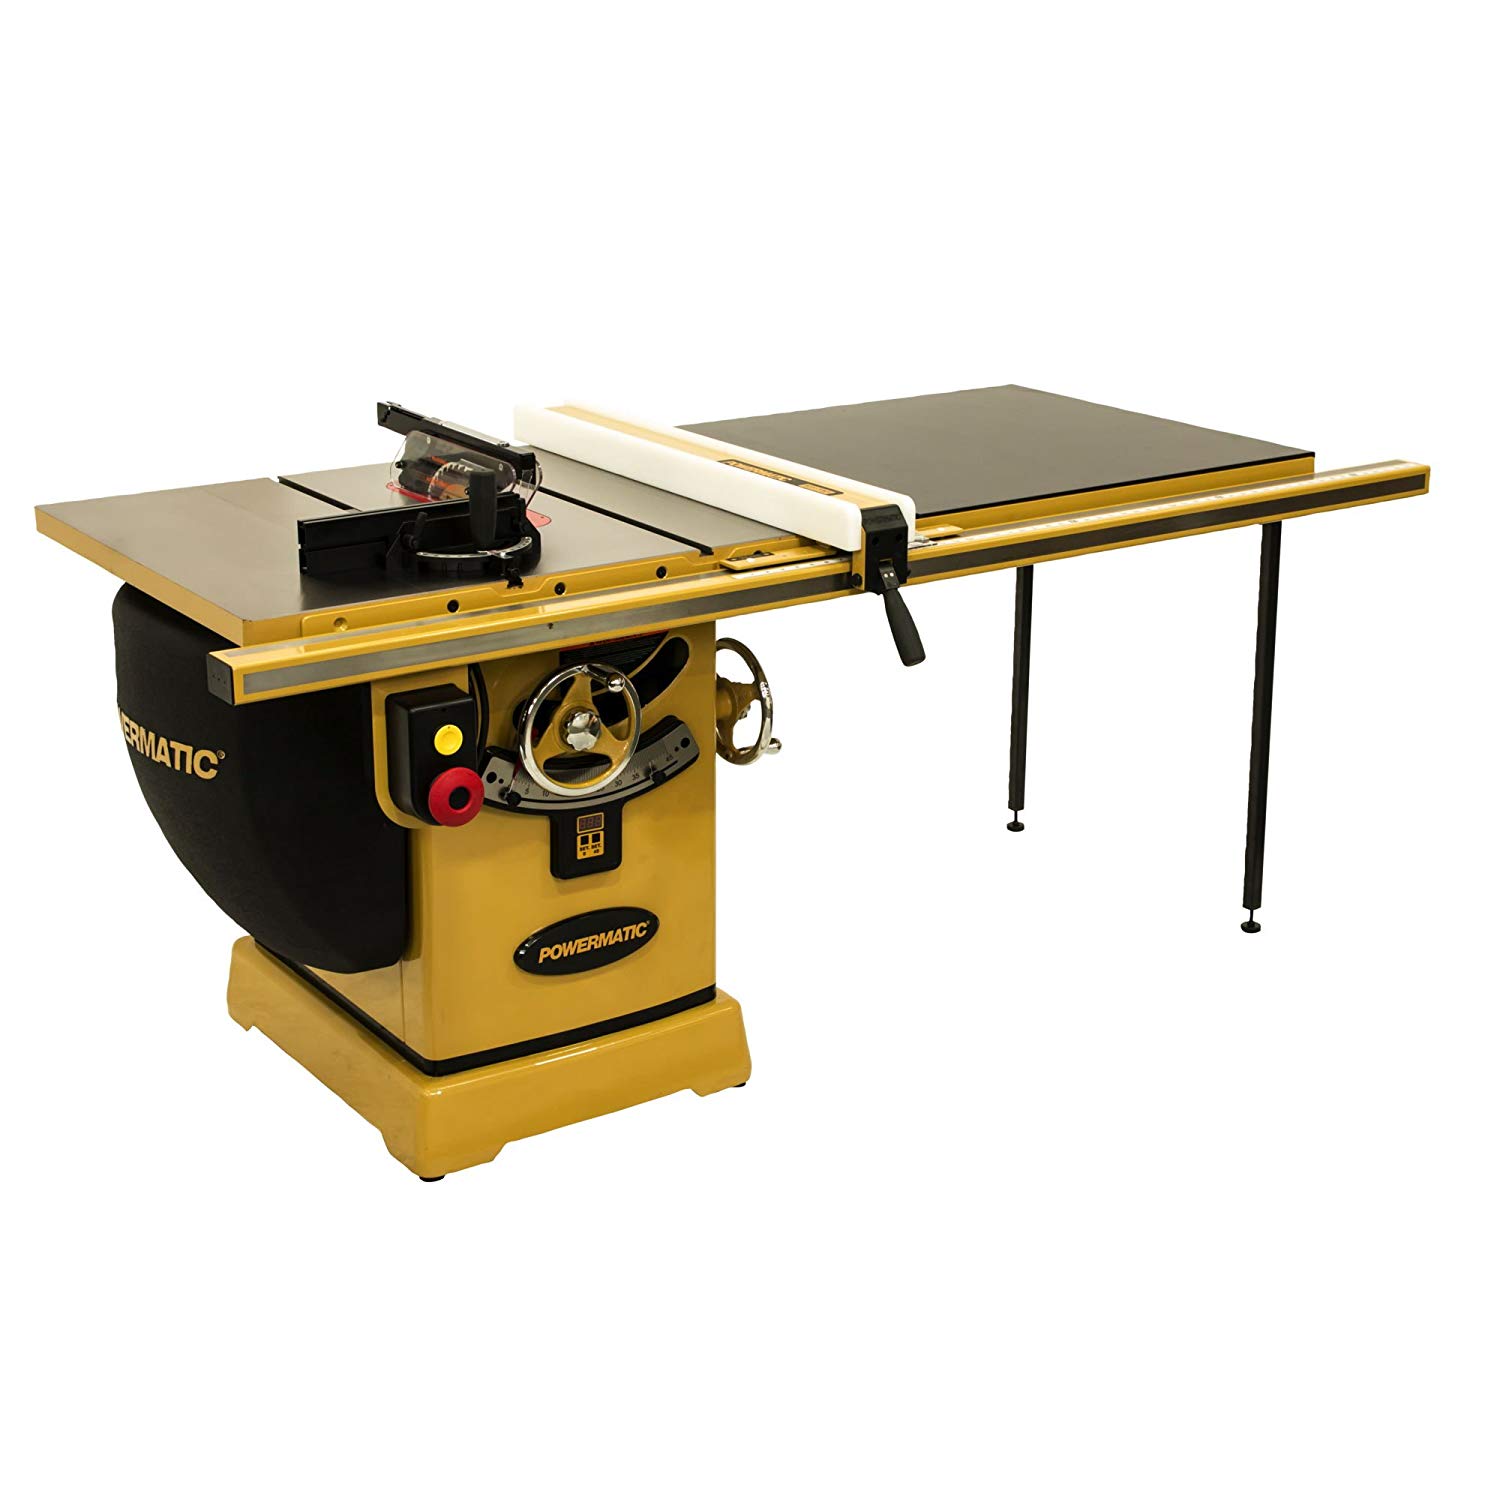
Powermatic PM23150K 3HP 1PH 230V, 50" RIP
Powermatic PM23150K 3HP 1PH 230V, 50″ RIP – available on Amazon or your favorite machinery dealer.

Another way to approach this is based on the work your saw needs to do for you. Is portability important? Do you make a lot of varied cuts? Do you make dadoes or angle cuts? You can configure a stock table saw with aftermarket fencing systems, shop wheels, dado inserts, and more.  Here is a link to popular table saw accessories on eBay, and Amazon.

Some of the newer saws have “slow start”, safety stop braking systems, and good connections for dust collection, blade guards, and anti-kickback features.

Buy the right size saw for the job, and you will be getting the best bang for your buck.  The table saw is the woodworkers primary wood cutting tool!

Thanks for the A2A! Fyi – I own a Hitachi 10″ jobsite saw, with a shop-made two stage dust collection system.
Can you put a TV over a wood burning fireplace?

The short answer is yes, as long as you have solid support for the mounting bracket.

But (you guessed it) I have some caveats:

  1. Mounting the TV above the fireplace may position it too high for comfortable viewing; Neck strain is not fun, so that is a concern. If the TV is a good distance from the seating, or above a low fireplace, then you might be OK. The TV should be at eyeball level or slightly above, for best viewing angle.
  2. If the fireplace throws off a lot of heat, and there is no mantle to deflect some of it away from the TV, The heat can have an adverse effect on the electronics over time.
  3. Wiring. Despite the fact that TV’s are becoming wireless, you may have to deal with a power cable, HDMI cable, optical (sound) cable, and additional cables for DVD players, Cable boxes, and TV receivers like the Amazon firestick. Plan for having wires, and running them inside the wall or in a wire management system. I also suggest having a good surge/power strip or a serious UPS (power supply) – our power grid is aging and you don’t want it to “take down” your expensive OLED 4K TV due to power fluctuations.
  4. SOUND. Flat screen TV’s are notorious for flat sound; I almost always recommend a sound bar with a subwoofer – you want to hear the sound emanating from the direction of the TV, with a subwoofer on the floor or mounted near the seating area. Rear speakers are good to get surround sound into your “sound field”. I have clients who mounted speakers in the ceiling; this is really bad as you are disoriented with a visual image in front of you with the sound coming from above. I appeal to your common sense – NEVER DO THIS.

From the Web:

Want to Mount a TV Above a Fireplace? Read This First | Bob Vila

Installing a TV Above the Fireplace

Where to Put the TV When You Have a Fireplace

So there you have it – you can mount a TV over the fireplace, but it may not be ideal – explore all your options before proceeding!

FYI – This is the Big Screen” at my “Man cave”:

60" TV at the man cave

60″ Sharp Aquos 3D TV with Samsung 3D Surround sound sitting on media console (big UPS is behind screen). Wireless subwoofer and rear speakers next to recliners. Center of TV is at eyeball height when seated on recliners across from TV. Image is of me describing a prototype k cup recycling device.

Keychain Display Cabinet

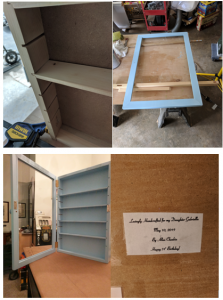
Finished Keychain cabinet

My daughter collects Keychains, which gave me a great idea – that they would look awesome in a display cabinet.

For her Birthday I made her a Keychain cabinet out of recycled materials (pallet wood, Pine cutoffs, and a piece of plexiglass for the door).

I found a pallet made of #2 pine, and used it for the case and door frame.

the shelves are adjustable with simple grooves on the cabinet sides, and some have 1/2″ cup hooks for hanging the keychains.

Everything was sanded with 100 and 220 grit sandpaper, and painted her favorite baby blue.

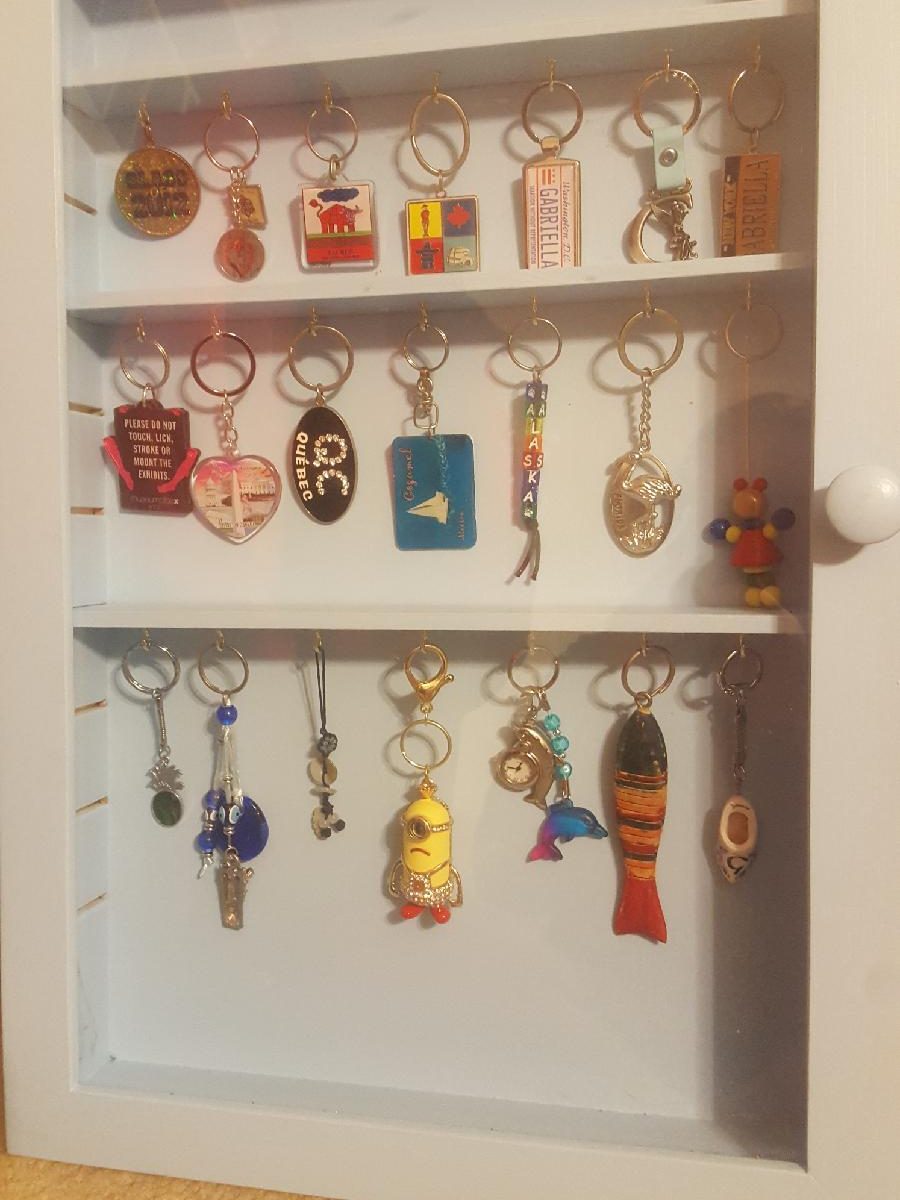
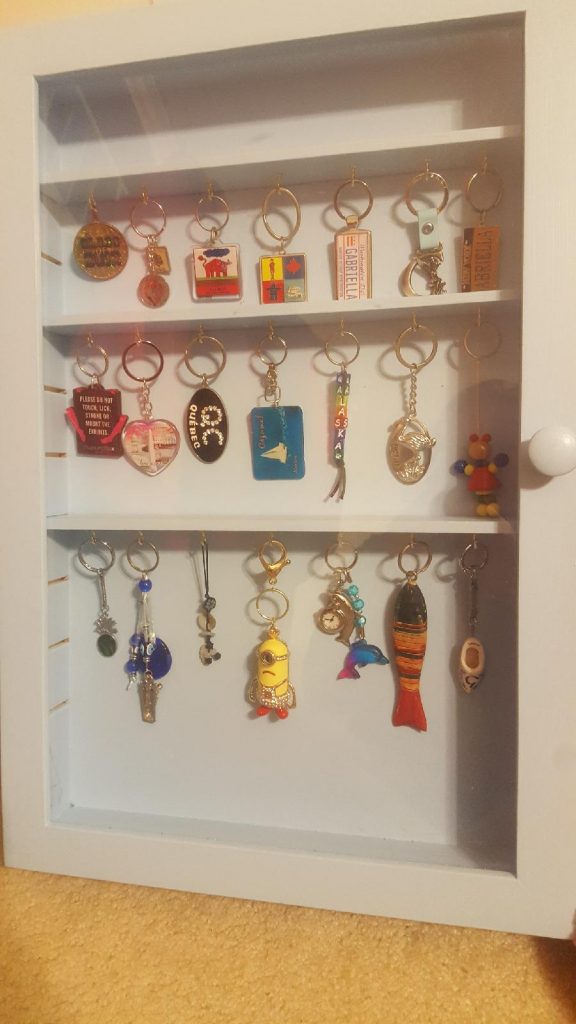
Here is a picture of the finished cabinet:

Finished Keychain cabinet
partially loaded with some unique keychains!
keychain cabinet detail
cutting and prepping the parts for the keychain cabinet
Keychain cabinet almost ready
Keychain cabinet detail, almost ready to wrap and gift!

The hinges are simple butt hinges, and the knob is a wooden knob painted to match.  the magnetic catch is a simple one from Amazon (you can order it here).  Of course I put a simple note on the back!

Now my daughter has a unique, Dad-fabricated display for some of the special pieces in her collection.

I hope your projects bring joy into someone’s life too!  Happy Woodworking!

Is carpentry and woodworking a good hobby to start?

Woodworking is a craft that is non-exclusive, and inclusive; almost everyone can do it!

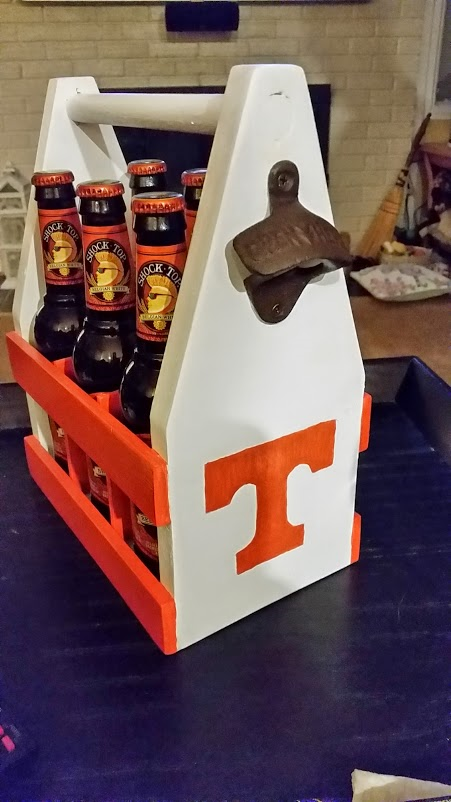
Tennessee six pack carrier with bottle opener, Great gift idea, made in the chenkin workshop. painting by Kathy.

Carpentry has a great breadth – from Birdhouses and signs to elaborate carvings, models, Home repairs and functional cabinets. Carpentry also is a means to acquire tools, videos, books, and friends who share their love of the craft and knowledge of how to make objects out of wood.

  • Carpentry also brings together metal working (signs, hooks, table legs, hinges)
  • Painting – finishes, stains, decals, more
  • Repair work and upgrades
  • Reading and how to books

And much more!

Fireplace mantle with marble trim, Custom built for a client, courtesy of The Chenkin workshop.

The best way to get started is to Build, fix, or plan a project. Pinterest has tons of ideas, if you need inspiration.

Based on what you want to build, you will need to get some tools.

Pallet wood jewelry holder. product of the chenkin Workshop, finishing by Kathy.

Before you know it, you are on your way!

Of course, I admit I am biased. Carpentry is a Great Hobby to start!

Shameless self promotion (from my website):

Best of Luck and I hope to see you posting your projects on-line on Pinterest or Instagram!!

Do you believe Ikea makes quality furniture?

Ikea carries several lines of furniture. some are inexpensive and designed for people on a budget, and some are very high quality that wear well and have better wood components, hinges, levelling feet, etc.

Almost all IKEA furniture is based on 32mm “RTA” (Ready To Assemble) construction methods, and requires some attention to detail when assembling.

True32 Flow Manufacturing Kindle Edition

The 32mm system, using materials and hardware (designed for RTA cabinetry) enable IKEA to ship cabinets flat in boxes, so that more product can be carried in trucks and containers. it also provides a standard assembly method for almost all IKEA casegoods.

The Truth about IKEA: The Secret Success of the World’s most Popular Furniture Brand — Amazon

Many of the better pieces have panels made of MDF instead of particle board and laminated instead of printed finishes.

How to spot quality furniture at Ikea — Curbed

While you may not consider all IKEA furniture quality, their products are functional and serviceable.

My opinion is that you get a good value for the money, just don’t expect something to hand down to your great grandchildren.

Disclaimer: I shop at IKEA, and am an Elite Tasker for Taskrabbit — which is owned by IKEA. I repair and assemble IKEA furniture for Taskrabbit. You can read my blog on woodworking here.

I will say that IKEA is known for it’s food. I love the meatballs.

IKEA’s Real Swedish Food Book

For laughs and giggles you can take to the bank:

Ikea furniture could be worth a fortune in years to come

What tools do I need to turn a small log (10in/ 25cm diameter) into 1/4″/6.5mm thick boards?

If your log is green wood (freshly cut, or “wet”), you will need a bandsaw with a throat larger than 10″ (and capable of dealing with the irregularity in a long 10″ diameter log).

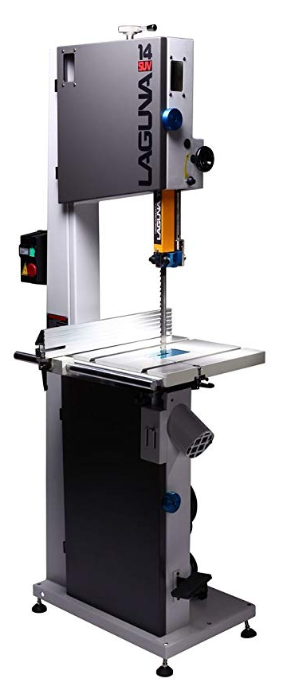
I would recommend (on the modest side) a 14″ – 18″ bandsaw like this one by Laguna Tools:

Laguna 18″ bandsaw

Then you would need a sled, or carriage to transport the log through the bandsaw.

This is a homemade log cutting jig for short logs: Super Simple Band Saw Log Sled, from Instructables.

If your log is long, you will need to make a support or rails so it will slide evenly through the saw without binging or cutting at an angle or curve.

https://amzn.to/2ECgytEIf your logs are larger then 10″ and heavy, your best solution is to purchase a small sawmill.  This book is available on Amazon, and worth reading, so that you understand the principles and capabilities of a portable saw mill.
If the log is green, you have to allow for drying and shrinkage, so you may cut the pieces 1/2′ thick and then use a thickness planer to get it to the final 1/4″ thickness, after allowing the wood to dry to dry. (8–10% moisture content before planing). This is some good information on how to dry wood; Cutting And Drying Logs Into Boards – Woodworkers guild of America.

after the wood is dried to 6-10% moisture content, you will need a thickness planer.  Thickness Planers are available from big box stores, Amazon, and eBay.

After the wood is sized to thickness, you will need a jointer and a table saw to clean up a long edge and square the board.

At this point your 1/4″ S4S (surfaced 4 sides) boards are ready for fabrication.

Some caveats: These are powerful machines, and caution must be exercised with each machining operation. Use protective gear like safety glasses, ear protection, dust protection, and gloves. Make sure you have all the machines setup and working correctly, and make test passes before machining all the wood, so the slabs will be uniform and true. (parallel sides).

Depending on your specific application, you may need a larger bandsaw, a tablesaw, a jointer, and more – especially if you make the jigs and supporting tables yourself.

Thank you for reading, and Have fun making your own boards from logs!

Disclaimer: I am a trained woodworker and have my own blog, The Chenkin Workshop

What type of tape won’t rip the paint off walls? Is there such a thing?

When you are painting or just hanging a sign, you don’t want the tape to rip the paint off your wall.  It’s unsightly and sometimes difficult to repair.  Avoid Duct tape, flex tape, most scotch tapes, and packing tapes.

Masking tape is not the best. It gets old, and the sticky glue can rip paint off a surface too easily, especially if you press it hard and it bonds to the paint.  This doesn’t mean it won’t work, just that it is not “the best”.  You have to use your judgement, and decide what option you are going to go with.

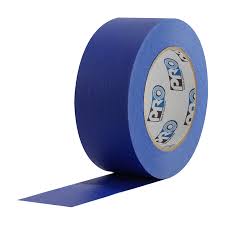
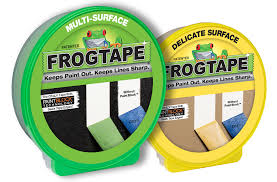
My best experience is with Blue Painters tape and Frog tape (images and links from Amazon:

ProTapes Pro Scenic 714 Crepe Paper 14 Day Easy Release Painters Masking Tape, 60 yds Length x 1″ Width, Blue (Pack of 1): Amazon.com: Industrial & Scientific

And their “Delicate Version”: Shurtape Technologies Frogtape 217143 Multi-Use Delicate Surface Paint Block Tape, 36mm x 55m, 1-1/2-Inch x 60-Yard – Painters Masking Tape – Amazon.com

There are lots of brands that make Painters tape – 3M, Scotch, etc., and most all will work. Try to use fresh tape whenever possible, and don’t leave it on more than a few days at most.  Some tapes advertise that they can be left on for 30 days.

If you need to put up a hook that can come down without marring the wall, you can get these:

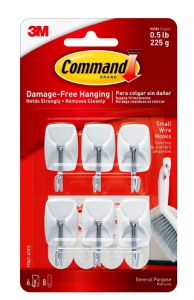
Command Hooks, available on Amazon, eBay, or at your local big box or hardware store.  I use them for picture hanging, and keep an organizer box full of them in my van.  Small ones don’t carry a lot of weight, so pay attention to  the weight of what you are hanging.

Here are more tips:

Tips for How to Use Painters Tape – Family Handyman

How-to Use Painter’s Tape for Interior Painting – Behr Paint

Best of luck with all your painting projects!

I hope you found my point of view enlightening and informative. 

Is it ok to pressure wash cedar siding?

If you have severely stained Cedar siding, you can power wash it with a wide nozzle and low pressure. Cedar siding is durable but can be damaged easily by excess pressure, especially when it is aged or very dried out.  You should only use a wide nozzle, because the narrow stream of a straight nozzle is capable of drilling a hole in the soft cedar.

Let me expand on this:

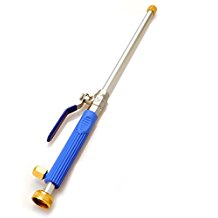
First, make sure the siding is fastened well to the house.  Even at low pressure, you can break loose cedar shingles.  If you have to secure any loose shingles – ONLY USE SIDING NAILS! (other nails may rust or corrode and streak the siding).  If you don’t have – or want –  a power washer, You can even use garden hose with a pressure sprayer head like this:

Crusar Brass Water Jet Power Washer High Pressure Hose Nozzle Pressure Sprayer for Car Washing Vehicle Washing Pet Washing Gardening Outdoor Housecleaning Window Cleaning – From Amazon, it uses 60 PSI home water pressure, not 1800 psi power washer pressure.  I have one and use it for light duty work.

Second, using a good cleaner BEFORE power washing to remove and brighten the siding will make the job easier with less power washing.

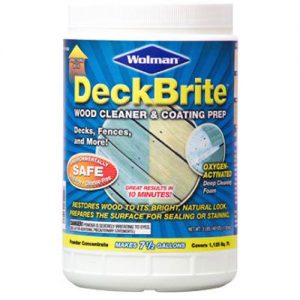
Rust-Oleum 16003 3-Pound Jar Wolman Deckbrite Wood Cleaner and Coating Prep – (From Amazon) is a typical deck wash.  Avoid harsher bleaches.  Power washing after you put this on will make your siding look new.  You can put it on with a soft dip brush and extension pole (to make sure you get it into the grooves and dirty spots, or use a pump type Garden Sprayer.  Wood cleaners remove the oxidation and mold from cedar siding prior to power washing.  
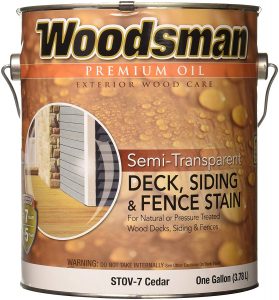
After the Siding is clean, consider sealing it or staining it to slow down the aging process and prevent the cedar from drying out.  Age and cleaning will dry the cedar, removing it’s adhesion a d resistance to wear and aging.  It will also keep the siding clean and attractive longer.

Cedar siding is one of the best natural siding materials for your home.  It is attractive and resistant to pests and weather.  Keeping it maintained is a very smart investment for your home!

I hope you found my point of view enlightening and informative.  

Supporting Cellos at Foxes Music

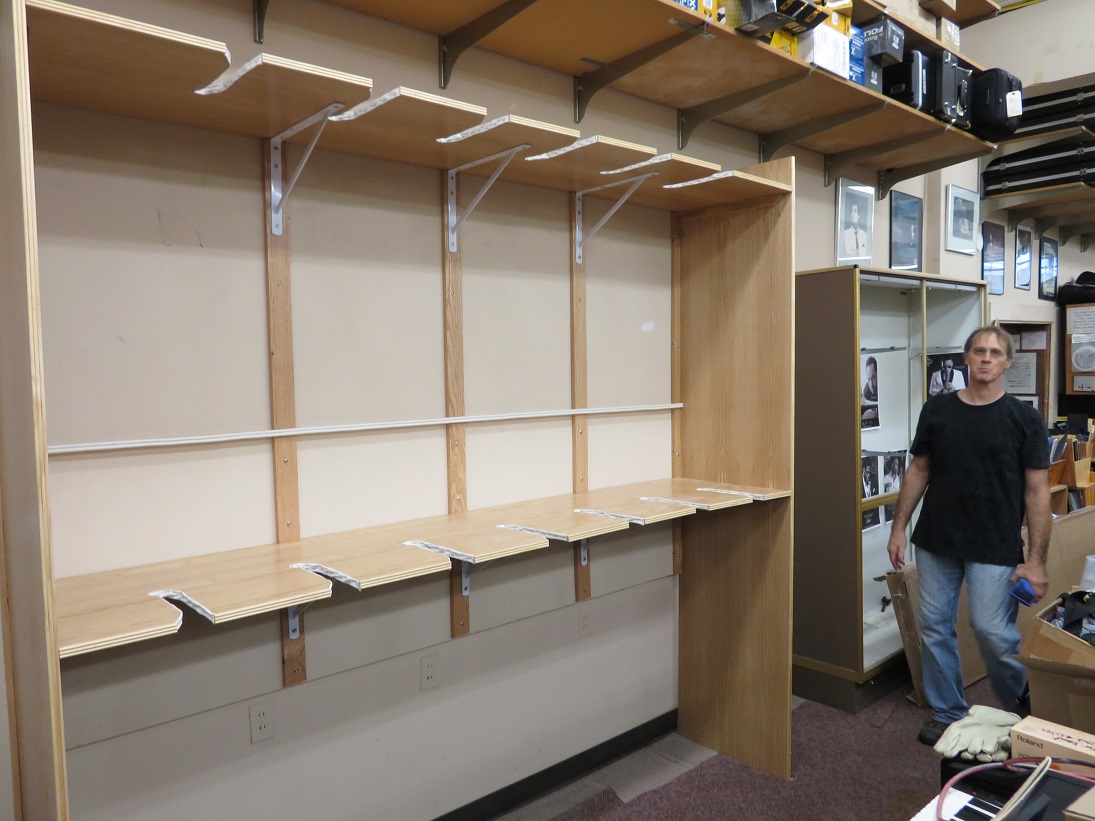
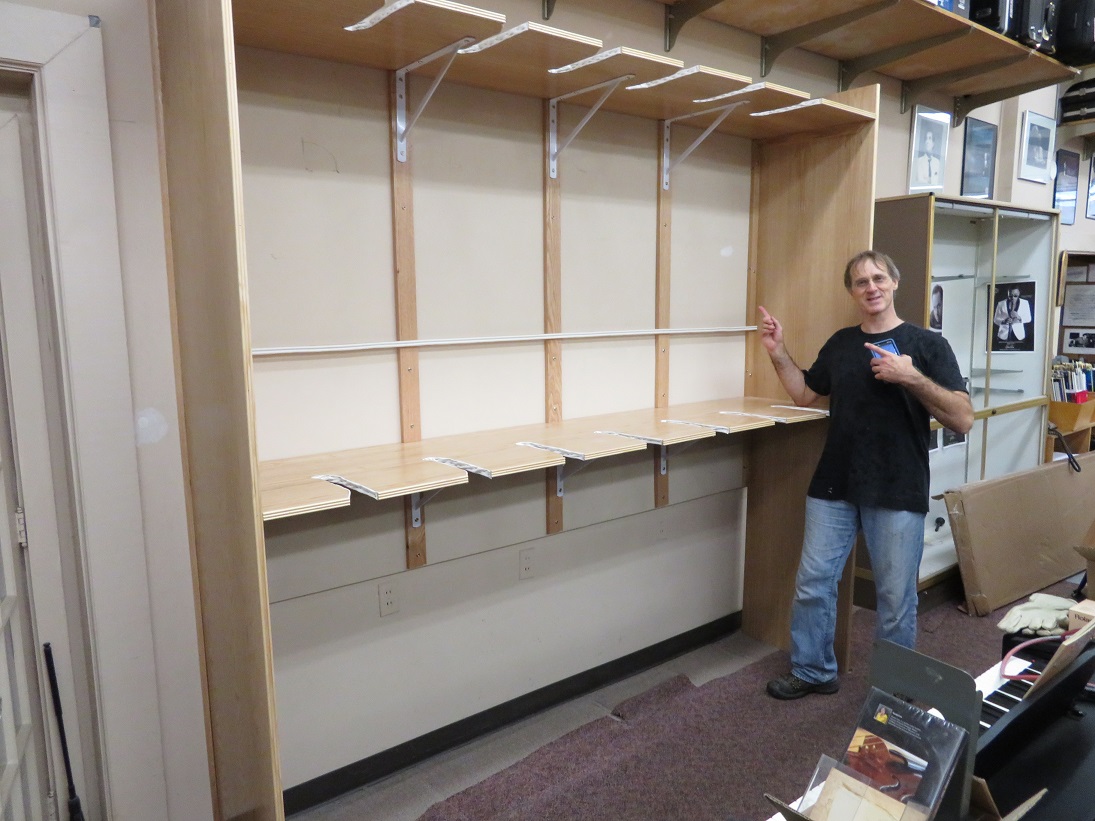
Today we have a unique showcase for displaying Cellos custom built by Stefan Dromlewicz, Woodworking contractor from Waldorf, Maryland, for Foxes Music in Falls Church, Virginia.

The piece was custom designed for the owner, and made from White Oak Plywood panels and solids, hand finished in a water based gloss polyurethane.

The cabinet features steel angle supports, bump rails, and assembly with finish screws for easy modification.  It can hold 13 Cellos.

David with the fully populated Cello rack.
David and Stefan with the fully populated Cello rack.
David going to get another Cello…. And another Cello…
View from the back of Foxes Music Co.
SEE? I told you the Cellos would fit….
Finished display rack, spent woodworker!
I built this! Look! (doing happy dance)
A lot of work went into this. (reflective moment).
David and Stefan with completed display!


The instrument slots feature padding to protect the neck of the cello, as well as the body, and turn the instrument  approximately 30 degrees for added visibility.

The Cello display is a complement to the Violin display (not pictured).

Congratulations to Stefan and Foxes Music for this wonderful display!

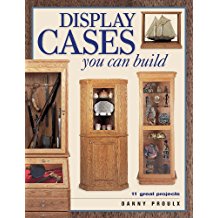
Display Cases You Can Build (Popular Woodworking)

Display Cases You Can Build (Popular Woodworking) – from Amazon Books.


How do I winterize my exterior hose bib? (translation: outdoor water spigots)

The easiest way is with a foam cover that holds onto the spigot with a cord.

Click Here: hose bib insulating covers from Amazon


This Amazon link illustrates a several types of covers.  Order them NOW, before the winter – Local stores will run out of these, and they are so much easier to put on than wrapping the spigot with insulation, towels, etc.

If it is unusually cold, old timers would leave a small drip of water running, since moving water does not freeze.  I would only do this in an extreme situation.

If you don’t cover the spigot, and it does freeze, you will have to have it repaired or replaced.  this will cost a lot more than a cover.  It is also a good idea to drain your hoses and bring them inside, or in a shed or garage, where they are shielded from the elements.