Toy Chest Footlockers – A child’s coolest accessory!

One of the most Fun filled projects you can build is a Toy Chest for a child (even a big child).  This is a footlocker I built for my son when he was little, and he kept all his GI Joe’s in it.

Original Footlocker built for Stuart when he was little

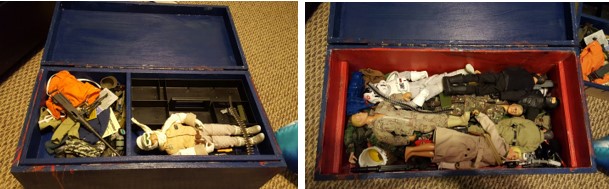
The Footlocker was painted by a very excited 4 year old, with some minor assistance, and has some Stickers added (by same 4 year old) for visual effect!

It also features a removable top tray and ample bottom compartment.  Plenty of room for GI Joes and more!

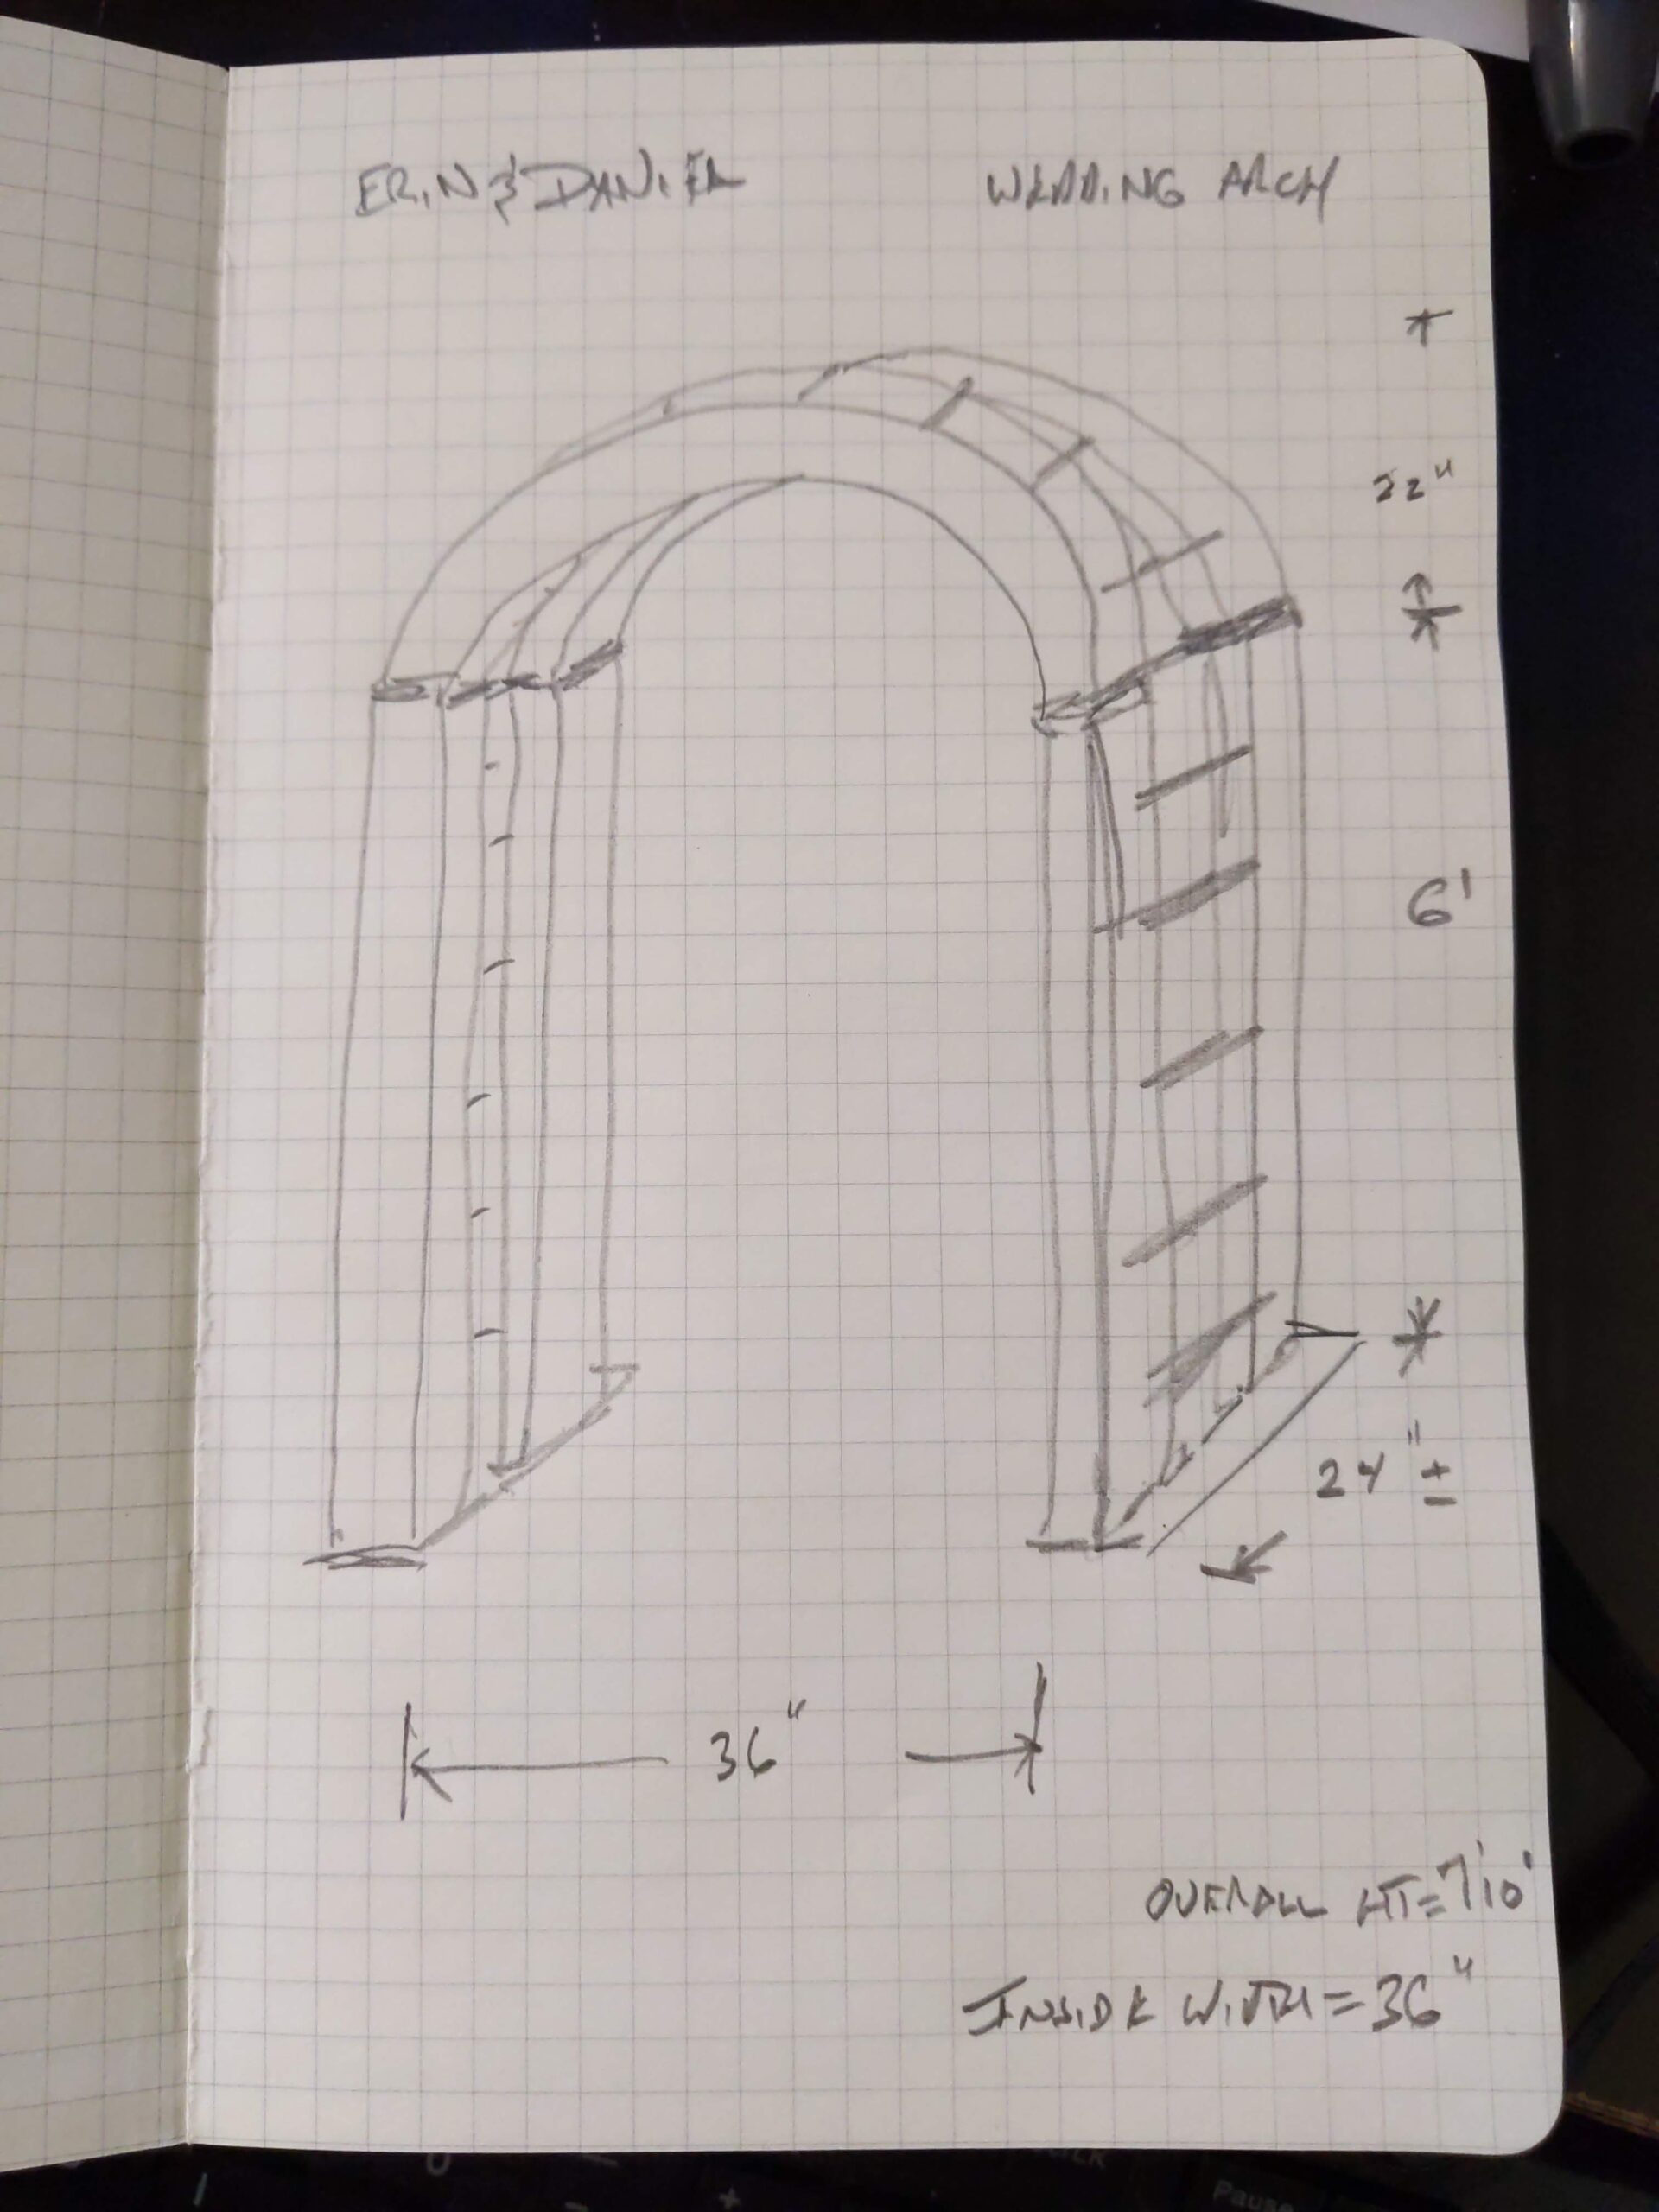
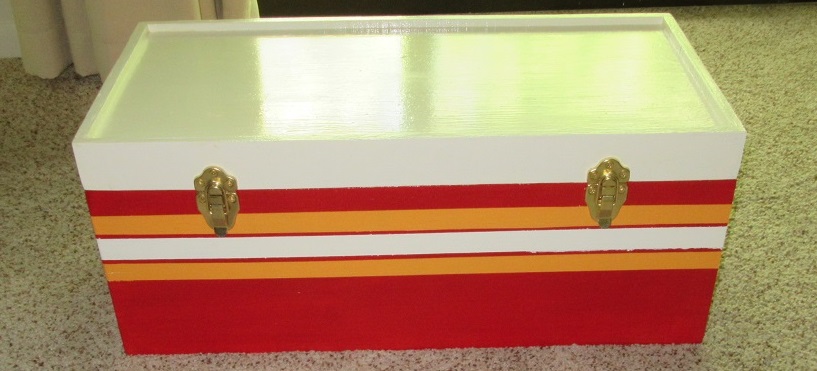
With the success of the original footlocker, we soon realized that my Grandson Justice needed one as well.   Stuart sent me a detailed sketch, based on the original:

Toy Box Diagram from Stuart

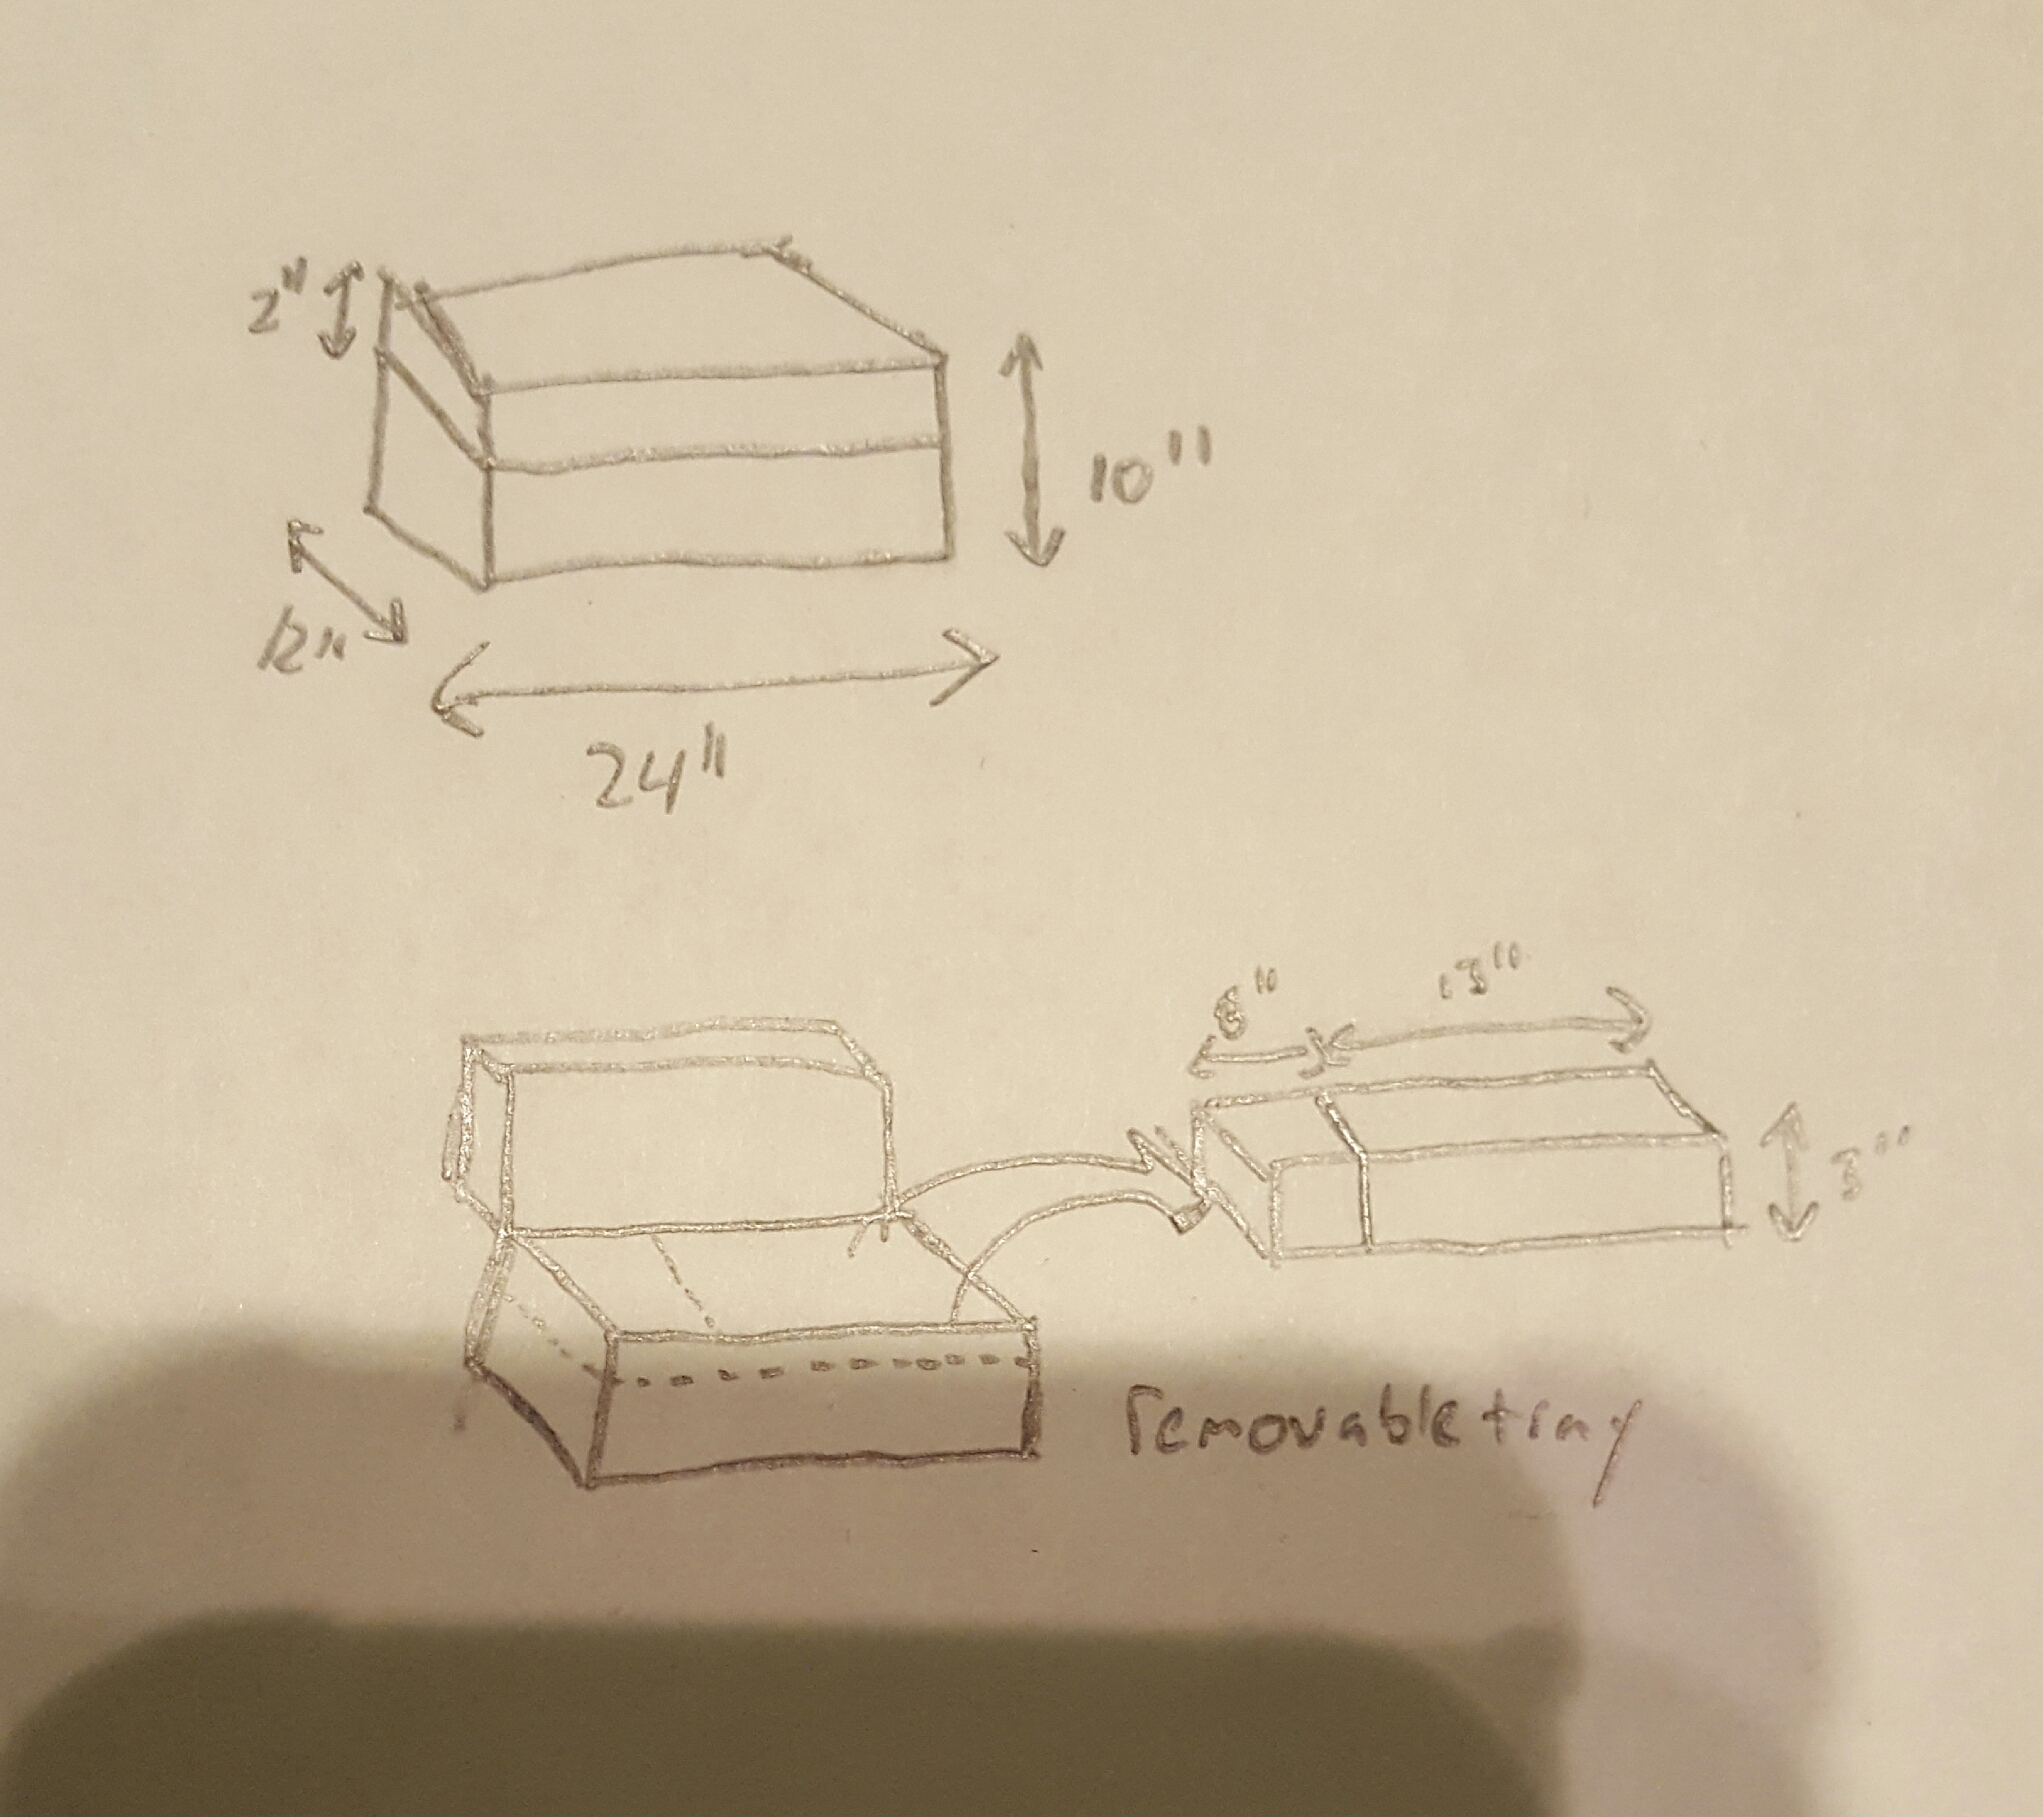
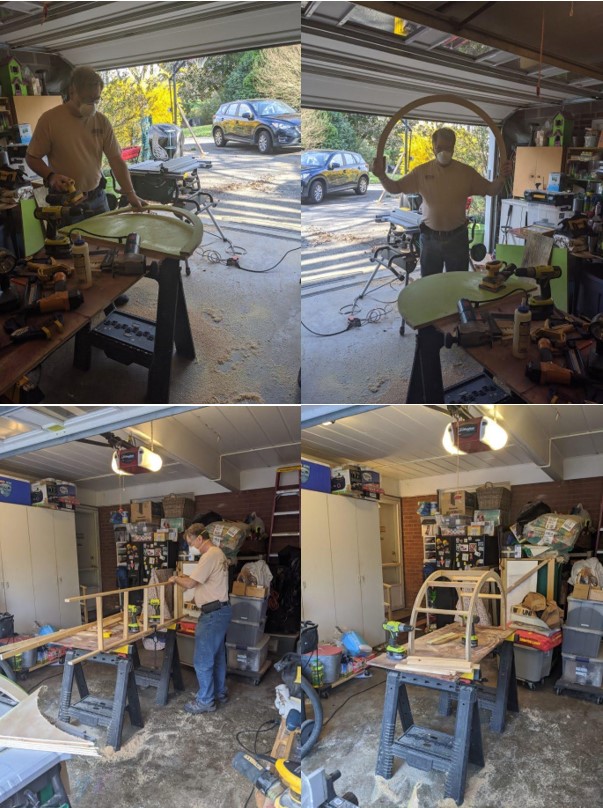
From this I made my cut list and detailed parts list, and got to work.

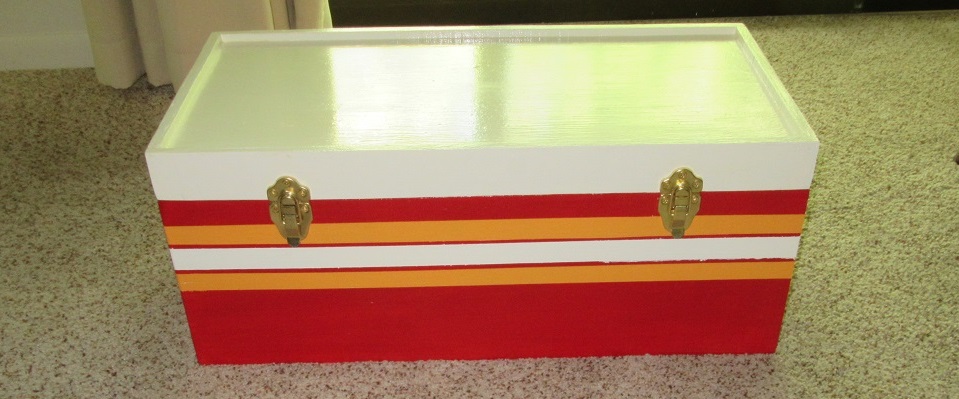
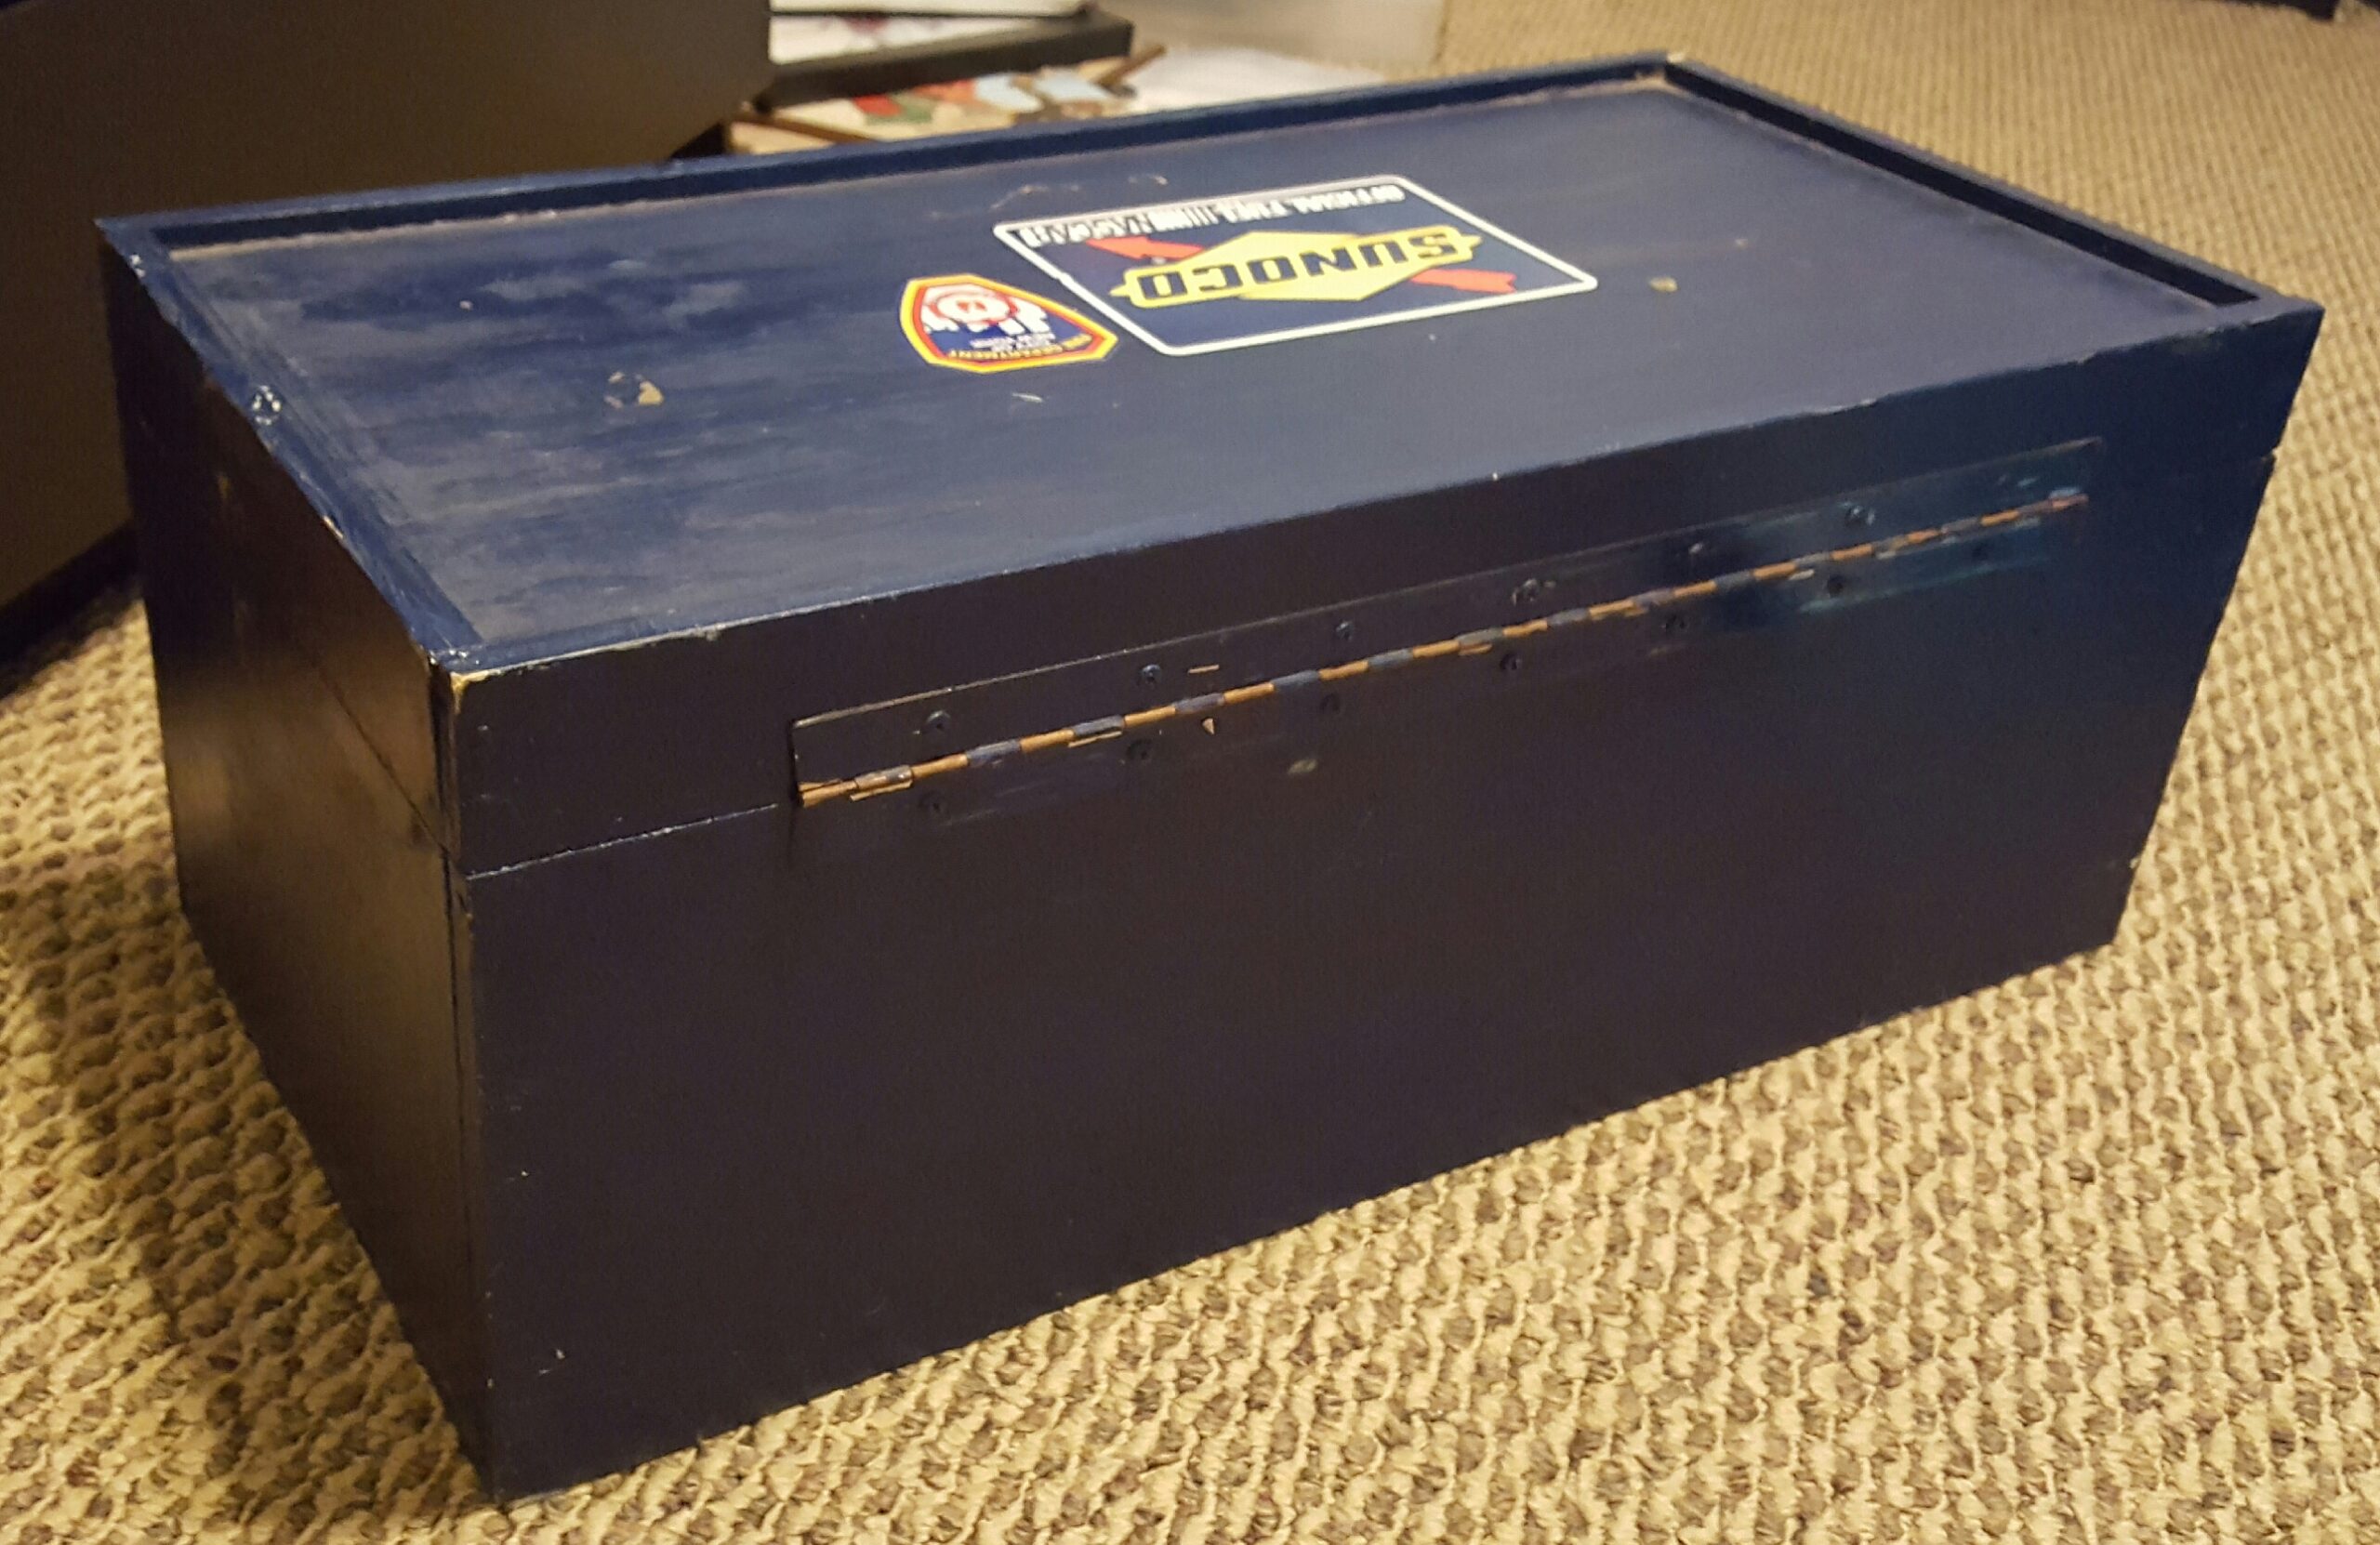
Justice wanted his Toybox in NYC Ambulance colors, to keep his Medic GI Joes safe.

Completed Ambulance Footlocker

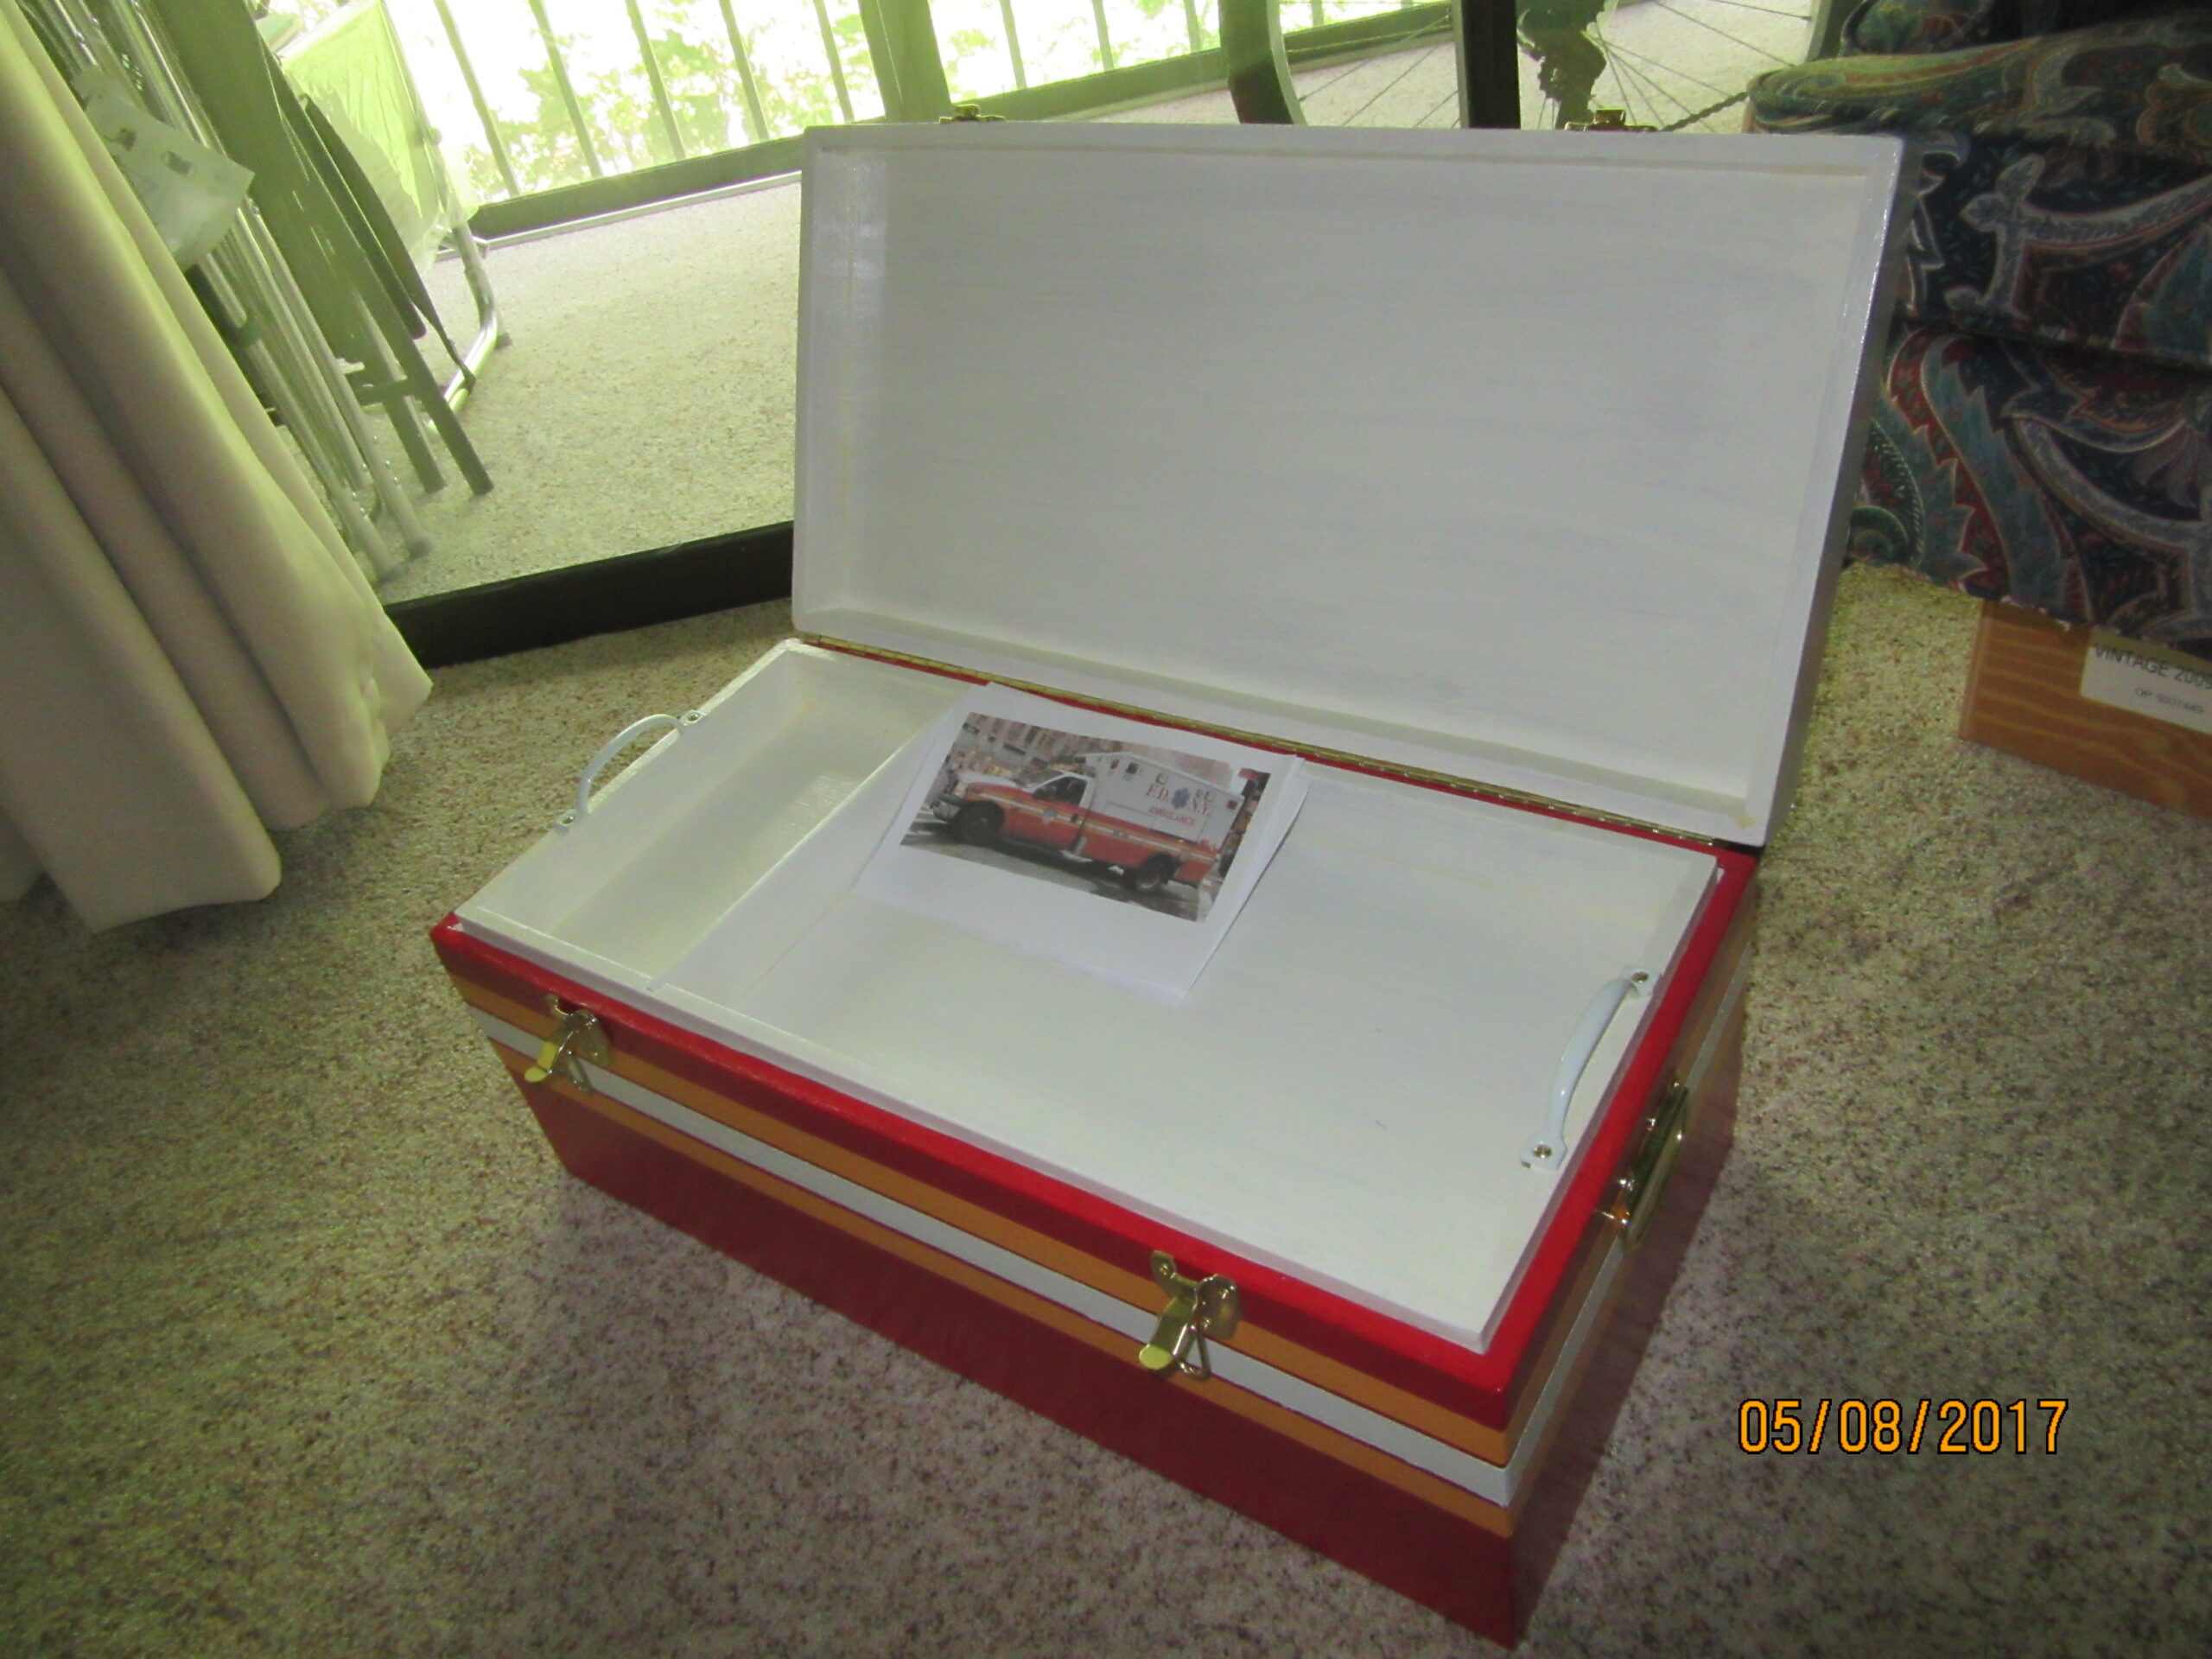
This made perfect sense, as both his parents are in the FDNY.

I used paint from Home Depot, who did a great job matching the colors, as well as the brass hardware; Brass Piano hinge, handles, and locks. (underlined affiliate  links are to Amazon for reference).

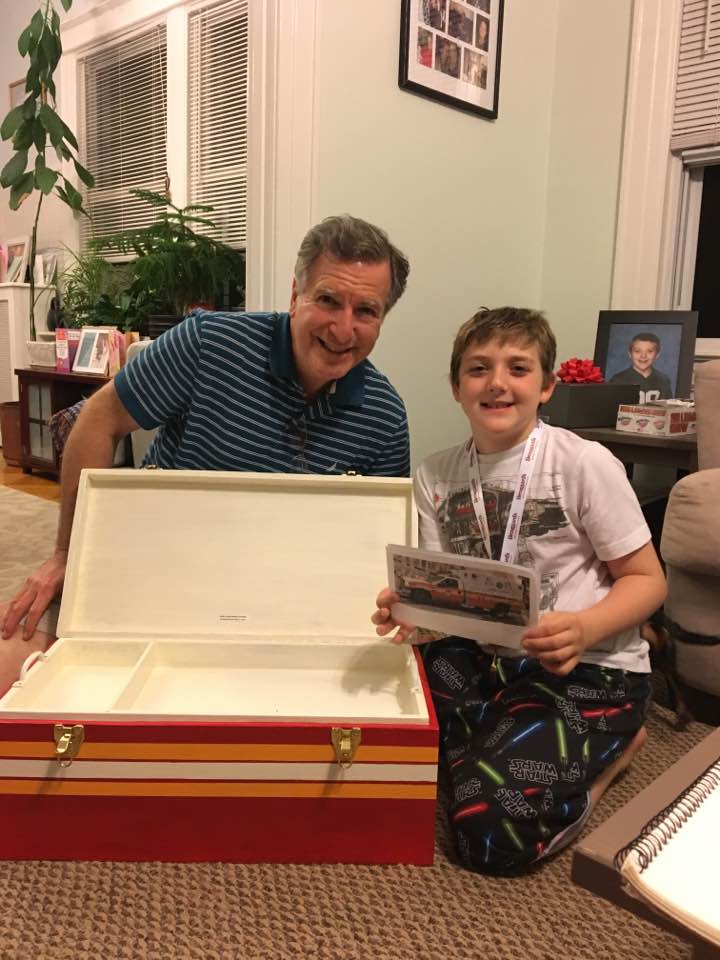
The best part of this project was not about cutlists and clamps and assembly and painting.  Look at the smile on my Grandson’s face!

Presenting footlocker to Justice 2017

Thank you for reading this, and I hope your projects are as inspirational!

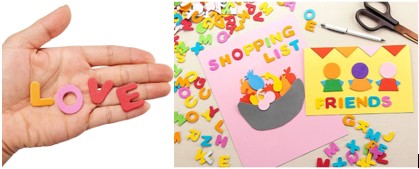
Toyboxes are bland when built.  It’s just a wooden box. But when you add some inspiration, like a theme or Idea,  they come alive and are unique and special.  Even if it is just a box with stickers on it, (themed or random stickers), that personalization is what makes it special.  Names can be added with letters from the local hardware store or Amazon.

Foam letters on Amazon
Foam letters on Amazon – There are lots of options for personalization!

OH, I didn’t stop at Ambulance footlocker toy boxes.  This one is based on the Death Star from Star Wars!

Death Star footlocker with Darth Vader plate

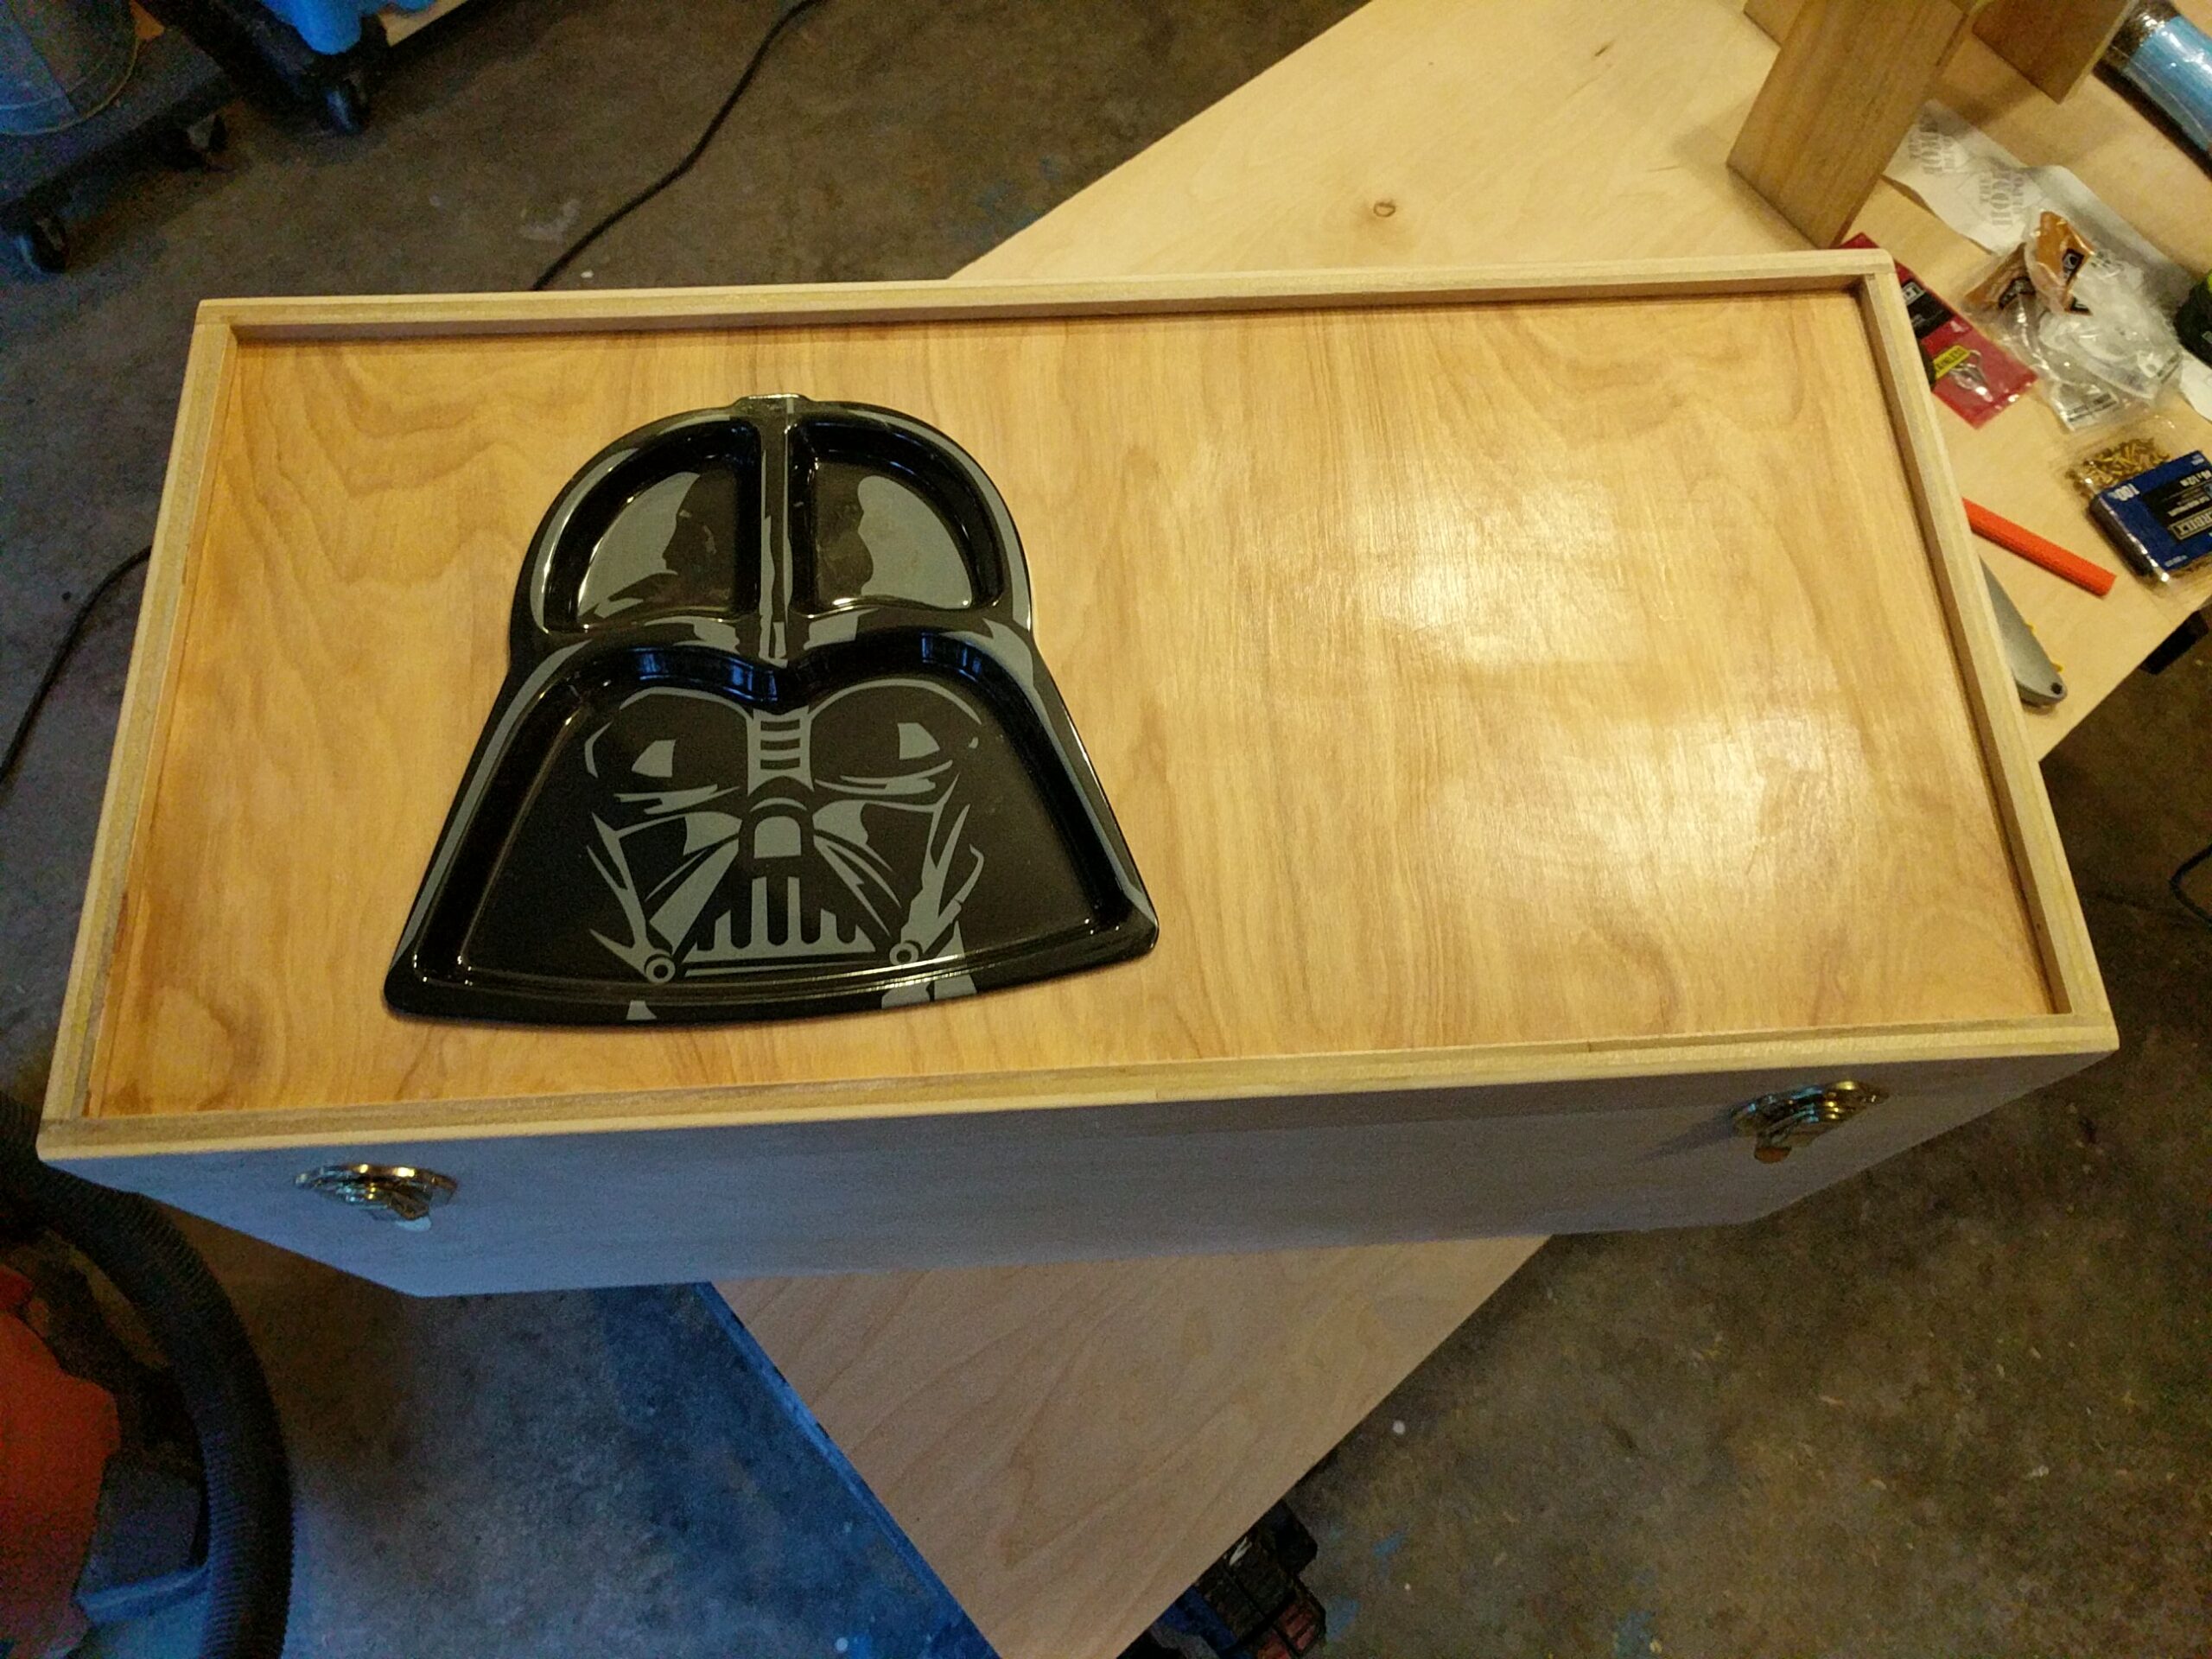
Darth Vader is actually a melamine plate I purchased in Kohls.  It was later painted in a Death Star Greyish white color, and presented with a package of Star Wars Stickers for Justice to decorate it with.  (Who doesn’t like Stickers)!

May the Footlocker be with you!


Saving a homes history – Converting an old alcove with Stained Glass doors into a buffet cabinet

The Finished Cabinet - with doors mounted, and in it's new home in a sunny room adjacent to the kitchen!

When remodeling their Kitchen, the owners of this Leisure World Home knew they were going to sacrifice their old bar alcove to streamline the kitchen.  The stained glass doors were custom made for the former owners, and quite nice to look at – almost like an old friend.

The Alcove with Stained Glass Cabinet doors, prior to demolition for new kitchen.

Rather than see this handmade artwork go into a landfill, I converted the stained glass doors into a Console/buffet cabinet with doors and shelves.

The cabinet was fabricated almost entirely from the kitchen cabinets that were removed for the new kitchen.

Detailed instructions on top of the center cabinet, which was removed intact.
The Cabinet, actually three separate cabinets, starts to take shape.

The Pantry cabinet from the old kitchen provided cabinet sides, shelves, and backs.  The frames from several cabinets were re-worked, glued, and biscuited/clamped together.

The cabinets in process of being glued and screwed together.

Because I wanted to keep the finished height to approximately 29 inches, I fabricated the top from 1/2″ furniture grade plywood, with an overhanging  wooden skirt on the front and sides.  Nail-on nylon glides were generously added to the bottom of the cabinet to prevent it from marring the floor.

The center cabinet had adjustable shelves, and the side cabinets were made with shelves that sat on cleats so they could be easily removed. Each cabinet had two shelves.

Painting the finished cabinet, in High Gloss White.

With several coats of paint, (Lightly sanding with 220 grit paper between coats), and wiping with a tack rag, the cabinet was ready for the doors to be mounted, and put in place!

The Finished Cabinet - with doors mounted, and in it's new home in a sunny room adjacent to the kitchen!
The Finished Cabinet – with doors mounted, and in it’s new home in a sunny room adjacent to the kitchen!

Here we have saved a homes history – an olde-style alcove turned into a buffet/server that will keep the homes legacy alive for many years.

With a little bit of vision and some creative woodworking, this cabinet kept a lot of wood and glass out of the waste stream, and will live on as a useful addition to the sunroom adjacent to the kitchen.

Thanks for reading – clicking on the images should open them full-size in a new tab.  Underlined product links to Amazon open in a new tab, and reference the tools used in the accompanying pictures.  They are affiliate links and help the author maintain his Starbucks habit.  Feel free to share this blog with your friends!

Erin and Daniels One of a kind Wedding Arch

Weddings are blessings, and being asked to build a wedding arch is both a privilege and fun project!

The wedding Arch started in March of 2020 (as the Pandemic was growing).  Here is the original sketch:

Original Wedding Arch Sketch

The arch was fabricated from 1×2 pine, left over from a project – almost exclusively recycled wood.  It took shape in a relatively short period of time

Wedding Arch under Construction

The Arch was assembled in 3 sections plus two planter boxes (one on each side) for stability.  The individual sections were assembled with 1-1/2″ Drywall screws in predrilled, tapered holes.  Titebond Wood Glue and Irwin clamps held everything together until the screws were tightened. (Affiliate Links to Amazon for pricing and description)

Alan C showing off the first assembly of the Arch

The wedding arch was painted White satin and made an appearance at the first wedding of Mr. and Mrs. Daniel Weinstein in Leesburg Va.

Erin and Daniels wedding ceremony
Arch at Erin and Daniels first Wedding
Wedding arch at the (Pandemic Postponed) third wedding

The Arch performed wonderfully, and was adorned with flowers that enhanced it’s appearance and function as a backdrop for an amazing and memorable  wedding ceremony!

Alan and Kathy in the arch post-ceremony

If you are engaged and looking for an Arch, or a Huppa, I can definitely help you out! Thanks for reading!

The knot wedding planner
The knot wedding planner, available on Amazon


How can you get into woodworking with limited finances?

Toy chest in Ambulance colors

There are lots of resources for learning woodworking.

You don’t have to apprentice at a shop, you can do it as a hobby. The public libraries have books that you can read on the topic, and free access to computers (for YouTube videos).

You can get free wood from used pallets and boxes, many people are happy to give them away.

Custom Shelf unit

This custom Shelf unit was made from plywood I had “left over”, and some “oops” paint from Home depot’s discount bin. (link oopens to wood project plans on eBay.  You can also get Wood project plans from Amazon.

You can find inexpensive tools (and wood) at yard sales and on-line sites like The Freecycle Network or Craigslist; you can even put out a wanted ad for specific tools.  eBay is a good source for tools as well.

Wooden Chess Table
Wooden chess table with inlaid blocks of walnut and Maple, custom made by Morton Chenkin.
completed Chess table at the Chenkin Man cave

chess table plans on Amazon

You just need to be creative, and find projects that are within the scope of your ability; Just google “how to make a (insert wood project here) from scrap wood”.  This works whether you are planning a birdhouse or a coat-rack.

I hope this inspires you to make the journey into the craft! Please post your progress and (shameless self promotion) keep reading The Chenkin Workshop

Best of Luck!

Keychain Display Cabinet

Finished Keychain cabinet

My daughter collects Keychains, which gave me a great idea – that they would look awesome in a display cabinet.

For her Birthday I made her a Keychain cabinet out of recycled materials (pallet wood, Pine cutoffs, and a piece of plexiglass for the door).

I found a pallet made of #2 pine, and used it for the case and door frame.

the shelves are adjustable with simple grooves on the cabinet sides, and some have 1/2″ cup hooks for hanging the keychains.

Everything was sanded with 100 and 220 grit sandpaper, and painted her favorite baby blue.

Here is a picture of the finished cabinet:

Finished Keychain cabinet
partially loaded with some unique keychains!
keychain cabinet detail
cutting and prepping the parts for the keychain cabinet
Keychain cabinet almost ready
Keychain cabinet detail, almost ready to wrap and gift!

The hinges are simple butt hinges, and the knob is a wooden knob painted to match.  the magnetic catch is a simple one from Amazon (you can order it here).  Of course I put a simple note on the back!

Now my daughter has a unique, Dad-fabricated display for some of the special pieces in her collection.

I hope your projects bring joy into someone’s life too!  Happy Woodworking!

Is carpentry and woodworking a good hobby to start?

Woodworking is a craft that is non-exclusive, and inclusive; almost everyone can do it!

Tennessee six pack carrier with bottle opener, Great gift idea, made in the chenkin workshop. painting by Kathy.

Carpentry has a great breadth – from Birdhouses and signs to elaborate carvings, models, Home repairs and functional cabinets. Carpentry also is a means to acquire tools, videos, books, and friends who share their love of the craft and knowledge of how to make objects out of wood.

  • Carpentry also brings together metal working (signs, hooks, table legs, hinges)
  • Painting – finishes, stains, decals, more
  • Repair work and upgrades
  • Reading and how to books

And much more!

Fireplace mantle with marble trim, Custom built for a client, courtesy of The Chenkin workshop.

The best way to get started is to Build, fix, or plan a project. Pinterest has tons of ideas, if you need inspiration.

Based on what you want to build, you will need to get some tools.

Pallet wood jewelry holder. product of the chenkin Workshop, finishing by Kathy.

Before you know it, you are on your way!

Of course, I admit I am biased. Carpentry is a Great Hobby to start!

Shameless self promotion (from my website):

Best of Luck and I hope to see you posting your projects on-line on Pinterest or Instagram!!

What is the Best home-made woodworking machine?

Alan Chenkin, Owned a cabinet shop for 10 years, is an avid woodworker.
The best woodworking machine is one that gets the job done – Safely! If it has the amusing properties of a Rube Goldberg invention, even better!
Should you ever need to build your own woodworkign machine, proceed safely and carefully!  you may be dealing with sharp blades and fast spinning shafts!  
We are fortunate to live in a time where you can buy affordable, safe, and efficient machines for almost any purpose, and making your own tools and machinery is something we may not have to deal with!

Thank you for reading my blog!  Feel free to share!