
Lowes and Home Depot both carry graded lumber (usually #2 and better), although you may see a lot of lumber with low moisture content for framing lumber – prone to splitting- and lumber from Fast growing trees that don’t have the same qualities as the older, slow-growing trees of my youth. I will try to shed some light on lumber buying.
Lumber grading is usually visual, and based on the timber. Graders can have variation within lots of timber, and a board that is a pristine #2 on one end can be dunnage or scrap on the opposite end!
Lumber is graded and stamped, with mill numbers, Grade, and features like Kiln drying.

The more you know more about lumber, you can see why many DIY’ers and tradesmen have a concern about mass-marketed lumber at big box stores. There can be tremendous variation in grades, and QUALITY, depending on the mill and experience of the graders.
My advice is not to label the wood product of either store good or bad, but look at the stamp and inspect the wood when you purchase it. I frequently pick through lumber ALL THE TIME when I buy it, and it will vary from one side of the pallet to the other. I even sight down the long end of the boards, to ensure they are straight – as opposed to cupped, bowed, twisted, or warped.
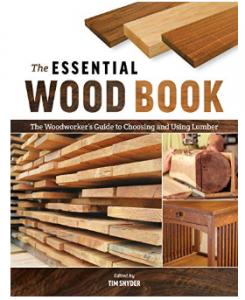
More Books on Lumber grading from Amazon
So understand lumber grading (don’t buy #2 common when you need a #1 select), buy the best lumber for your project, and inspect it when you pick it. No one wants to run from store to store picking boards, so make the best compromise you can.
I would also recommend that you speak to the Lumber Manager at the store, they usually are familiar with the product they have in stock, and can suggest material that is “out in the yard”
In this time of pandemic, I needed some Pressure treated lumber, which is in short supply – I ordered 30% more than called for, and crossed my fingers that the product delivered was “good enough” for the project. Fortunately, I got lucky!

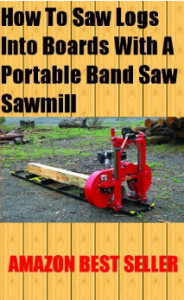 If your logs are larger then 10″ and heavy, your best solution is to purchase a small sawmill. This book is available on Amazon, and worth reading, so that you understand the principles and capabilities of a portable saw mill.