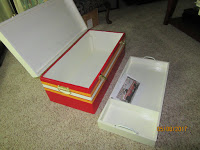
Toy Chest Footlockers – A child’s coolest accessory!

One of the most Fun filled projects you can build is a Toy Chest for a child (even a big child).  This is a footlocker I built for my son when he was little, and he kept all his GI Joe’s in it.
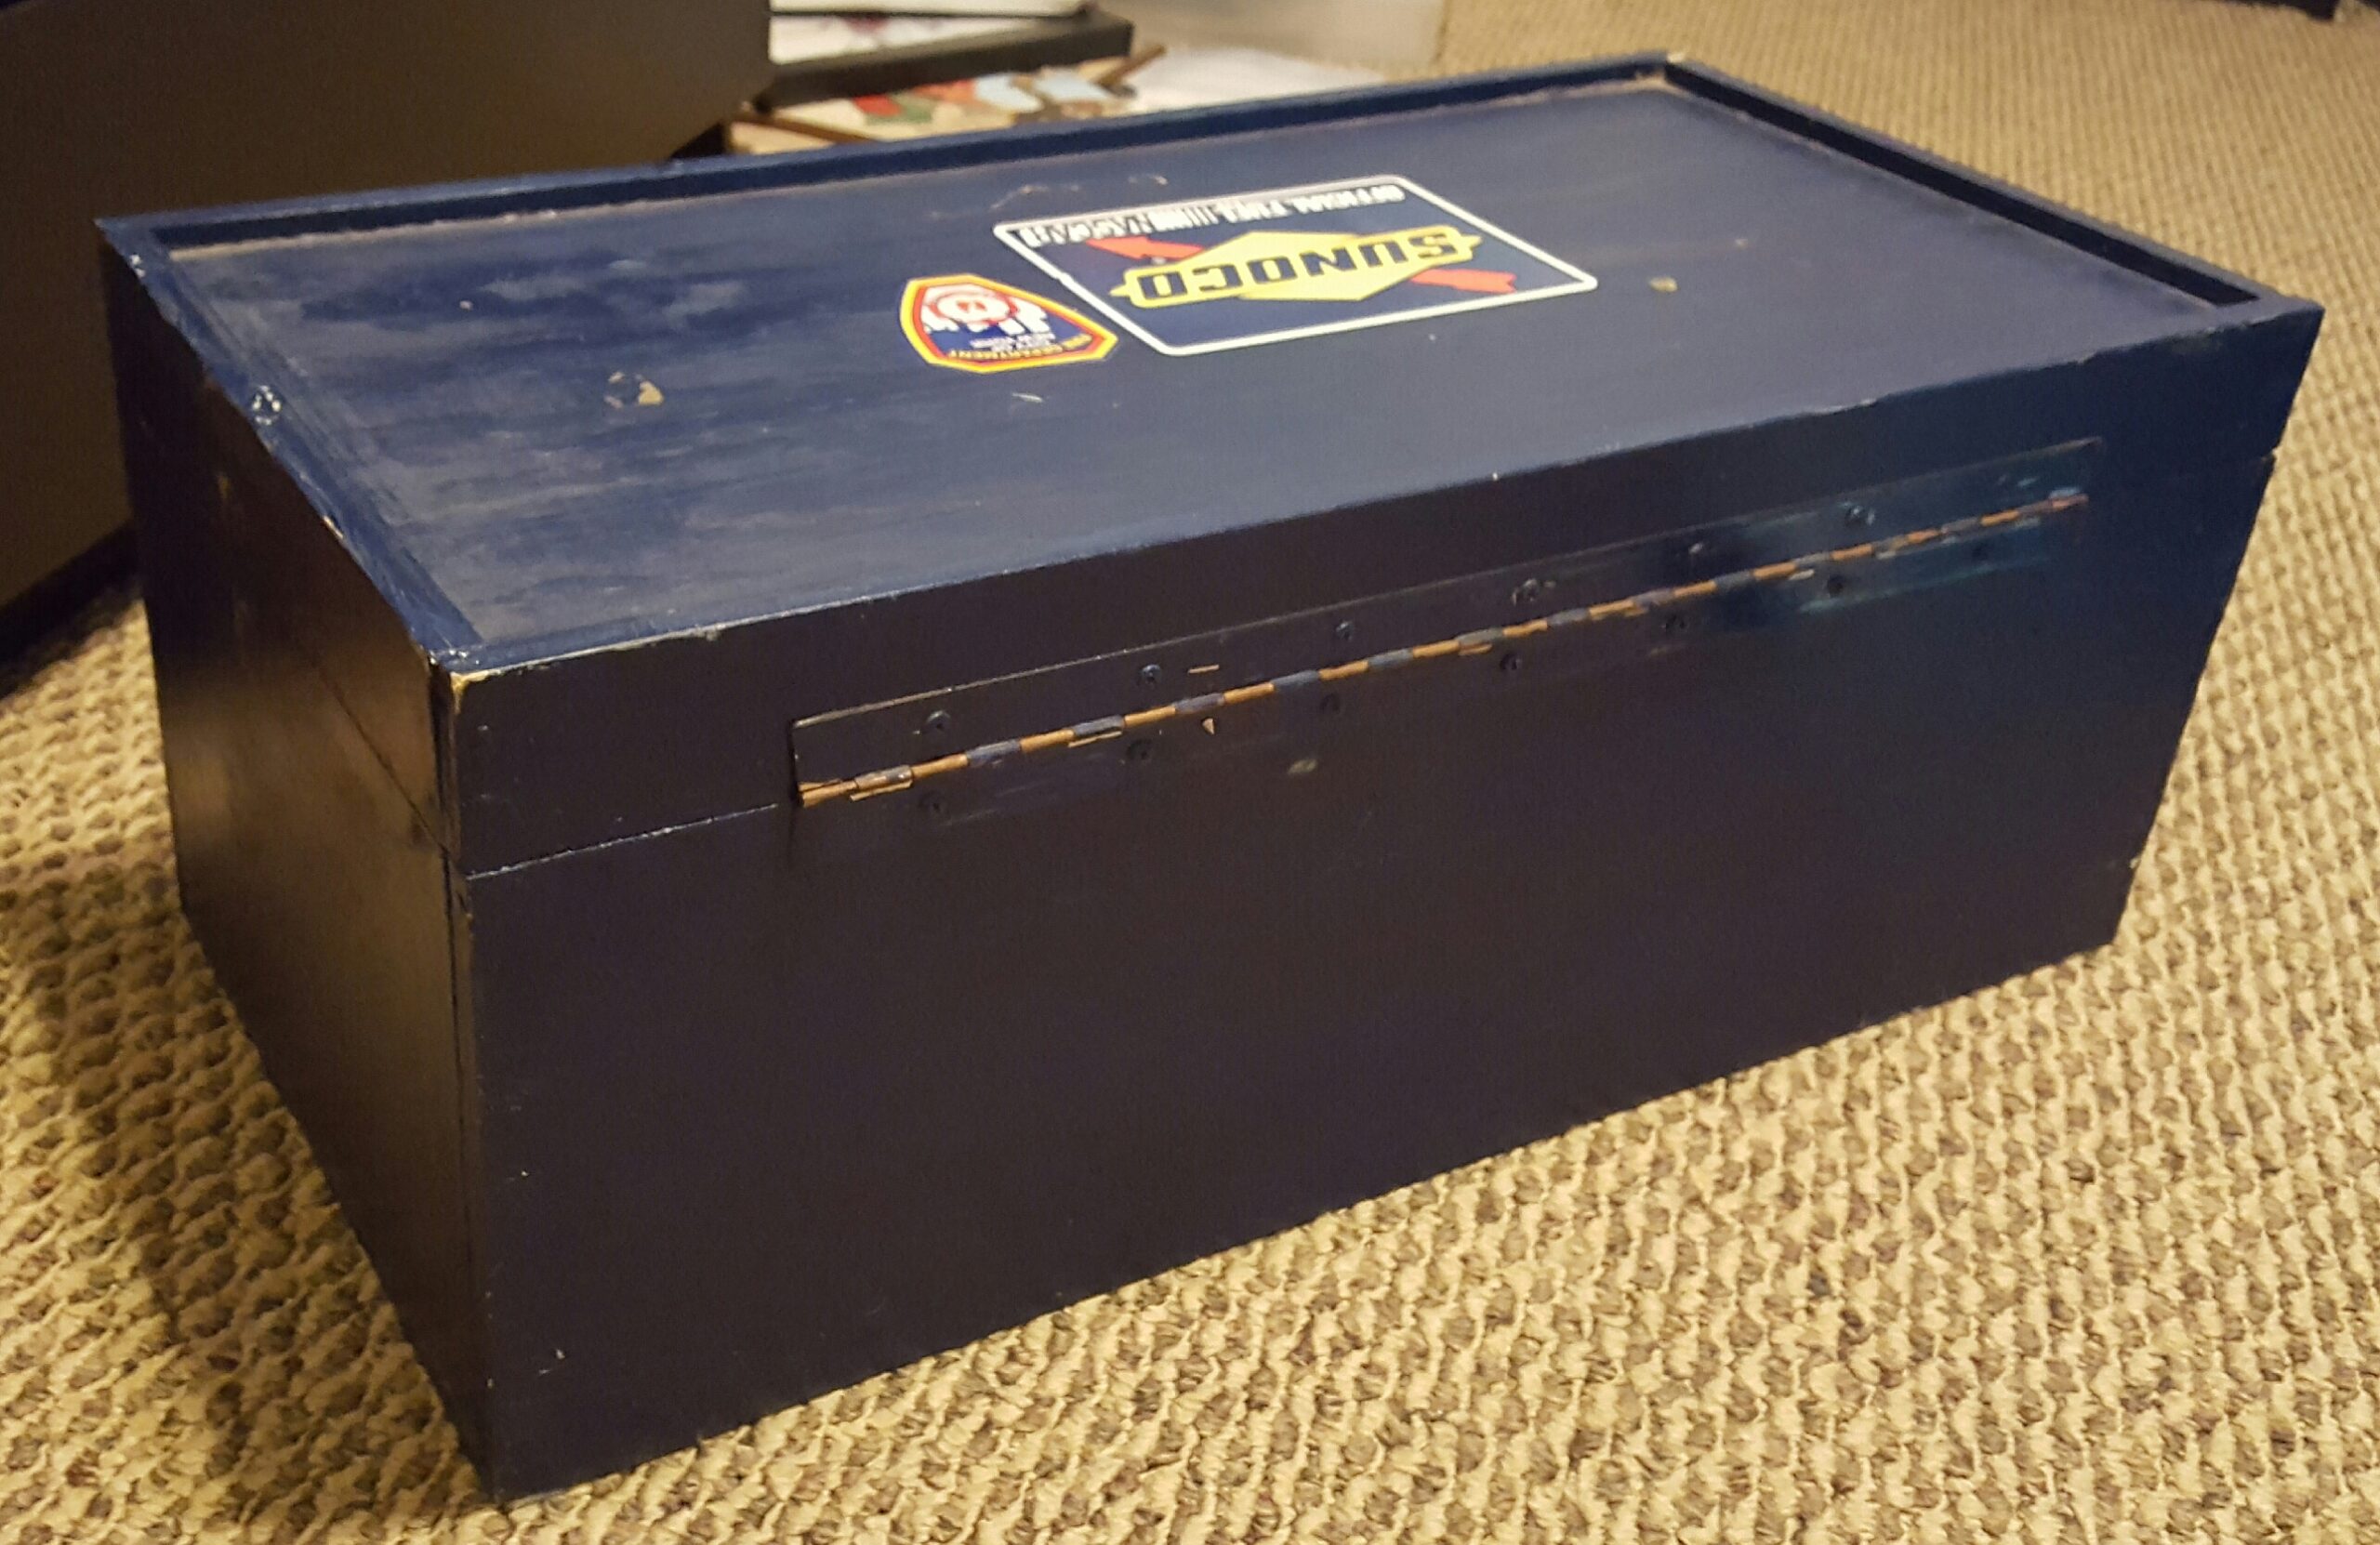
Original Footlocker built for Stuart when he was little

The Footlocker was painted by a very excited 4 year old, with some minor assistance, and has some Stickers added (by same 4 year old) for visual effect!

It also features a removable top tray and ample bottom compartment.  Plenty of room for GI Joes and more!

With the success of the original footlocker, we soon realized that my Grandson Justice needed one as well.   Stuart sent me a detailed sketch, based on the original:
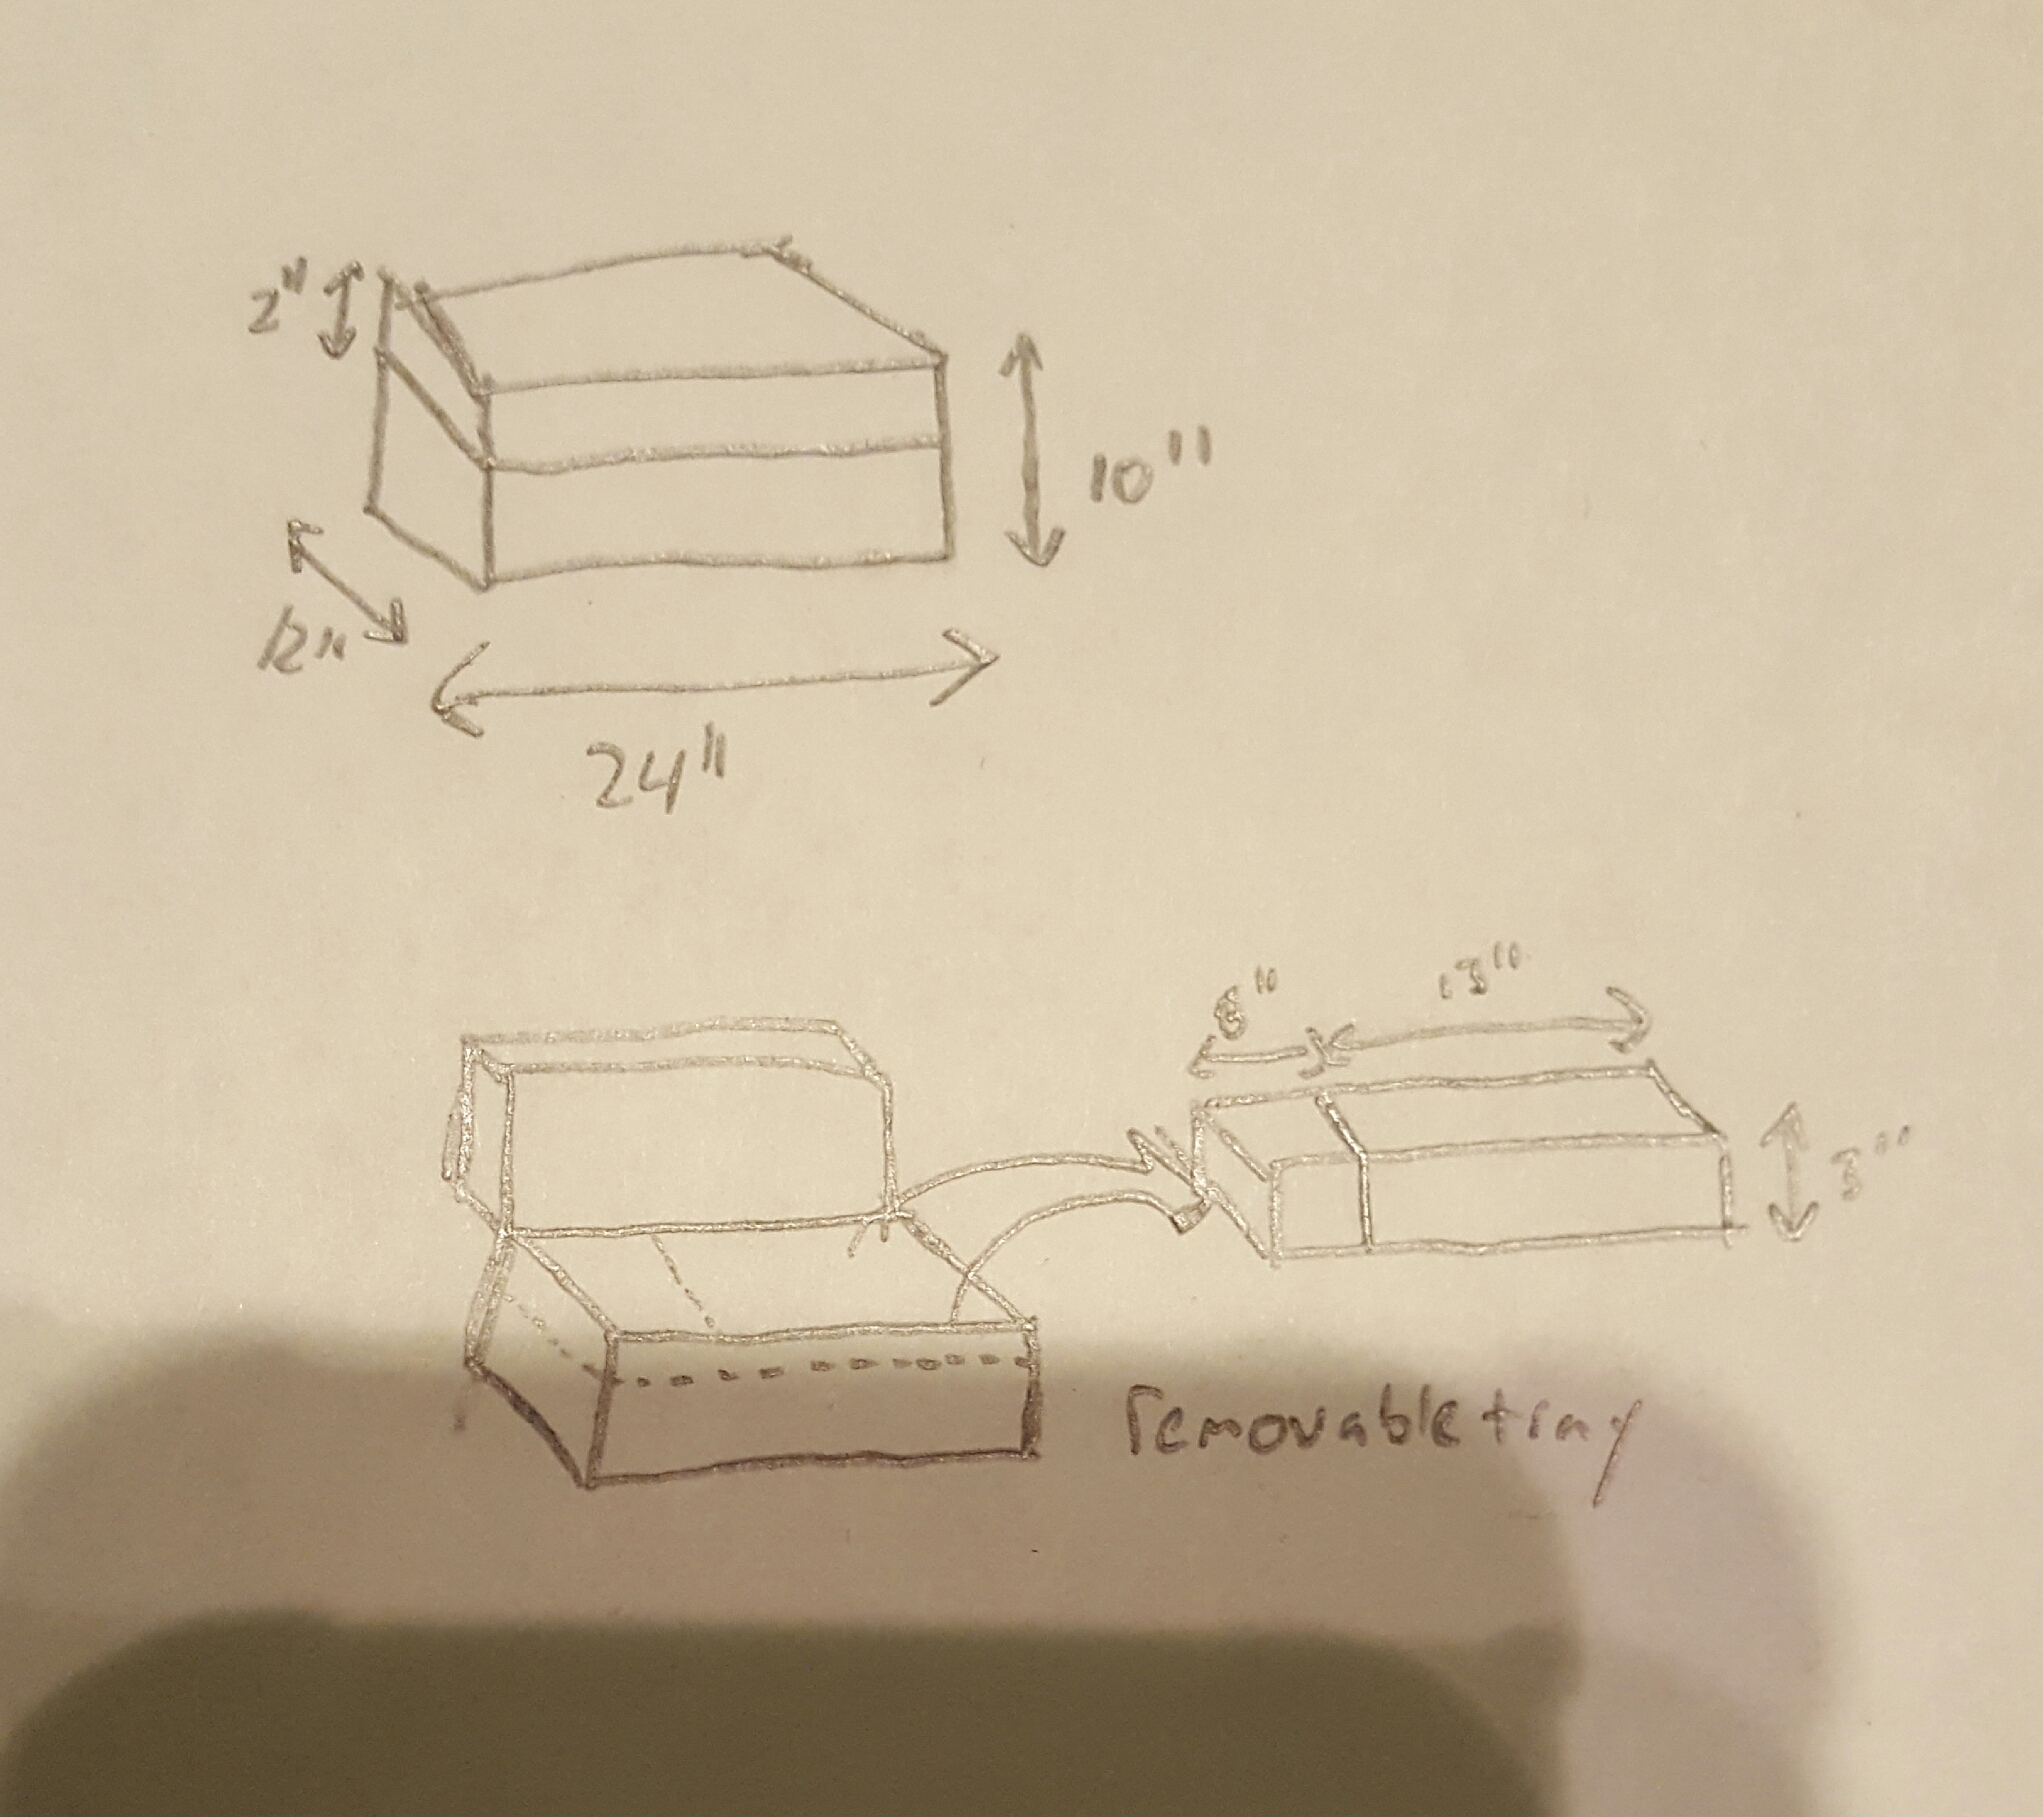
Toy Box Diagram from Stuart

From this I made my cut list and detailed parts list, and got to work.

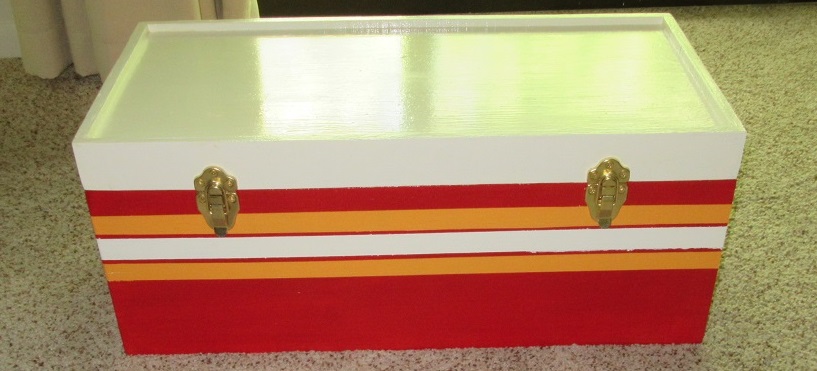
Justice wanted his Toybox in NYC Ambulance colors, to keep his Medic GI Joes safe.
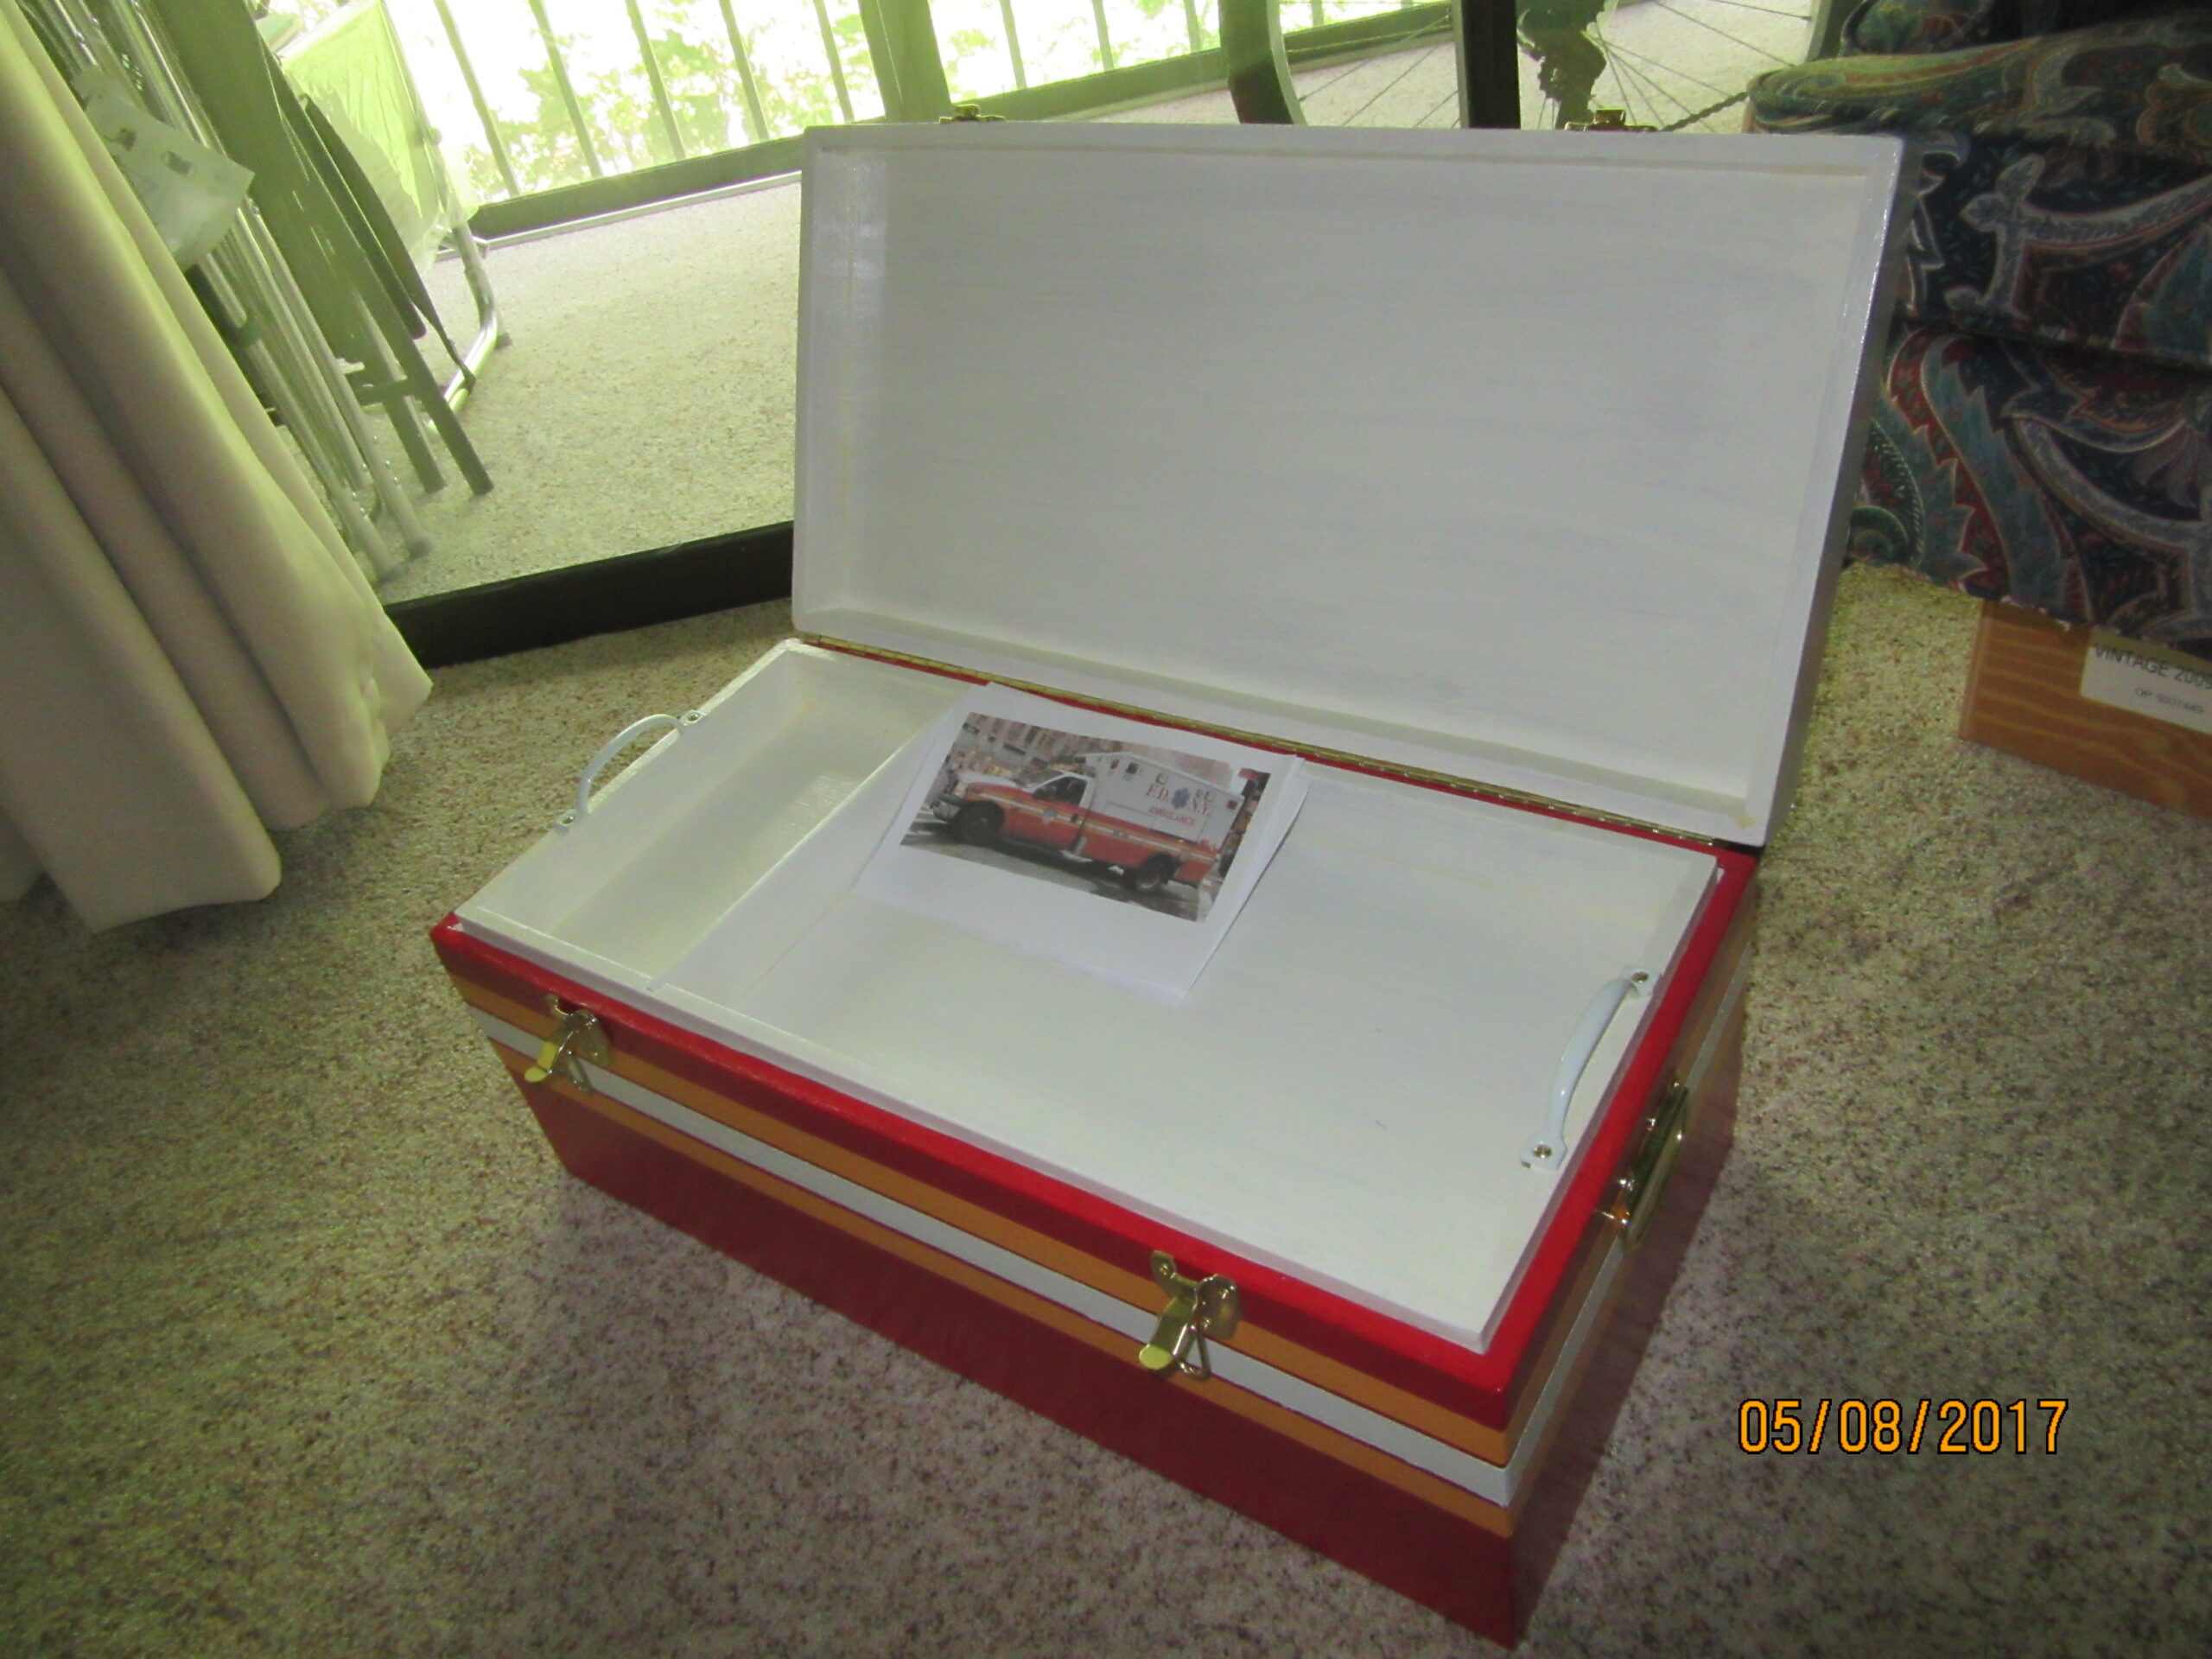
Completed Ambulance Footlocker

This made perfect sense, as both his parents are in the FDNY.

I used paint from Home Depot, who did a great job matching the colors, as well as the brass hardware; Brass Piano hinge, handles, and locks. (underlined affiliate  links are to Amazon for reference).

The best part of this project was not about cutlists and clamps and assembly and painting.  Look at the smile on my Grandson’s face!
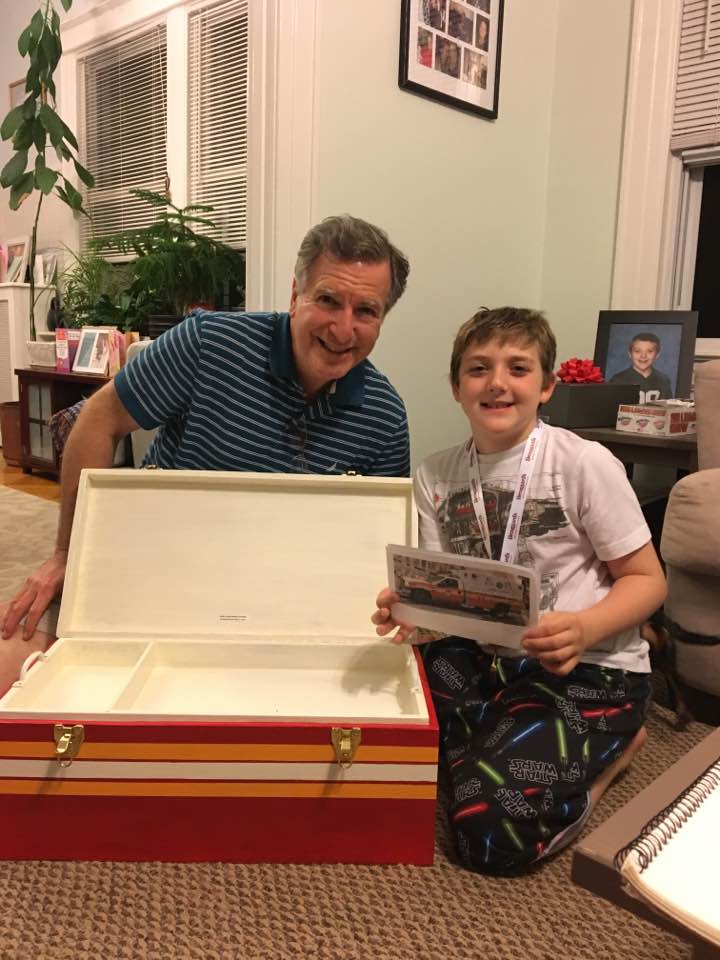
Presenting footlocker to Justice 2017

Thank you for reading this, and I hope your projects are as inspirational!

Toyboxes are bland when built.  It’s just a wooden box. But when you add some inspiration, like a theme or Idea,  they come alive and are unique and special.  Even if it is just a box with stickers on it, (themed or random stickers), that personalization is what makes it special.  Names can be added with letters from the local hardware store or Amazon.
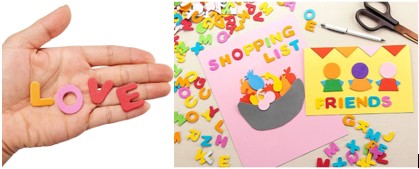
Foam letters on Amazon
Foam letters on Amazon – There are lots of options for personalization!

OH, I didn’t stop at Ambulance footlocker toy boxes.  This one is based on the Death Star from Star Wars!
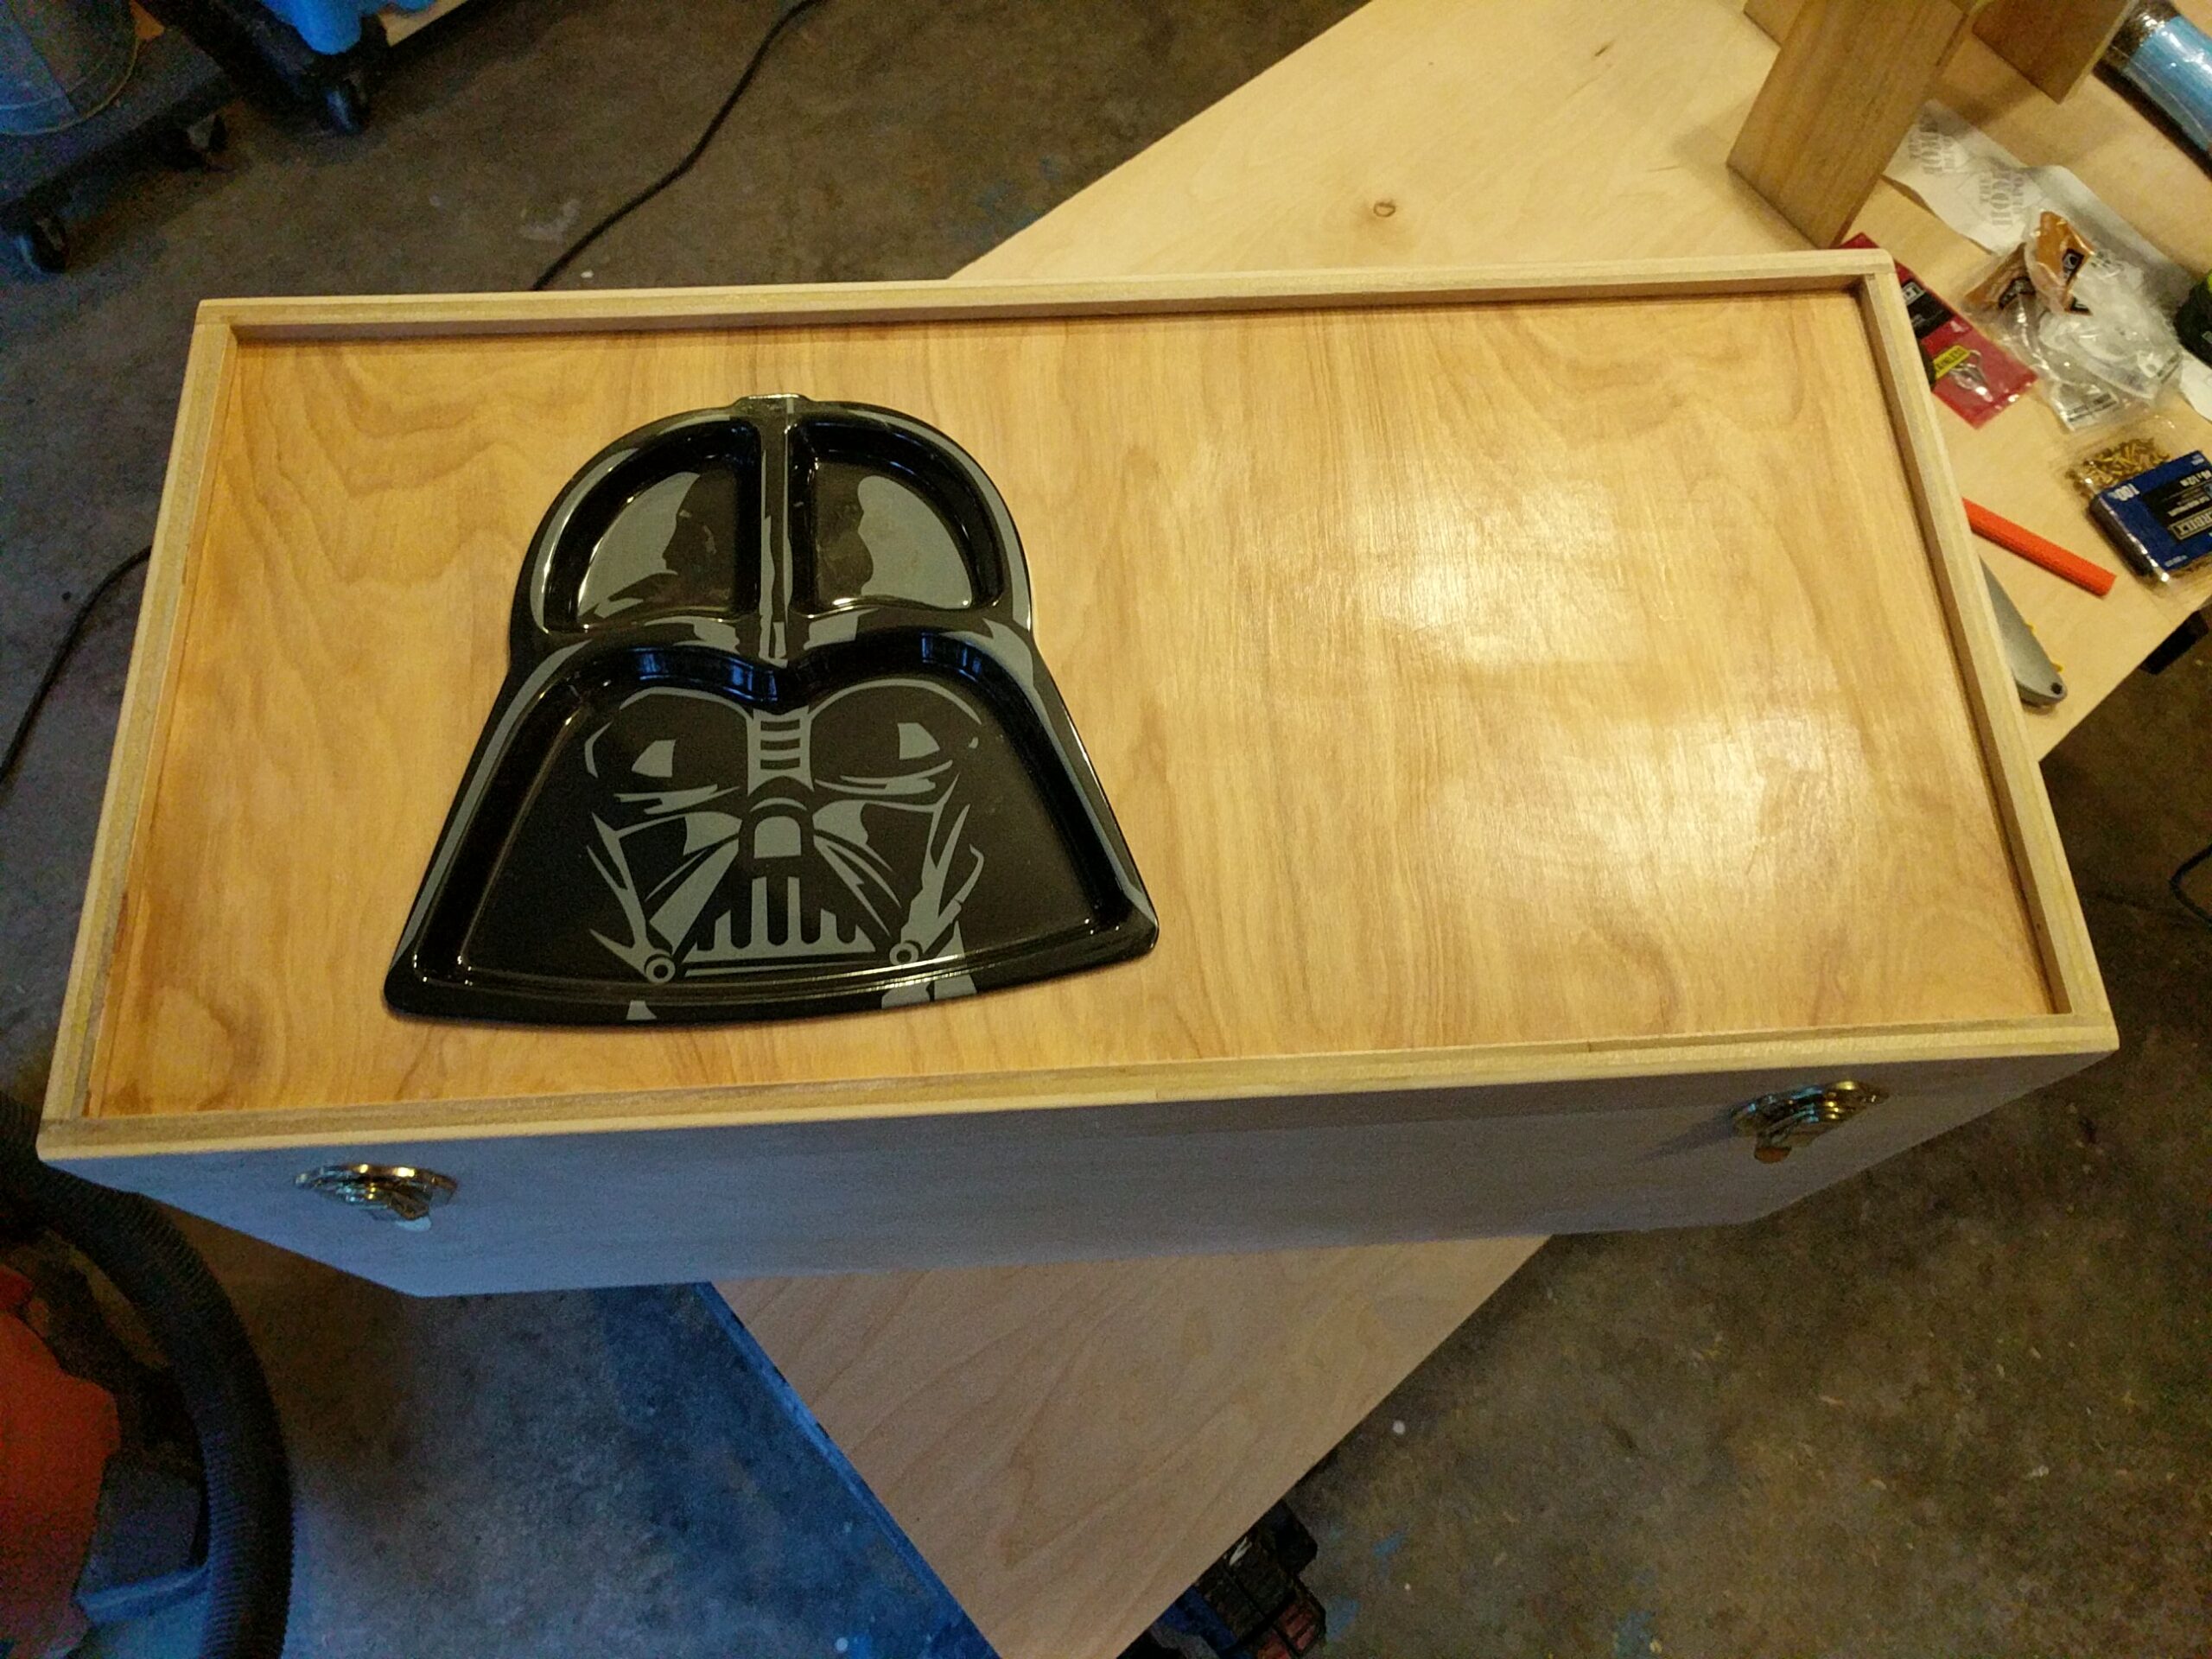
Death Star footlocker with Darth Vader plate

Darth Vader is actually a melamine plate I purchased in Kohls.  It was later painted in a Death Star Greyish white color, and presented with a package of Star Wars Stickers for Justice to decorate it with.  (Who doesn’t like Stickers)!

May the Footlocker be with you!
 

Saving a homes history – Converting an old alcove with Stained Glass doors into a buffet cabinet

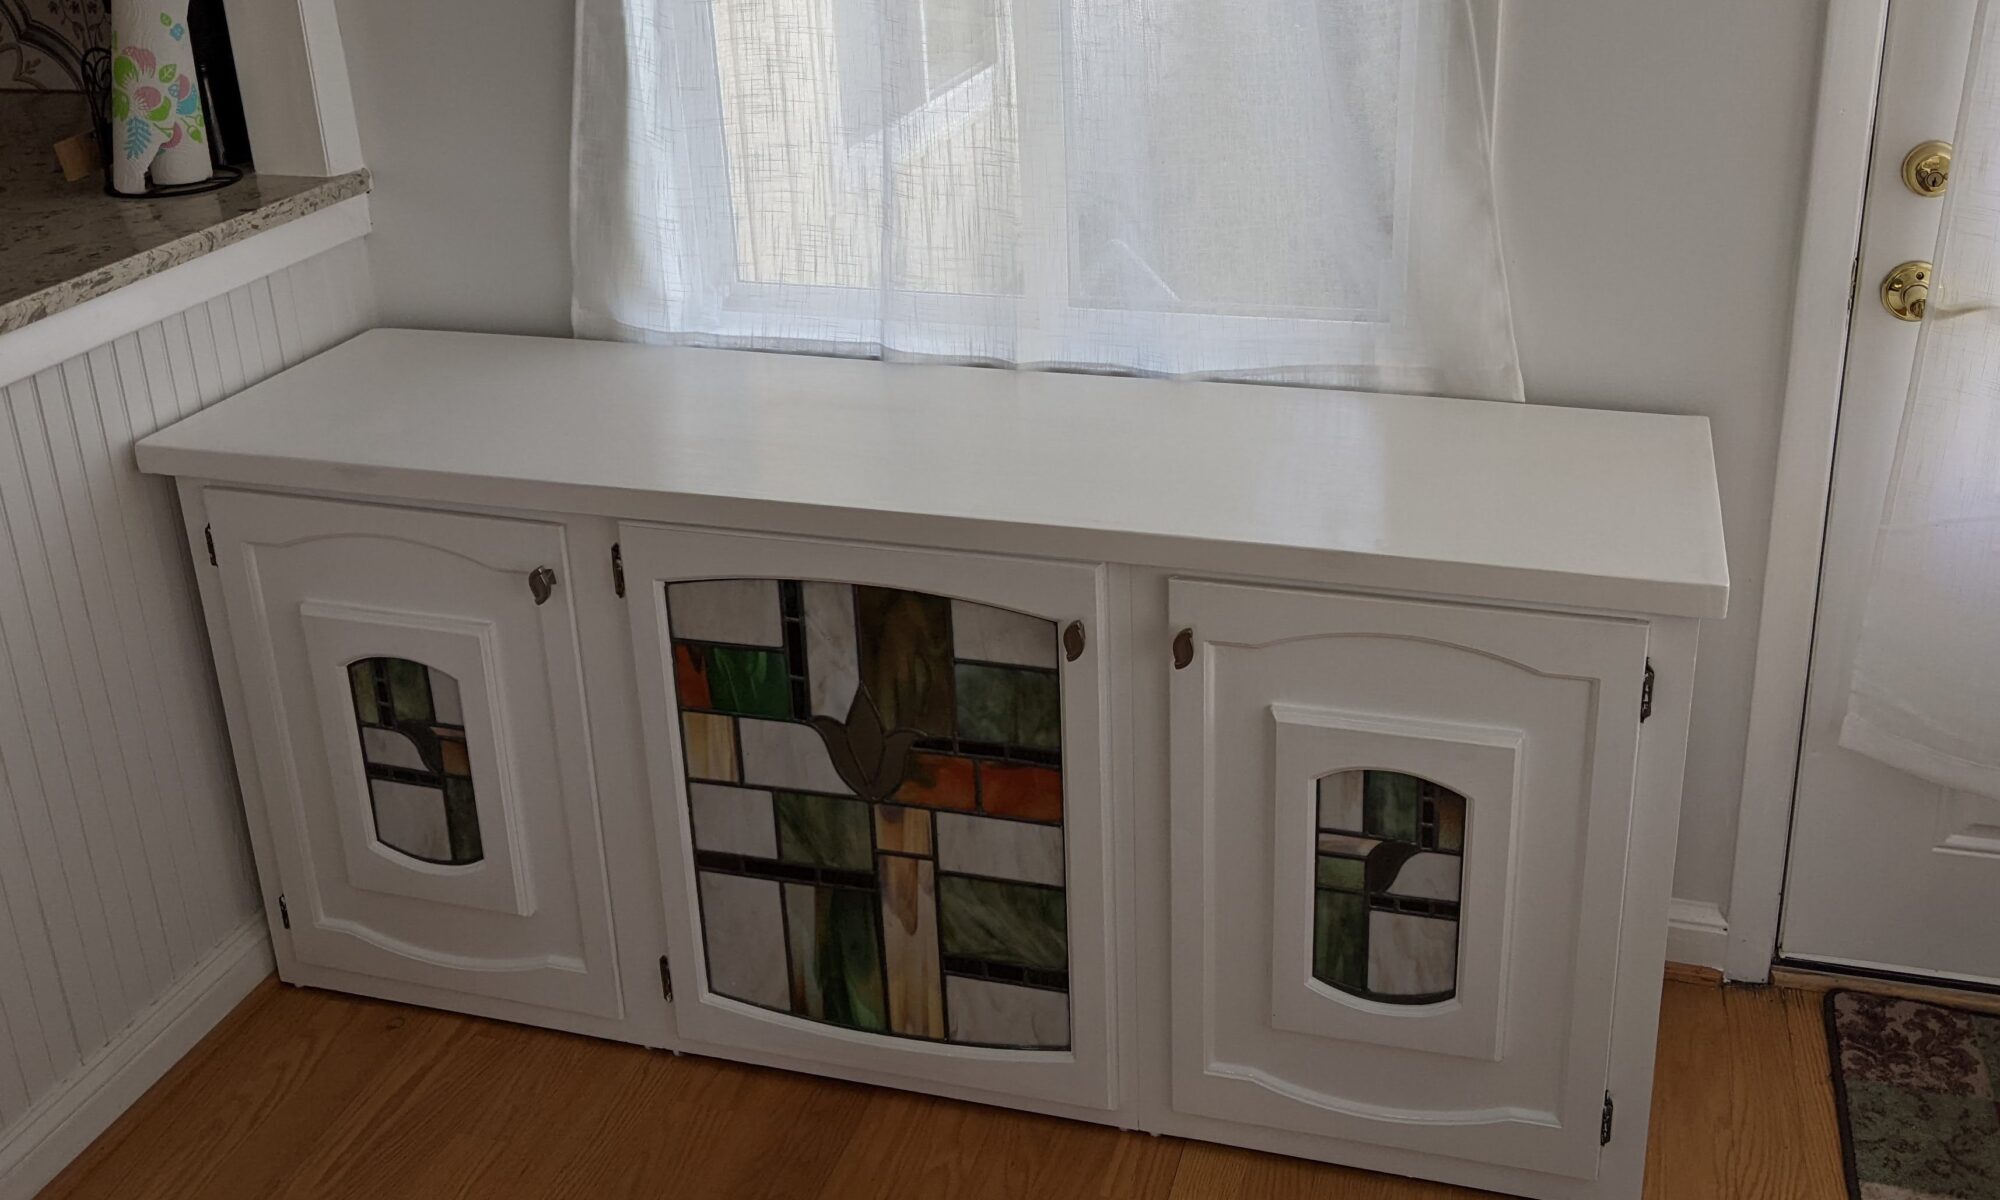
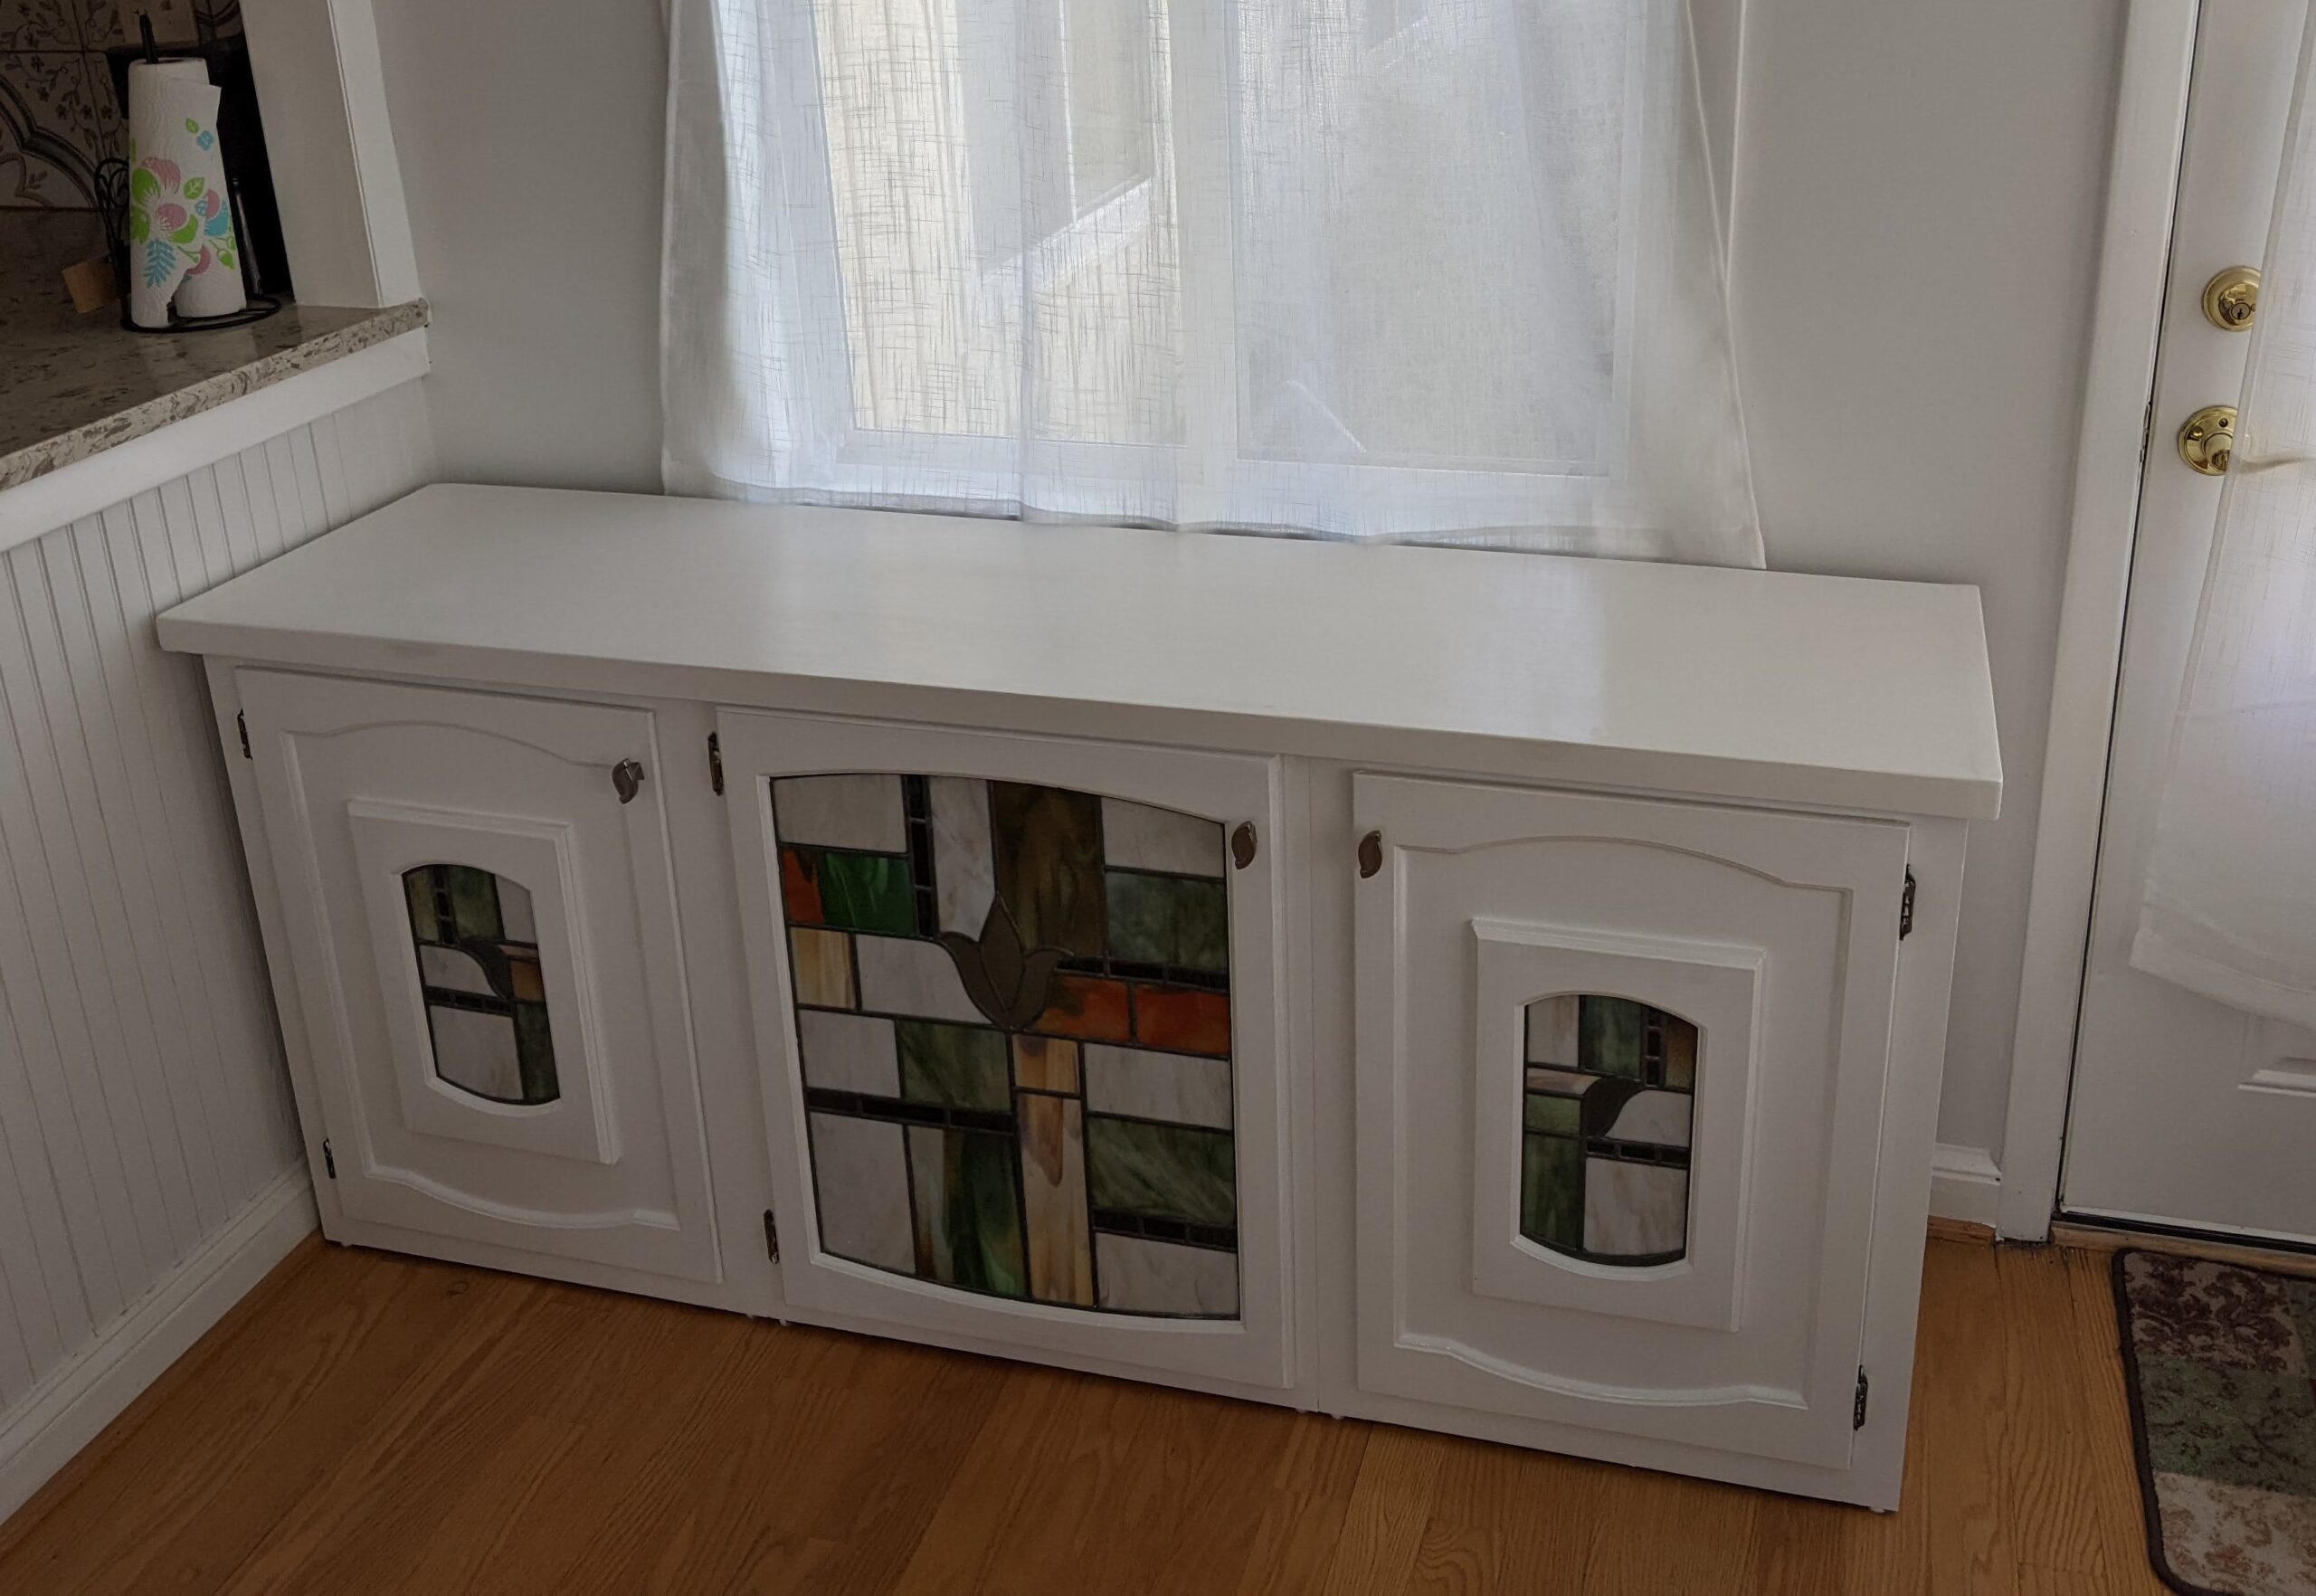
The Finished Cabinet - with doors mounted, and in it's new home in a sunny room adjacent to the kitchen!

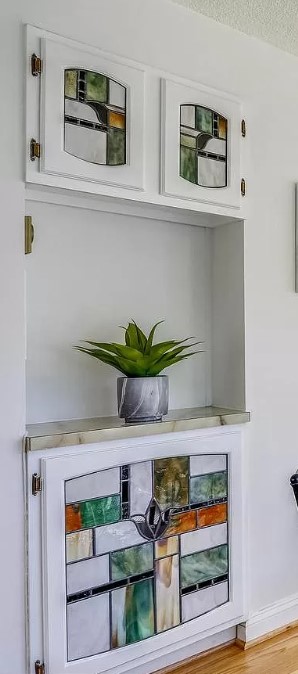
When remodeling their Kitchen, the owners of this Leisure World Home knew they were going to sacrifice their old bar alcove to streamline the kitchen.  The stained glass doors were custom made for the former owners, and quite nice to look at – almost like an old friend.

The Alcove with Stained Glass Cabinet doors, prior to demolition for new kitchen.

Rather than see this handmade artwork go into a landfill, I converted the stained glass doors into a Console/buffet cabinet with doors and shelves.

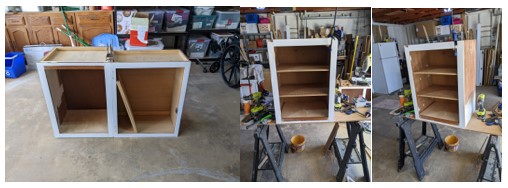
The cabinet was fabricated almost entirely from the kitchen cabinets that were removed for the new kitchen.

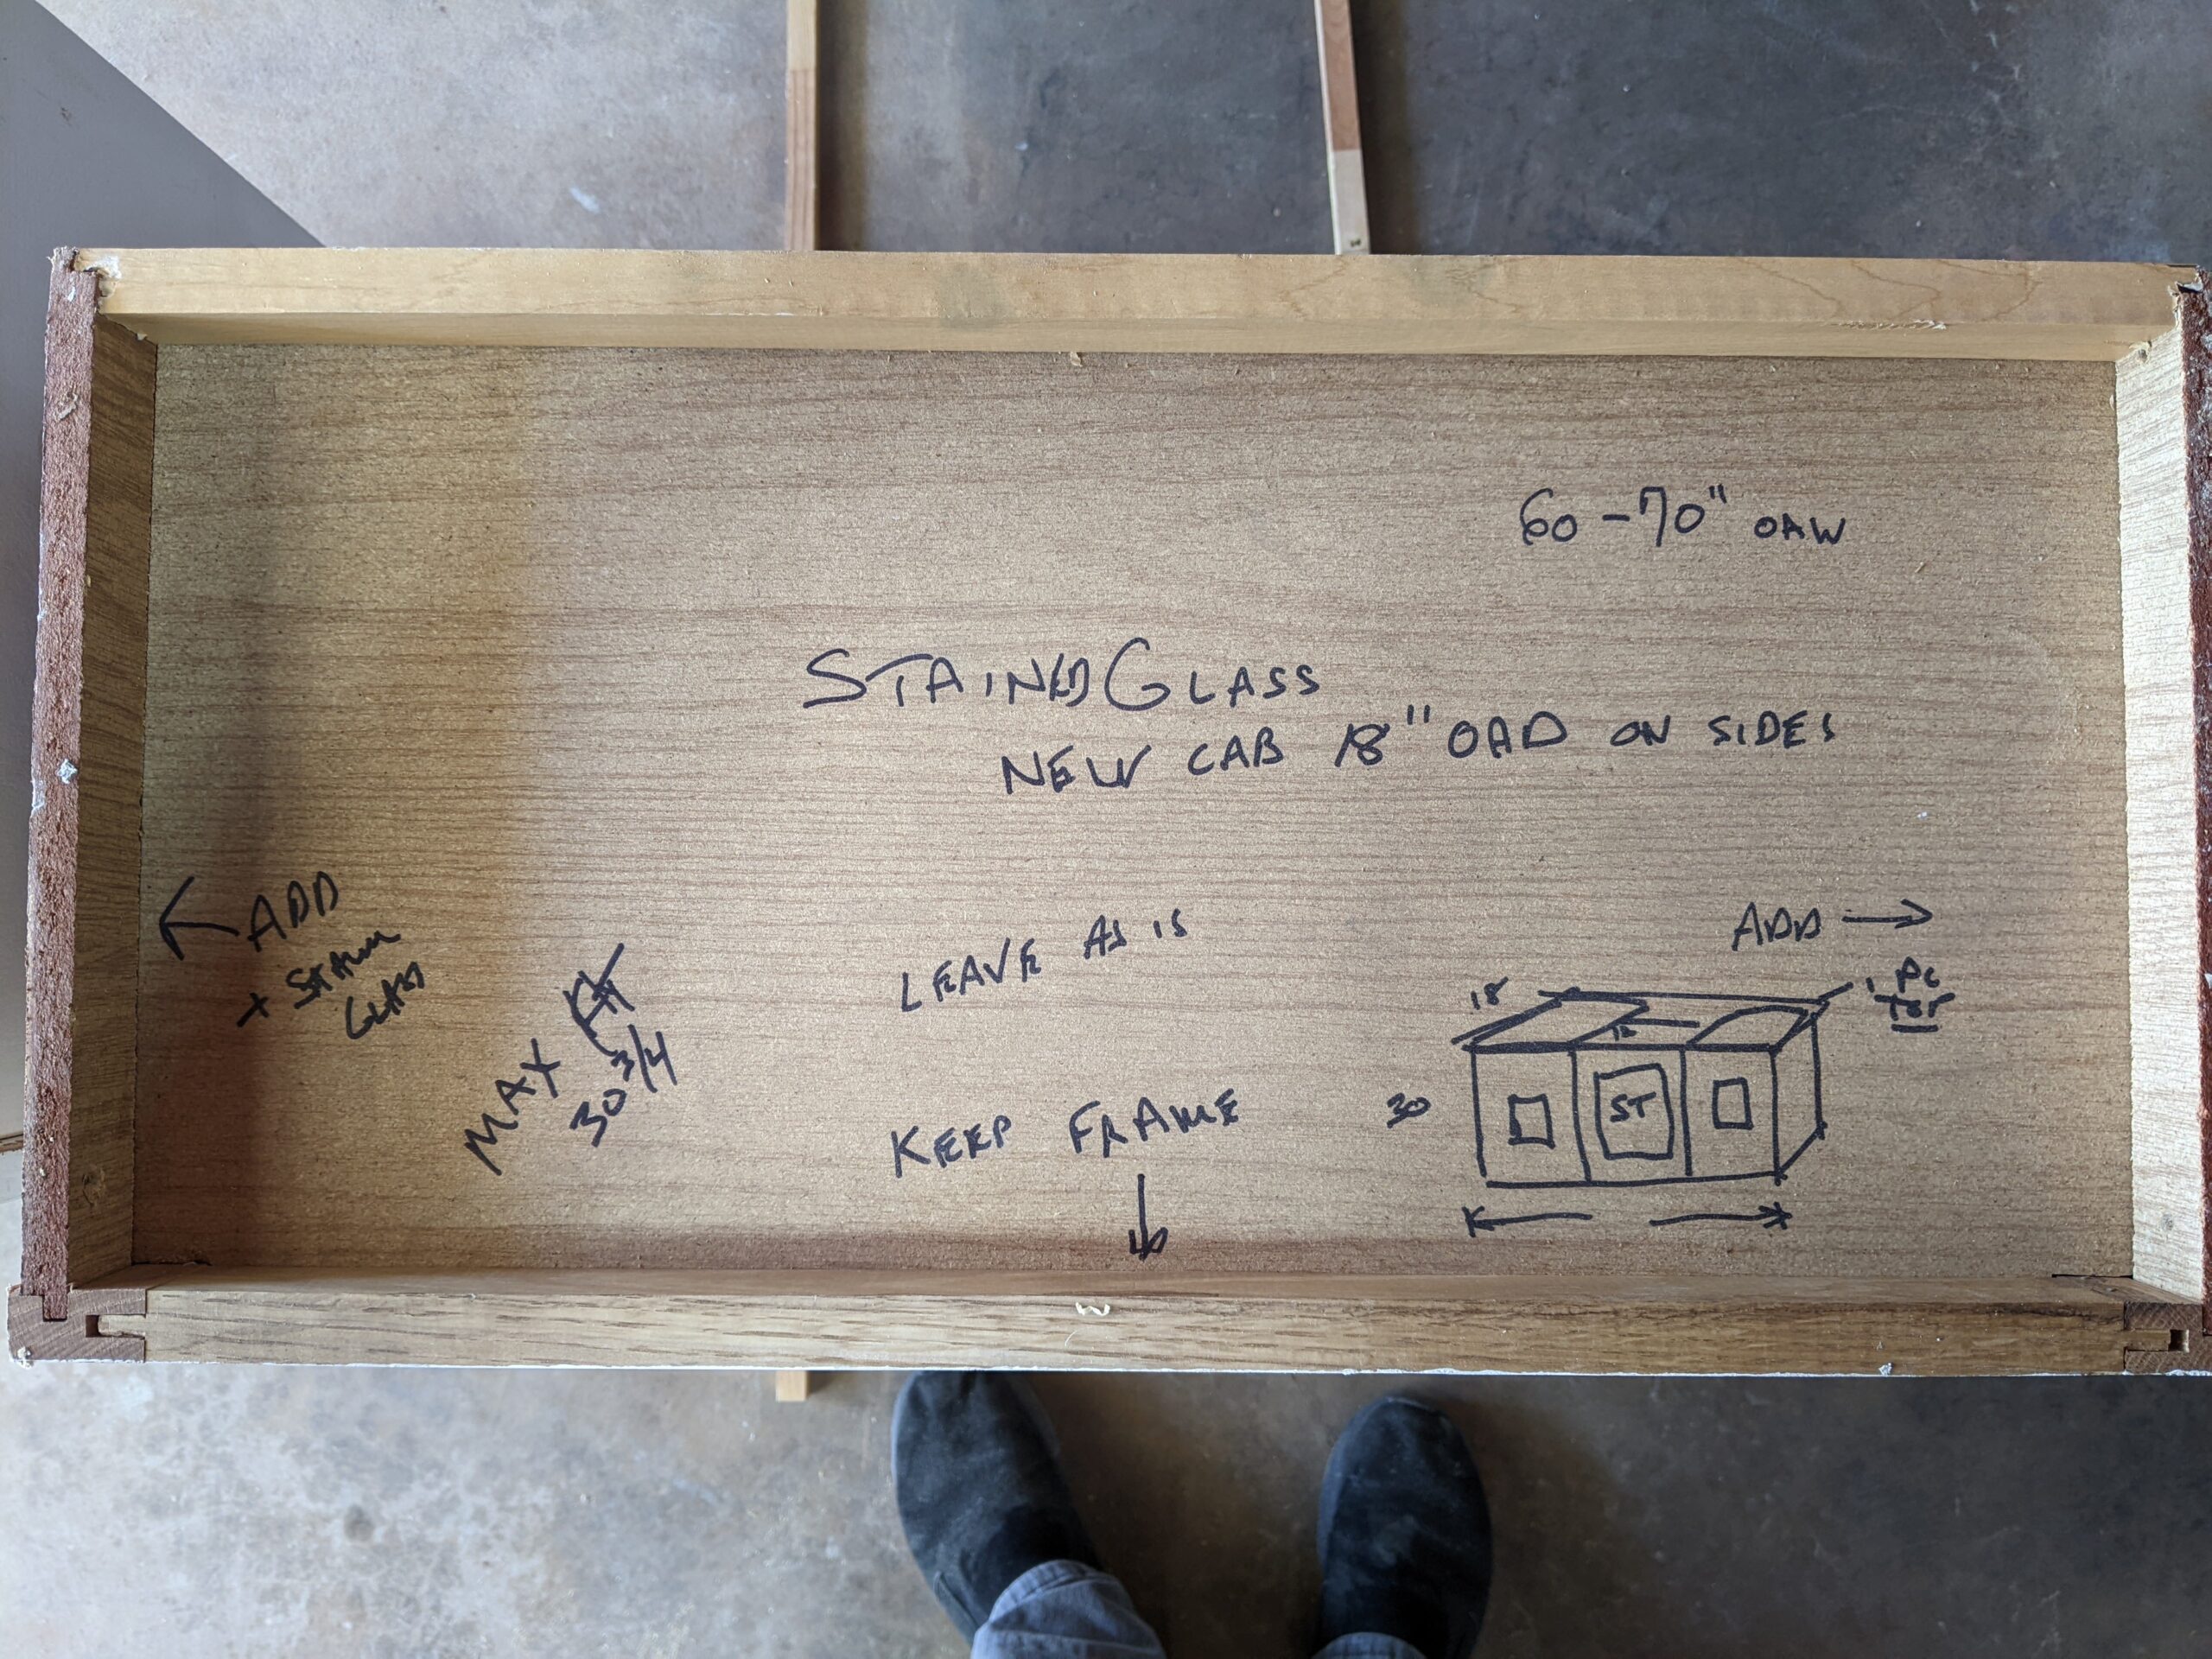
Detailed instructions on top of the center cabinet, which was removed intact.
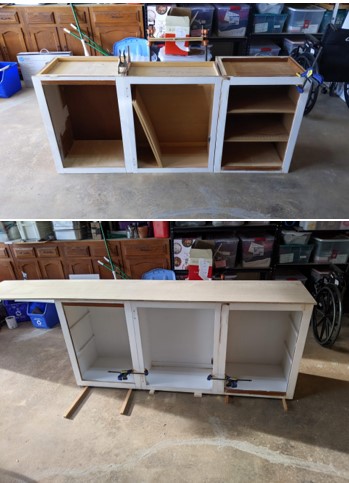
The Cabinet, actually three separate cabinets, starts to take shape.

The Pantry cabinet from the old kitchen provided cabinet sides, shelves, and backs.  The frames from several cabinets were re-worked, glued, and biscuited/clamped together.

The cabinets in process of being glued and screwed together.

Because I wanted to keep the finished height to approximately 29 inches, I fabricated the top from 1/2″ furniture grade plywood, with an overhanging  wooden skirt on the front and sides.  Nail-on nylon glides were generously added to the bottom of the cabinet to prevent it from marring the floor.

The center cabinet had adjustable shelves, and the side cabinets were made with shelves that sat on cleats so they could be easily removed. Each cabinet had two shelves.

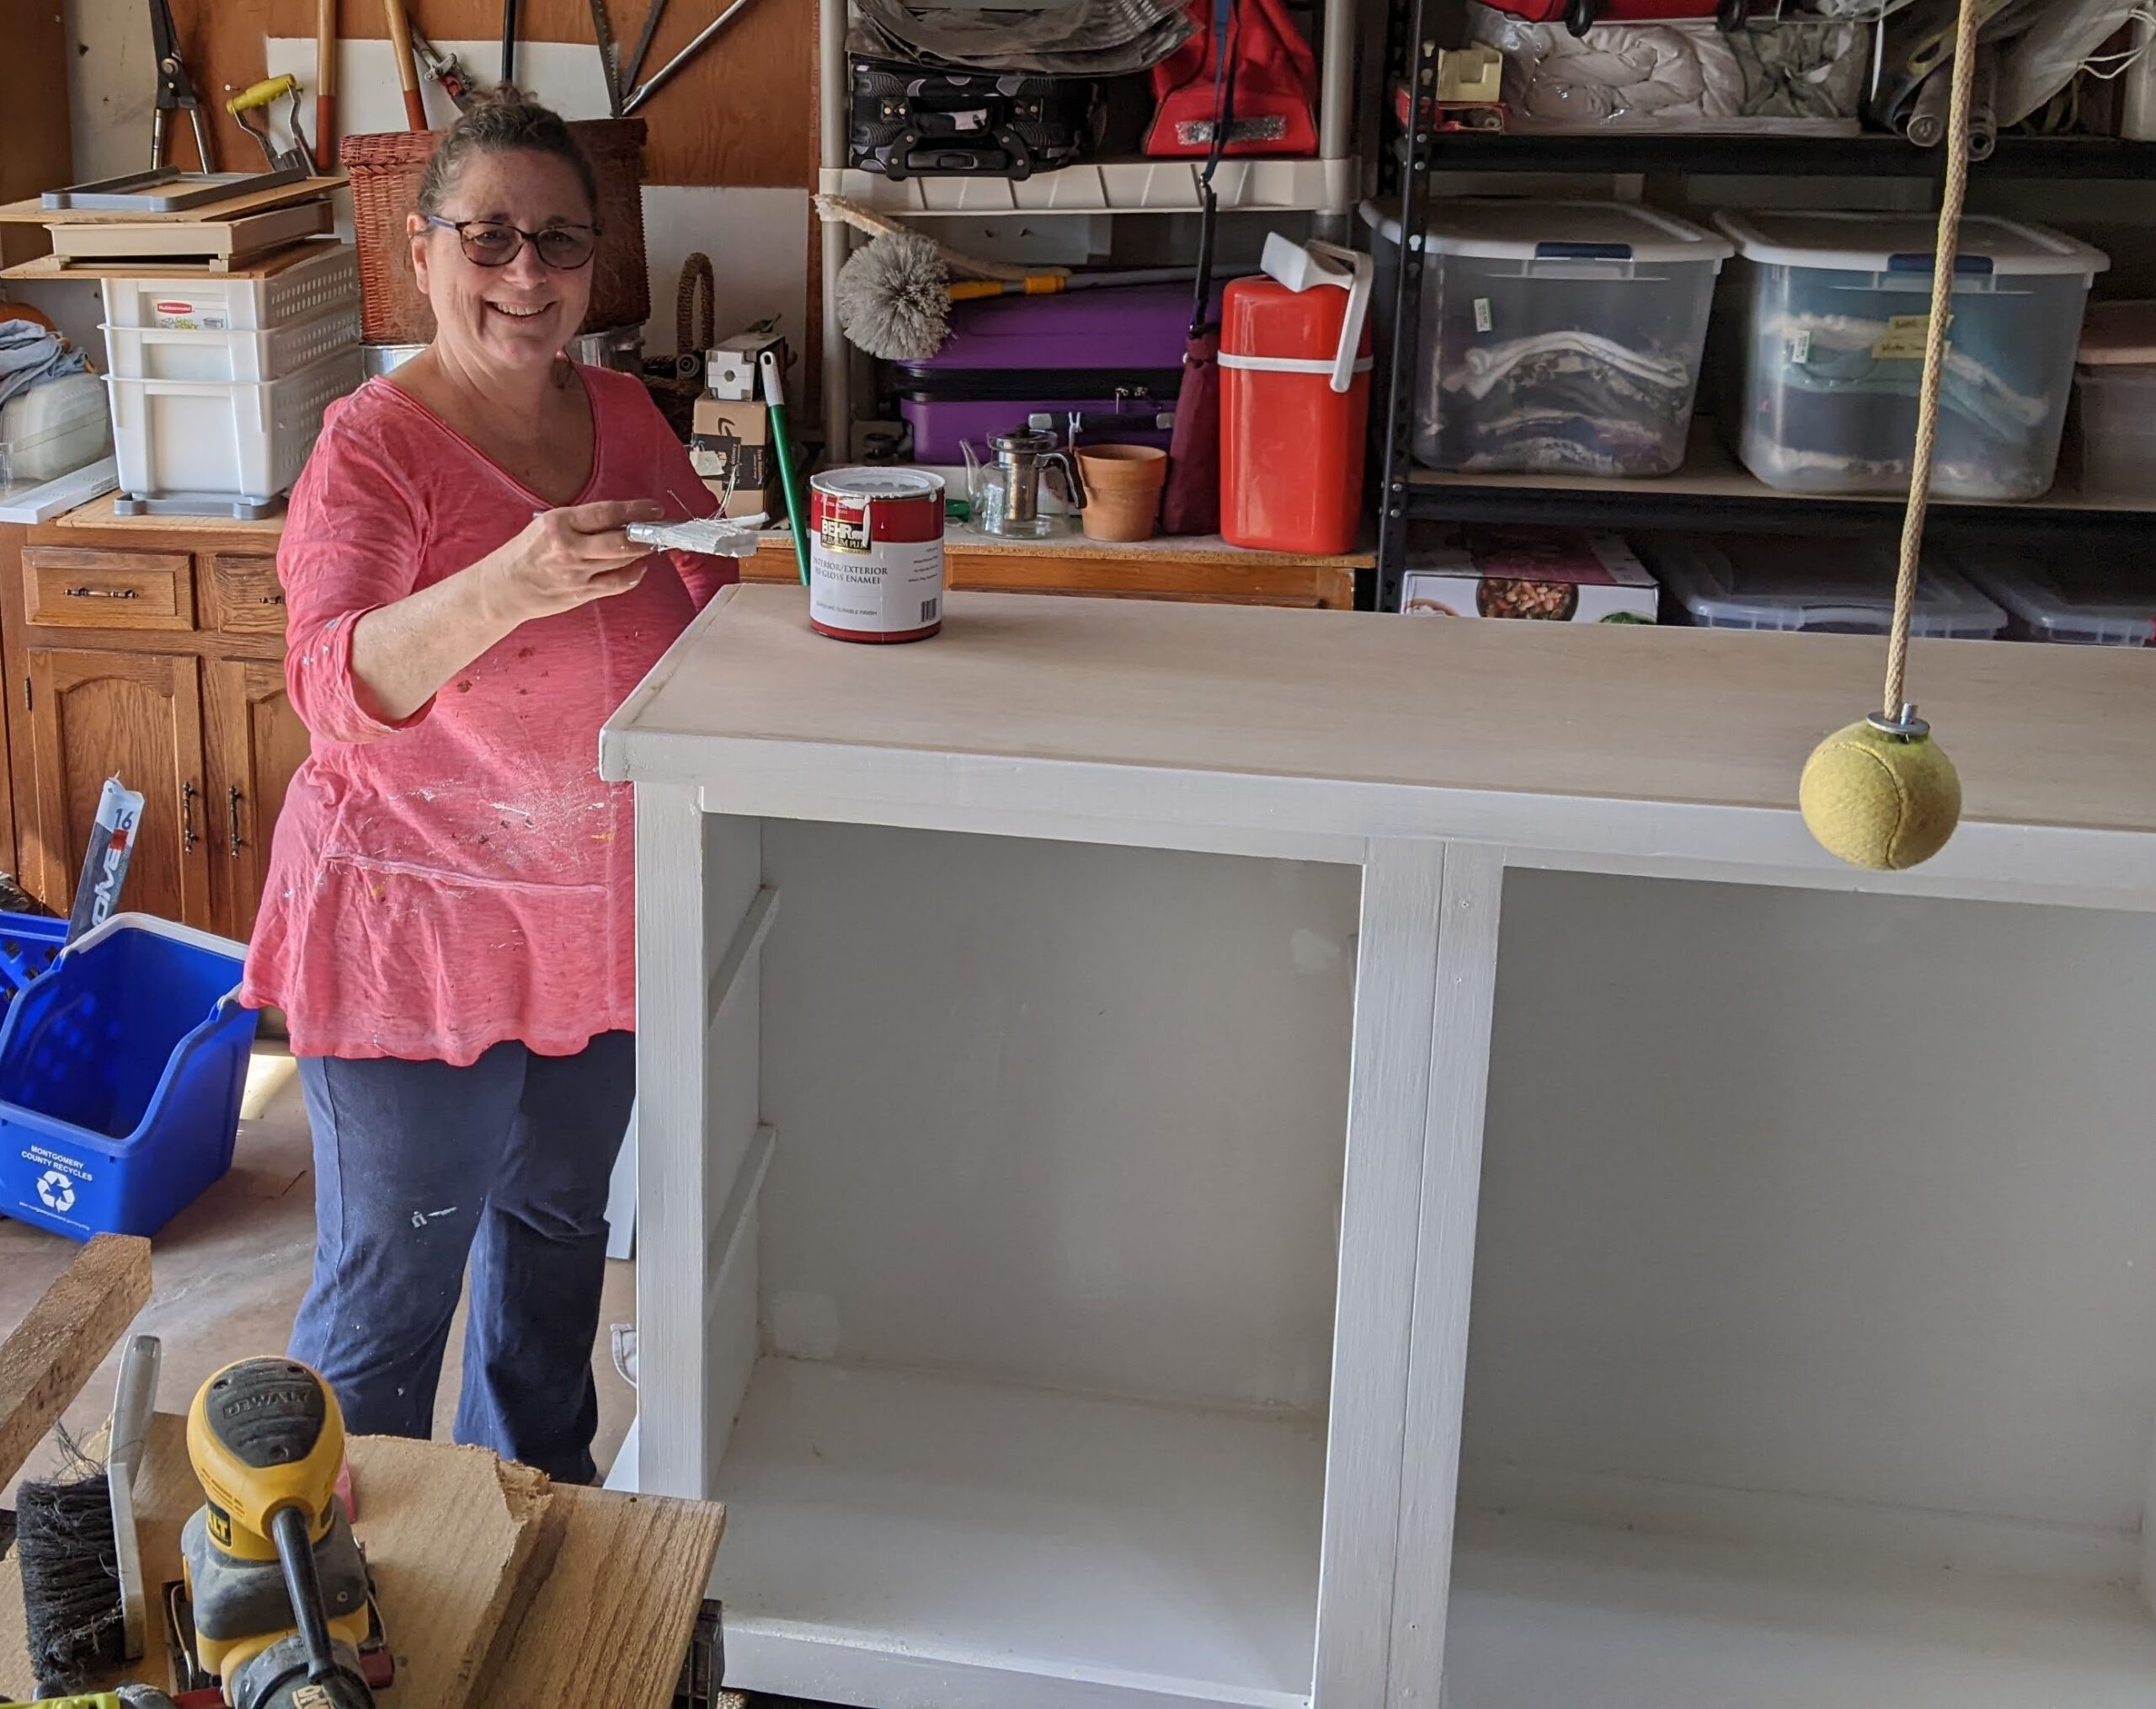
Painting the finished cabinet, in High Gloss White.

With several coats of paint, (Lightly sanding with 220 grit paper between coats), and wiping with a tack rag, the cabinet was ready for the doors to be mounted, and put in place!

The Finished Cabinet - with doors mounted, and in it's new home in a sunny room adjacent to the kitchen!
The Finished Cabinet – with doors mounted, and in it’s new home in a sunny room adjacent to the kitchen!

Here we have saved a homes history – an olde-style alcove turned into a buffet/server that will keep the homes legacy alive for many years.

With a little bit of vision and some creative woodworking, this cabinet kept a lot of wood and glass out of the waste stream, and will live on as a useful addition to the sunroom adjacent to the kitchen.

Thanks for reading – clicking on the images should open them full-size in a new tab.  Underlined product links to Amazon open in a new tab, and reference the tools used in the accompanying pictures.  They are affiliate links and help the author maintain his Starbucks habit.  Feel free to share this blog with your friends!

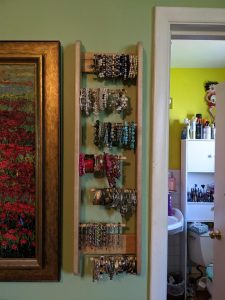
Wall mounted Bracelet Display

The cats love to smack the bracelets off the dresser and onto the floor.

Endless fun for the cat, and constant picking up for the owner.

This simple bracelet holder, attached to the wall with a simple French cleat (only 2 screws) – is a clear winner for nicely showing off your bangles without tempting the felines to have an all out smackfest!

Bracelet holder

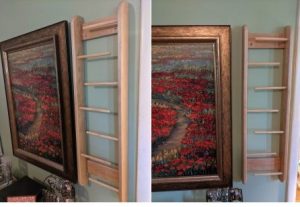
The Bracelet holder is made of solid 3/4″ Maple with 1/2″ wooden dowels drilled into the sides in an alternating pattern to allow easy insertion of the Bracelets and Bangles.  It is approximately 11″ wide, 36″ in height, and 3- 1/4″ deep.  It has a 3″ wood cleat at the bottom, and a 3″ French Cleat at the top.

The piece is finished with 3 coats of Varathane semi-gloss finish, brushed on.  sanded with 320 paper in between coats. (links open to amazon product pages).

Bracelet holder by Alan Chenkin, handcrafted at the Chenkin Workshop
Two views of the Bracelet and Bangle holder, showing the staggered dowels.


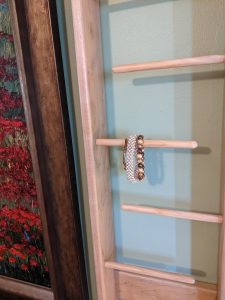
Dowel detail, showing rounded end.

This project is a lot of fun, and required some accurate cutting on the table saw, rounding over the edges with a router, and a lot of fine sanding.  The cleats were blind fastened with a Biscuit joiner, Glued with Gorilla Woodworking Glue, and clamped overnight.  I used a DE Walt 1/4 sheet pad sander with 100 and 220 grits.  I finished sanding by hand with 220 and 320 paper.  Before applying finish, I wiped the dust residue off with a damp rag or a tack cloth.  It helps if you vacuum the shop and let the dust settle before applying the final coats, so no dust gets on the finish coats.

Hanging the finished Bracelet and Bangle rack was easy, as it was light and easy to position on the wall.  I predrilled the French Cleat with two holes for #6 x 2″  wood screws and finish washers, and leveled it with a small level.  The rack sits on the French cleat and is flush to wall.

Simple, elegant, and Cat resistant.

Leo the Cat at Computer
Leo the cat, at the computer, shopping for cat toys on Amazon.


Basic woodworking is fun and generates a sense of accomplishment and achievement!

Having owned a cabinet shop for ten years, I enjoy both building furniture and gifts, making useful items for friends and around the house.

In addition to great resources on the internet, acquire a “reading library” of woodworking books.  My favorite read is the John L. Feirer “Cabinetmaking and Millwork”  (Here is the Link at Amazon: Cabinetmaking and Millwork: John L Feirer: 9780684132778: Amazon.com: Books ).
While the Feirer book may seem dated to some, the basic principles are the same, and you will get a piece of usable information every time you skim through it.
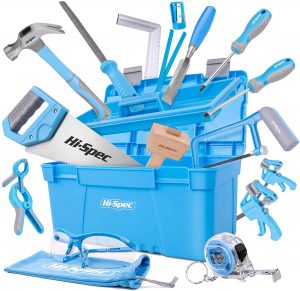
Beyond educating yourself, you will need a basic toolbox, patience, a good tape measure, pencils, and a working plan of what you want to build.  You can buy this in a kit. 

25 piece beginner tool set, from Amazon

Most items can be built out of basic 3/4″ pine and plywood for cases, 1/2″ plywood for drawers, and 1/4″ plywood (or paneling if you are on a budget) for backs of cabinets and boxes. I like Pine as it is affordable, readily available, easy to cut and sand, and takes a painted finish well.   Stick to these materials to start, while you learn the basics.  Hardwoods and exotic species are expensive, and good for high-end projects.
In addition to basic hand tools, I suggest getting a cordless screw-gun/drill, skilsaw, palm sander, power miter saw (10″), sawhorses, and a small table saw.  (This list is just basic, buy things as you need them – and don’t forget glue, clamps, screws, etc. etc.).

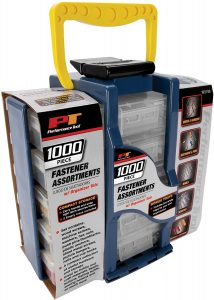
1000 piece fastener set, from Amazon

While there are many joining systems for wood, basic furniture can be glued, nailed, and screwed together.  I have biscuit fasteners, Krieg drills, air powered nail-guns, and more in my work shop. this depends on whether you will be “blind fastening” (no exposed fasteners) or using exposed fasteners (nails, screws) and filling or covering the holes.
Woodworking is a challenge, as you are the mechanic, building functional pieces using your methods and tools.  Don’t worry if you have some pieces that are “less than perfect” – as your skills improve, you will be able to build some really good pieces.

The attached pictures are an oak desk for my 8 year old grandson, and a great Tiki Bar on wheels!

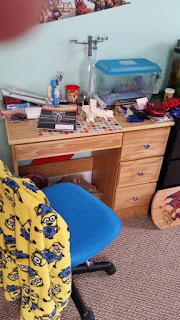
Oak and Pine desk built for Authors grandson
Oak and Pine student desk built for Authors grandson
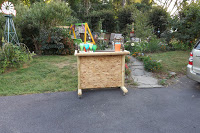
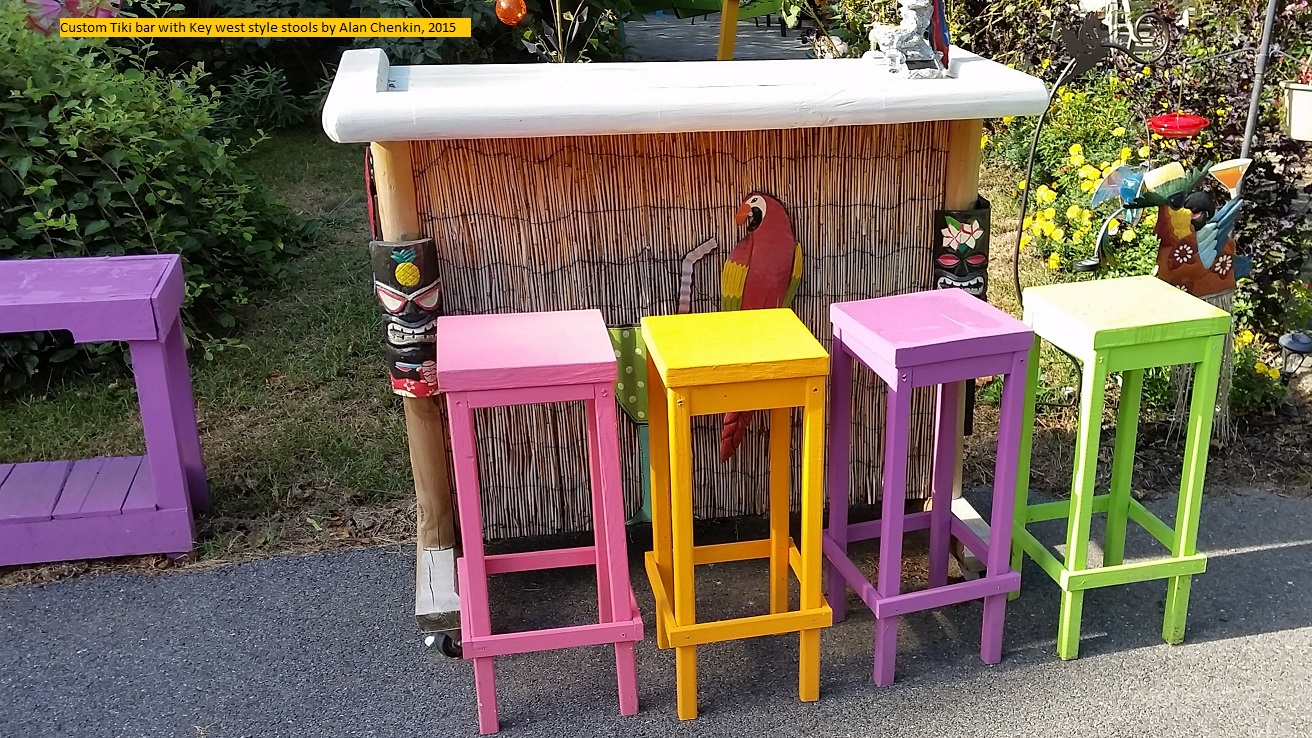
Tiki Bar on wheels
Tiki Bar on wheels, made with shop scrap, left over paint, and some old casters.
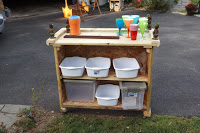
rear view of Tiki Bar
rear view of Tiki Bar, showing shelves for buckets, and plastic barware!

It’s always fun to build for fun.

This is a footlocker/toybox:

Footlocker Toybox
Footlocker Toybox

Be creative, be safe, and enjoy woodworking – where you get a real sense of accomplishment building, fixing, or even working on a new project!

Take your time, “Measure twice – cut once“, and enjoy building your own cabinets and furniture!

measure_twic_cut_once_goof_last_word
Don’t let this happen to you!!