Basic woodworking is fun and generates a sense of accomplishment and achievement!

Having owned a cabinet shop for ten years, I enjoy both building furniture and gifts, making useful items for friends and around the house.

In addition to great resources on the internet, acquire a “reading library” of woodworking books.  My favorite read is the John L. Feirer “Cabinetmaking and Millwork”  (Here is the Link at Amazon: Cabinetmaking and Millwork: John L Feirer: 9780684132778: Amazon.com: Books ).
While the Feirer book may seem dated to some, the basic principles are the same, and you will get a piece of usable information every time you skim through it.
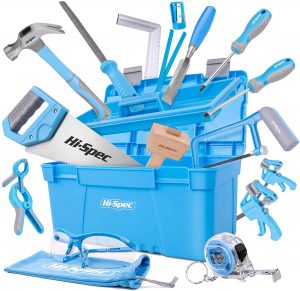
Beyond educating yourself, you will need a basic toolbox, patience, a good tape measure, pencils, and a working plan of what you want to build.  You can buy this in a kit. 

25 piece beginner tool set, from Amazon

Most items can be built out of basic 3/4″ pine and plywood for cases, 1/2″ plywood for drawers, and 1/4″ plywood (or paneling if you are on a budget) for backs of cabinets and boxes. I like Pine as it is affordable, readily available, easy to cut and sand, and takes a painted finish well.   Stick to these materials to start, while you learn the basics.  Hardwoods and exotic species are expensive, and good for high-end projects.
In addition to basic hand tools, I suggest getting a cordless screw-gun/drill, skilsaw, palm sander, power miter saw (10″), sawhorses, and a small table saw.  (This list is just basic, buy things as you need them – and don’t forget glue, clamps, screws, etc. etc.).

1000 piece fastener set, from Amazon

While there are many joining systems for wood, basic furniture can be glued, nailed, and screwed together.  I have biscuit fasteners, Krieg drills, air powered nail-guns, and more in my work shop. this depends on whether you will be “blind fastening” (no exposed fasteners) or using exposed fasteners (nails, screws) and filling or covering the holes.
Woodworking is a challenge, as you are the mechanic, building functional pieces using your methods and tools.  Don’t worry if you have some pieces that are “less than perfect” – as your skills improve, you will be able to build some really good pieces.

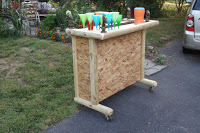
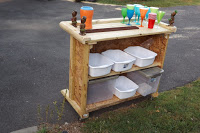
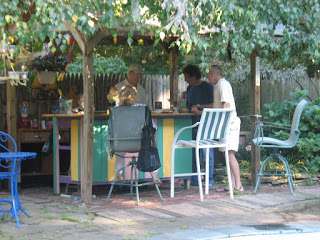
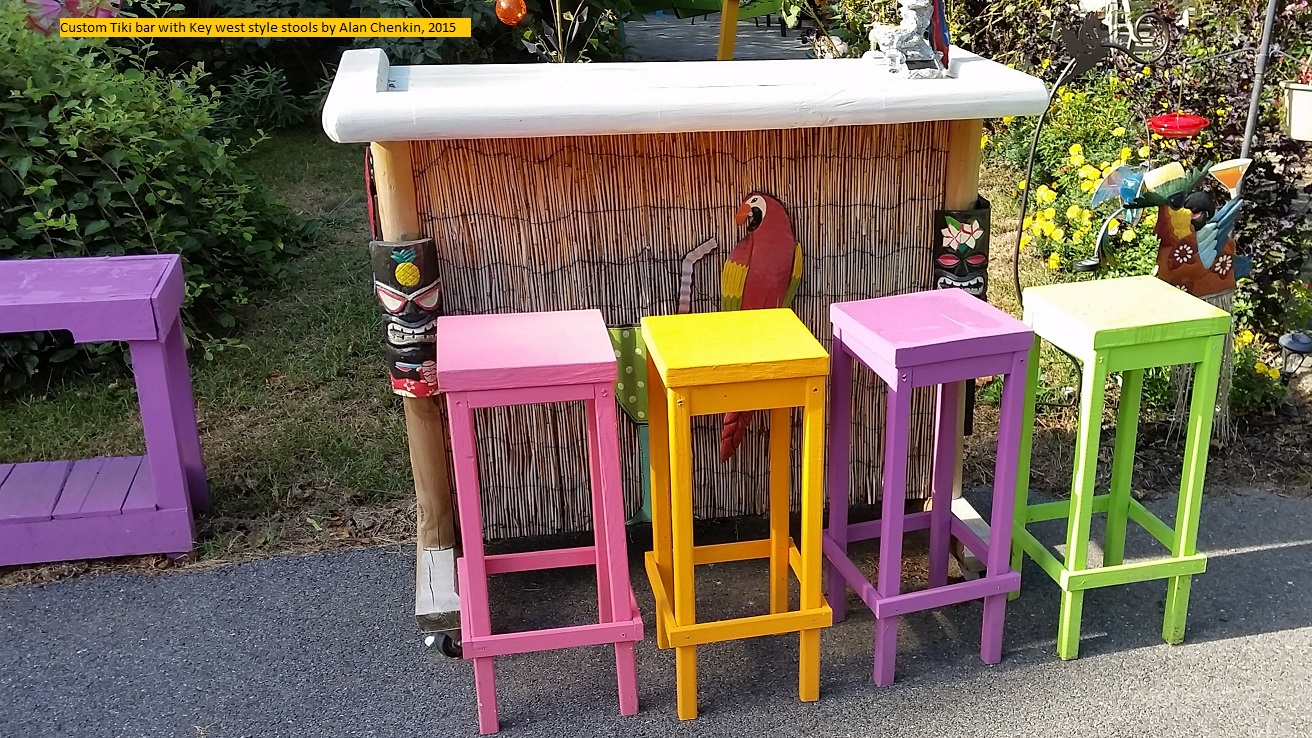
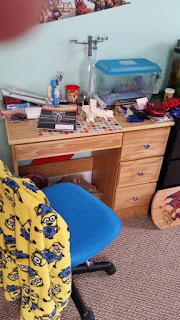
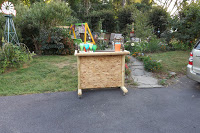
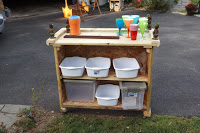
The attached pictures are an oak desk for my 8 year old grandson, and a great Tiki Bar on wheels!

Oak and Pine desk built for Authors grandson
Oak and Pine student desk built for Authors grandson
Tiki Bar on wheels
Tiki Bar on wheels, made with shop scrap, left over paint, and some old casters.
rear view of Tiki Bar
rear view of Tiki Bar, showing shelves for buckets, and plastic barware!

It’s always fun to build for fun.

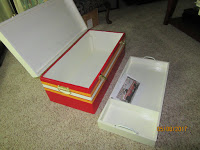
This is a footlocker/toybox:

Footlocker Toybox
Footlocker Toybox

Be creative, be safe, and enjoy woodworking – where you get a real sense of accomplishment building, fixing, or even working on a new project!

Take your time, “Measure twice – cut once“, and enjoy building your own cabinets and furniture!

measure_twic_cut_once_goof_last_word
Don’t let this happen to you!!


Are you ready to make a no-frills Tiki bar?

Sometimes you need to cut loose – and you want to have a really cool place to do it; so you do what any self respecting carpenter does – you build a Tiki bar!

I had some treated wood left over from some projects, and some waferboard from a siding repair.  Perfect for a basic bar!  Plus I had some exterior paint and a set of casters, so the bar could roll out of the way.  Here is the basic bar:

I rabbeted the landscape ties for the bar rail, and used simple butt joints and exterior screws for almost everything else.  The shelves are fixed and fit buckets and covered storage bins, for extra glasses, napkins, bar tools, straws, and giveaways for kids (tiki necklaces, porpoise bracelets, and stickers, From Amazon).
The important thing to remember is that you are using scrap wood, leftovers and pallet pieces.  there is no “wrong” way to build a Tiki bar.
The important dimensions are as follows:
  • Bar height = 42″ (pl;us or minus an inch or 2)
  • bar width = greater than 36″ depending on available material
  • Bar depth = greater than 14″, Top should overhang and be supported to prevent falling forward (see the “foot” extensions on my design)
  • Bar stool height = 30″ or so
  • Bar stool seat = big enough to support someone’s bottom
Make sure you sand everything smooth, so your guests don’t get splinters, and paint the bar to get the appropriate Tiki look.  Here is a Tiki bar I built for a client on Long Island, complete with roof, Back bar and a salvaged ceiling fan:
 
The author and his Daughter at the Tiki bar.  Yum!
 
Now you have no excuse, but to get ready for the spring and summer with a neat Tiki bar of your own design and some cool tiki drinks!
 
Thanks for reading my blog and Tiki on!  – Aloha!