Where can I get exotic wood and wood slabs?

Using an exotic wood in your projects can be visually exciting and fun.  It adds an element of unique feeling to your work.  Some exotics have properties in texture, tone, grain, and weight that make your work special.

The “Big Box” stores have traditional Lumber – typically an assortment of S4S Pine, Birch, Red Oak, Maple, and Poplar in varying thicknesses and lengths.  Most typically 4/4″ dressed to 3/4″ finish thickness.  while you are not paying for the waste, you are paying for a “milled to size” and ready to fabricate piece of lumber.

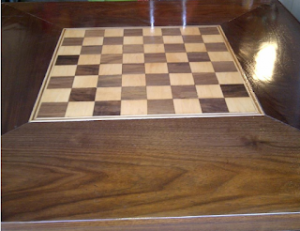
This is a photo of my kitchen table, with and inlaid chessboard , made by my dad in the ’80’s, and refinished by me.  It is a combination of Walnut and Sugar Maple.

Most exotic and special order lumber ordered by the board foot, and is usually rough, meaning you will need a Jointer and a Thickness Planer to machine the wood to it’s finish size.

Traditional lumberyards, and the “pro desk” at a big box store can special order unique lumber for you, and even have it milled to size, saving you time and having to purchase a jointer and thickness planer.


POWERTEC BJ600 Bench Jointer with Built-In Dust Collection, 6-1/8-Inch
POWERTEC Bench Jointer with Dust Collection


DEWALT DW734 15 Amp 12-1/2-Inch Benchtop Planer
DEWALT Benchtop Planer (Amazon)


Popular Mechanics Workshop: Jointer & Planer Fundamentals: The Complete Guide, Classic book from Amazon


If you look, you can see ads for Lumber in Craigslist, and Ebay is another potential source for exotics, as people tend buy much more than they need (I endorse the practice, and usually figure 20 – 25% overage, to cover errors and “oopses”).  If you are really lucky, you can Google “Exotic Lumber” and a local source may pop up!


Exotic Lumber – Ads on Amazon 

Exotic lumber on Ebay

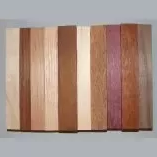
(Lots of unusual species and cuts available)

Don’t be afraid to put an ad up in the local lumberyard, or on some woodworking boards,  to see if someone has the species you are looking for available.  When we cleared out my dad’s basement, he had a lot of Walnut,  Maple, Cherry, and other woods that he was “saving” for the right project.  The woodworkers who bought this assortment of wood were excited to have it!  Walnut trees mature after 160 years of growth; architectural grade Walnut from old growth trees is prized.  This is especially true if you want a wider width, or want to “bookmatch” the boards from the same tree.

When you have the cut list for your project, add 20% for waste, and see what you can get.  Be creative.  IPE, a South American Hardwood popular for decks, may be available from local deck builders.  that would be worth a few phone calls.  If you make pens, smaller pieces my be all you need, and a furniture repair shop may have old case goods that have salvageable wood parts. repurposing wood is a very green thing to do.

Woodworker’s Guide to Wood: Softwoods * Hardwoods * Plywoods * Composites * Veneers, from Amazon Books

Please let me know how you do, and share any wood buying tips.  Thanks for reading!

I hope you found my point of view enlightening and informative.  Consider sharing, liking, and upvoting!

Wooden shoes to go with the wooden pants (on ebay)

Can I apply tung oil on a piece of wood which has been stained with water-based dye?

In my experience with water based dyes (Like Aniline or alcohol based dyes, etc.) the water “carries” the dye into the pores of the wood.  After it dries, you need to “lock in” the dye with a sealing agent.  In this case, Tung oil.  There are other finishes that will work too, but you have to consider the use of the wood (Marine-commercial-decorative??) and the appearance you want to achieve.
Tung oil finishes usually take a day or two to dry, unless you rub it in several thin coats.  It is also good for oily woods that need to be restored, as the oil soaks into the wood, renewing it’s luster.  Unless you are familiar with it, make sure you test it on a piece of scrap.  make sure you blow off the piece with compressed air or use a tack rag to clean the open grain prior to finishing.  Tung oil is not a thick “top-coat” finish like polyurethane, it’s usually rubbed into the pores of the wood to seal it.
Here is an Article on using Tung oil as a wood finish: Tung Oil – Woodwork Details

Tung oil is usually a wiped on finish; it’s a good idea to wear gloves and have good rags for wiping and cleanup!  Remember the oily rags are combustible, so hang them or dispose of them carefully.

And here are some things you may want to have on hand:
Now you know how I would do it!  Best of luck when using Tung oil!
I hope you found my point of view enlightening and informative. 

Taming your Bedroom Closet

My closet demon is messiness, that tends to get worse over time.
I have to make a conscious effort to get rid of old, ill fitting, or worn clothing, and find time to try on everything in the closet that may not fit right, or look right.

How To Organize A Closet: Closet Organization Ideas and Closet Storage Solutions (Organization, Planning and Time Management Book 1)

Some favorite shoes in a pile, that are way past their usable life? – I had to learn to let go.

You also have to put everything away when it comes back from the wash or dry cleaners.

Too many hangers?  gotta go, gotta go!

Get bins 
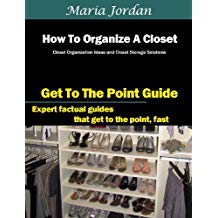
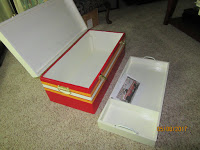
for camera stuff, accessories, coin collections, etc. Clear things off the floor, get a shoe racktie rack, etc. Whatever makes sense.

It may not happen in a day (without extreme measures), but it can be done.

If necessary, get a closet organizer (from the big box store, container store, etc.) and carefully look at everything before putting it away.  Strong lighting helps identify stained, worn, aging or discolored goods.  Be ruthless – you can always get more.

Good luck with taming your closet demons!  Fight the good fight!

Would this saw become your favorite tool?

Easy. My Ryobi 18v circular saw.
Like this one.


I use a larger battery, like the 3 or 4 amp, and it has a laser guide to cut right on a pencil line.  Or I spring clamp a board to the work as a guide for the saw shoe.
Let me tell you why it’s my favorite – I do a lot of work with 3/4 inch stock, and 1/2″ – 3/4″ plywood. (This little saw is not really suited for cutting larger 4×4’s or 2×6 boards)
No cord to get stuck on the work and pull you off the pencil mark; larger Lithium-Ion batteries give this little baby some power, and it is lightweight and quick – just grab it and go. Mine has the depth preset at about an inch.
Best part about this tool, is that it is carried at all Home Depot stores. If I manage to break it, I am 20 minutes away from picking up a new one. and yes, it is primarily a “homeowner-grade” tool, but it is accurate and well suited enough for my day to day woodworking. It is also available in the Ryobi Combo kit, like this one, where you get extra tools and batteries for big savings.
There are other tools I like too.
My 18v drill.
A really comfortable 12 foot tape measure.
The dust collector (wait till I build the 2 stage bucket topper cyclone).  See my post on this: Tips for keeping sawdust out of your shop
As there are improvements in the technology coming all the time, I expect to have new favorites, but this baby is a keeper.  (Update: they just released the 7 1/4″ version.  I may need to upgrade).
Thanks for the A2A.
Shameless self promotion: If you like my style, consider reading my blog, Welcome to the Chenkin Workshop!
On more point; Don’t forget safety – just because it is quick and easy, keep the glasses, mask, and apron handy. And sweep up! don’t be tracking sawdust all over! Keep the dust broom and pan handy.
I hope you found my point of view enlightening and informative. 

Tips for keeping Sawdust and woodchips from getting all over your garage workshop!

The best way is to stop 90% of the dust before it settles in the garage! Use a dust collector, sweep the sawdust and chips off your bench and tools into a dustbin or onto the floor, where you can sweep it up.
Make sure you wear a mask, you don’t want dust piling up in your lungs either!
There are devices like “cyclones” that allow the dust to collect in a barrel.
Cyclones pull out most of the dust and debris before they enter the shop vac or dust collector, and keep the bag or filter from pre-maturely clogging, by making your dust collector a “two-stage” dust collector.
When the dust piles up, you have to stop and take a minute to clean the shop (safety first). When your shop is a garage, you have a lot more than tools in there – bikes, food storage, shelves with assorted car/sports/cookout “stuff”, etc. You can’t always brush all this off in a quick and easy manner. So you may want to use a compressed air blower, or leaf blower (on low power), to blow the dust away. You can also throw a drop cloth 
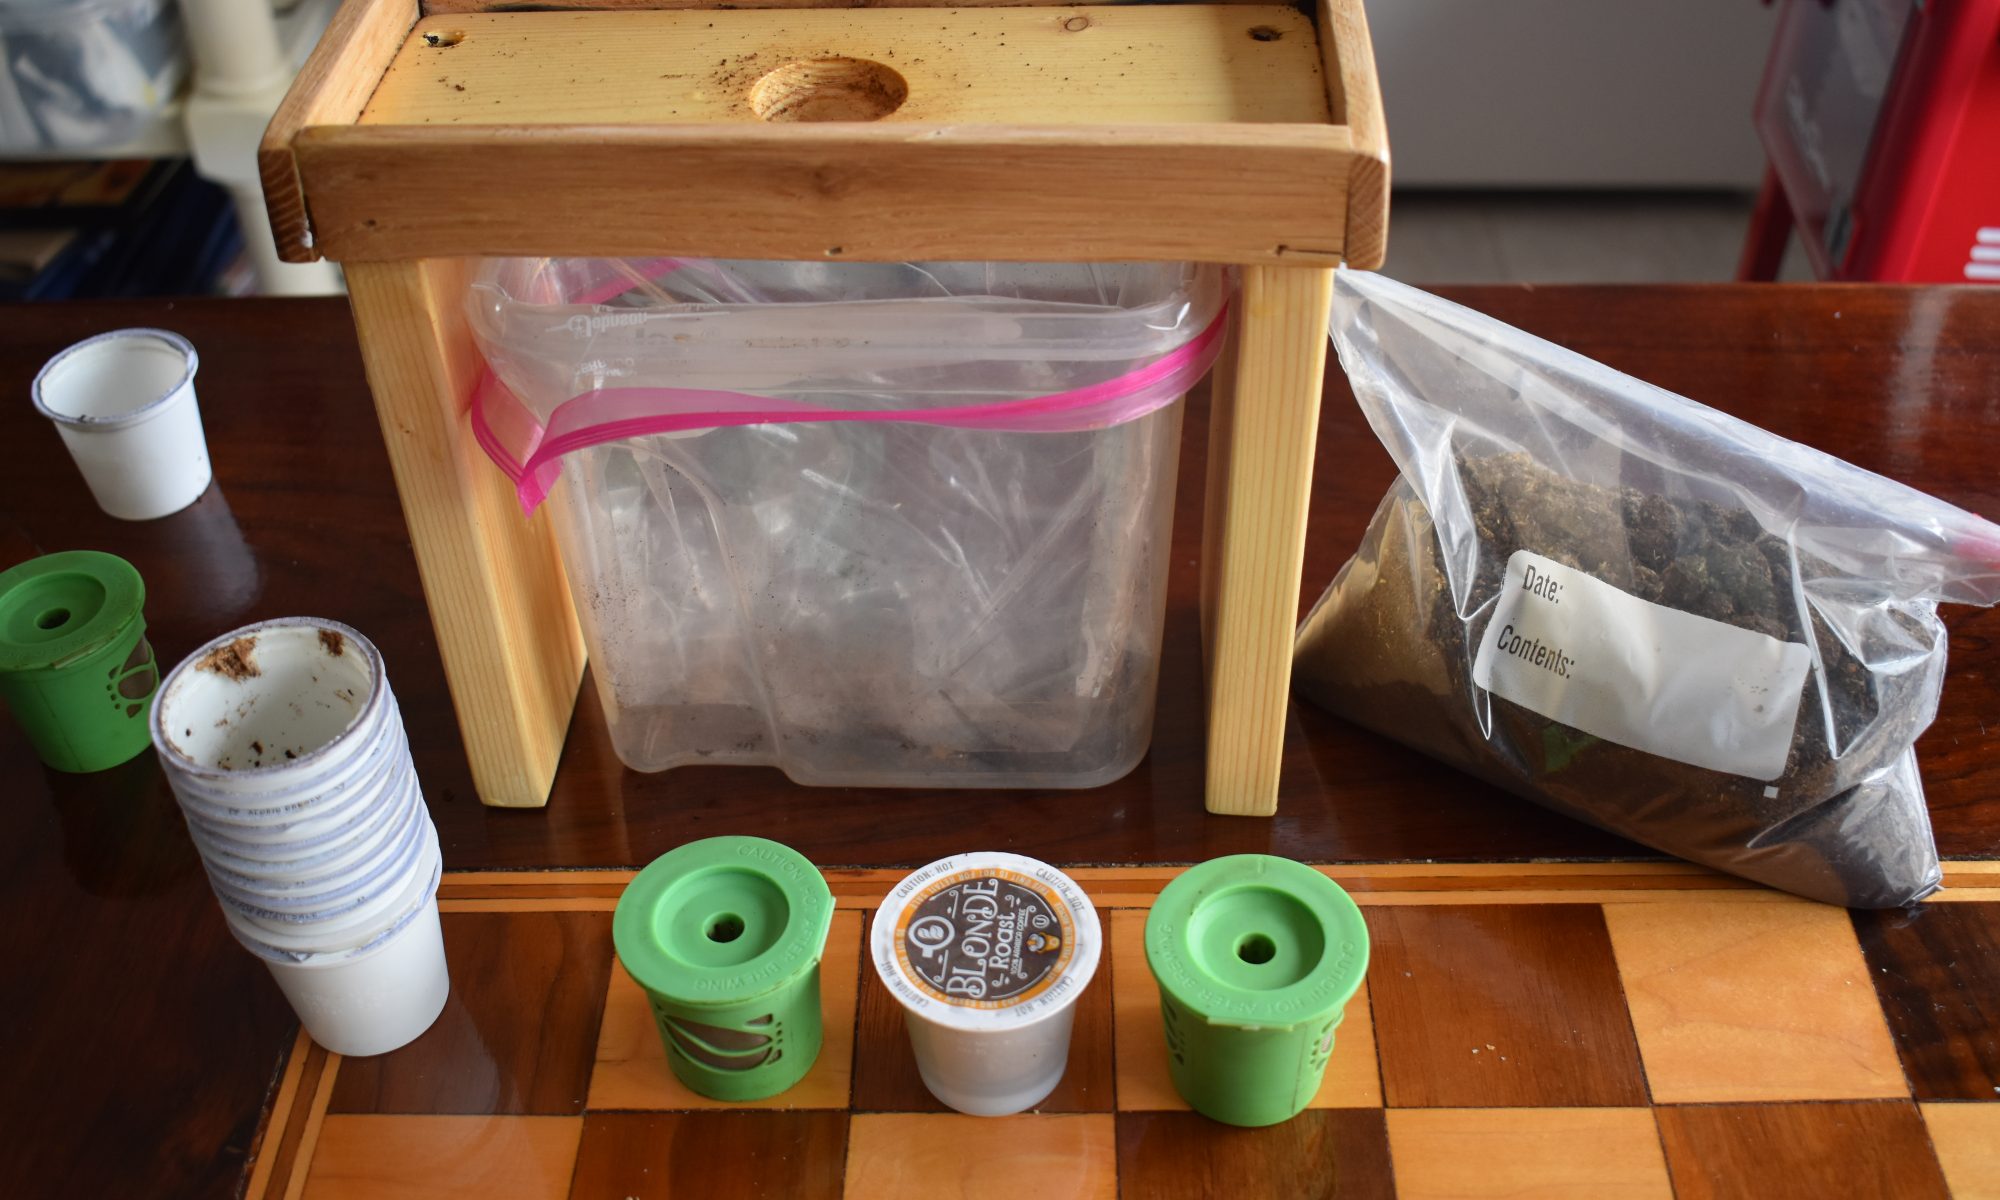
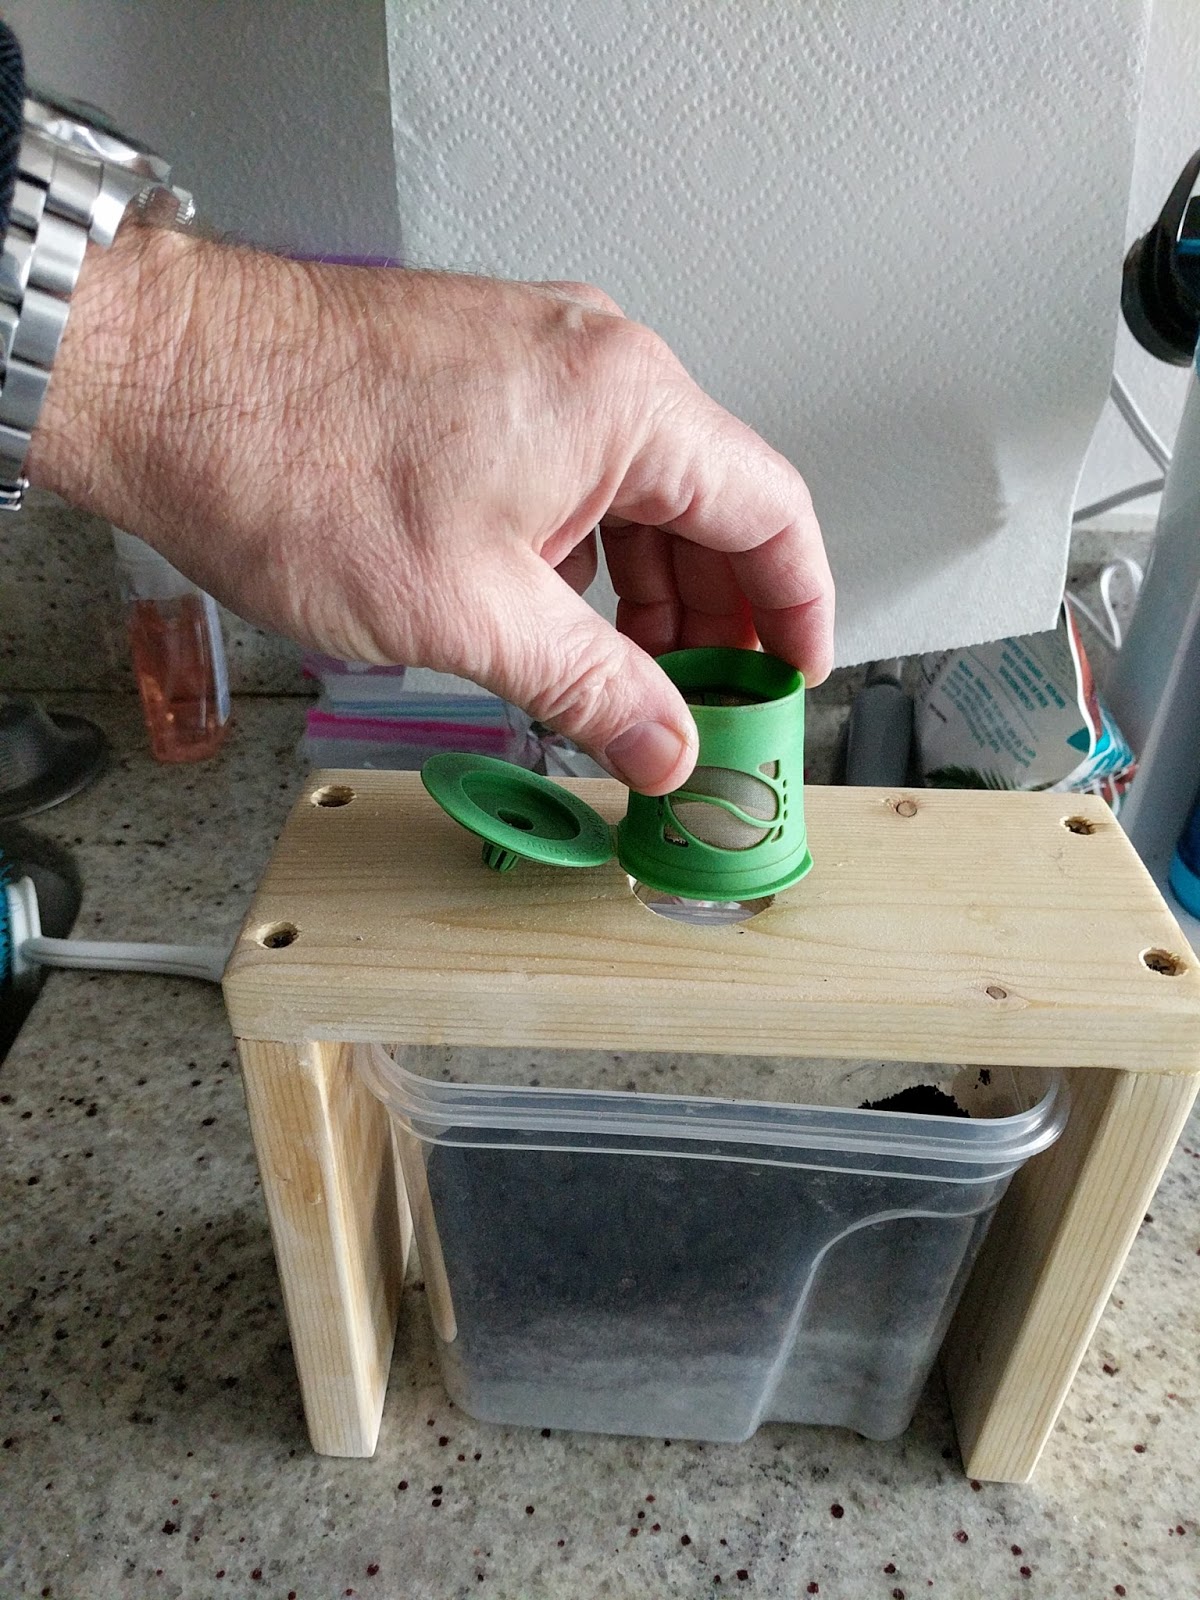
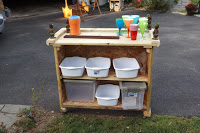
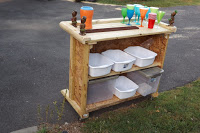
or garbage bag over things to keep the dust off. I once leaned a 4×8 sheet of plywood against some shelving, to deflect the dust. When you have a lot of parts, or christmas lights, etc., you can consider putting things in bins like these Storage bins on Amazon.
Remember to label them, and try to buy uniform sizes. They will definitely keep the dust out! Not everything may fit (like golf clubs), but it keeps things clean and less messy. Wait for them to go on sale if possible, so you can save money on storage.
Sometimes dust builds up, and this is bad – dust is explosive because it is combustible and has a lot of surface area. see Dust explosion – Wikipedia
So use air (compressed or leaf blower), brooms, hand brooms, and dustpans, and eliminate the dust.
TIP: If you have clean sawdust, like pine or hardwoods, you can use them around the garden or in the composter (if you have one). Don’t use particle board or treated lumber sawdust in the garden, as they have chemicals that can leach into your plants. You can also use the dust to fill small holes in the ground too.
When you collect the dust to put in the trash, I highly recommend using a contractor grade trash bag. Dust gets every where when the sanitation men dump it in the truck, and the bag keeps it contained and easy to handle. It will also keep small sticks and any nails or debris from getting loose and puncturing a tire.
After you clean the dust out of the garage, you may find a lot has stuck to you! make sure you clean it off with compressed air or a brush. especially before you go in the house (consider this helpful marital advice).
I hope you found my point of view enlightening and informative.  Consider sharing it 

Fixing the Keurig Conundrum – Recycling K cups

k cup recycler

Let me say that I love my Keurig.
I can make one cup at a time. With friends we can have different coffees, and I can even grind and brew a cup using a refillable my K cup basket.
The Keurig is convenient, quick, and easy to maintain.
But there is a growing problem.

Recycling the K Cups.

  • A foil or plastic top, sealed to the cup
  • Ground coffee
  • Coffee filter made of paper or hybrid synthetic
  • plastic cup

In it’s entirety, K cups are not recyclable due to having different materials that are hard to break down.  The only way to effectively deal with this is to break apart the k cups individually, and recycle each component, or send them to a facility that does this for you.

If you can’t be bothered, since convenience is the reason why we use store bought K cups in the first place, there are special services:

Coffee Capsule Zero Waste Box (Small 11" x 11" x 20")
Keurig had a mail-in program for recycling K-cups, but since they are switching from #7 to #5 Plastic for the cups, here is their recommended procedure, from Keurig Recycling:
“Since we began working with Preserve’s Gimme 5 program for our Vue® pods in 2013, curbside access to recycling for #5 plastics has increased significantly. With increased access, we are now asking that beginning in April 2016 you drop your brewed Vue® pods in your regular curbside recycling, after removing the lid and coffee grounds, rather than mailing them back through the Preserve program. Please check with your local community to confirm.”

There is a commercially available tool to remove the lid; called the “Medelco Recycle A Cup K-Cup Recycling Tool“:

Medelco Recycle A Cup K-Cup Recycling Tool
Even with the recycling tool (which has recessed cutters) saving the grinds for recycling or compost is a messy affair.  After you remove the lid, digging out the grounds can be messy and rinsing off the filter and cup is necessary to prevent excess mold buildup in the recycled cup.
Being a woodworker gives me an advantage in prototyping a device to make emptying the K cup easier. Here is my design, Which can be duplicated by you or anyone with basic carpentry skills.
It is my pleasure to show you my  K cup recycler prototype:
The device consists of 3 pieces of 1 x 4 pine, assembled with glue and screws (nails would work fine too).  This model fits neatly over a dollar store reusable plastic container, to hold the grounds.
It measures approximately 8 – 1/2 inches wide and 7 – 1/2 inches in height.
Here it is in use:
Wooden k cup recycler in use
TIP:  Let the K cups sit for a day to dry out, the coffee grinds come out easier.
The hole in the top was made with a 1-1/4 inch hole saw.  This image is of me emptying a reusable K cup by tapping it on the block, with the grinds falling through the hole into the container.  An open plastic bag can be placed over the container, so that you can pick up the grinds without pouring them into the bag, so you won’t get grinds all over.
This simple device eliminates the need to spoon or use a popsicle stick to get the grinds out.  All you do is tap the K cup over the hole, and then  rinse the reusable k cup.  A regular k cup would require rinsing, cutting out the paper filter, and then tossing in the recycle bin.  The best part is that the grounds are compostable and will really help out the gardeners tha want to have rich coffee grinds in their soil.  Rose bushes really like them.
I plan to make some improvements in the design, and consider selling them  – any thoughts?  Does it need a kickstarter, or GoFundMe?

Thank you for reading this, and helping recycle some of the 6 billion k cups that are out there!

Please like, upvote, and share!

The Last Word:


Carpentry is both a hobby and a profession; here is how you can get started!

Carpentry is a great skill to learn. Observe carpenters at work, and read “how to do it” websites. This will show you the basics.
Accumulate some hand tools, and a good tool bag or apron. Always remember, “safety first”.  Look for apprentice or helper jobs, what you learn will be invaluable.  Carpentry encompasses framing, concrete forms, roofing, siding, sheetrocking, finish carpentry – you have a lot of choices for your “niche”.
I found this book indispensable, and keep a copy around so the ideas are fresh, especially on layout and project planning:
Consider going to a school, or joining an apprenticeship program.
This is one run by a community college in the US: Registered Apprenticeships
This is a good guide to keep in your toolbox:


Keep in mind that carpentry is a craft that takes years of work and practice to master, learn all you can, and you will do famously well!


Best of luck with your Carpentry projects!  Post pictures of your work so we can enjoy it too!  -Alan

How to get the color you want for woodworking or Art projects

It’s all about Primary colors.  As an example, mixing orange is a base of red with yellow copiously added.

it is good to understand the “Color Wheel” when you need a specific color. Here is an article on it:
All about Paint Color Mixing: Chart the Wheel & Mixing Guide – Artists network

Mixing Color Wheels for the Artist (9-1/4″) With a Creative Color Wheel (9.25 inch) circle with different colored sectors used to show the relationship between colors. – From Amazon; also available from artist supplies and paint stores.

My mother was an art teacher. She really emphasized the color wheel, and it was a great tool for understanding the primary colors and their relationship to all the colors. Her students became little Picasso’s!

When matching colors, you can bring your color wheel to a store, and get the paint mixed spot-on!
Here is a University of Tennessee bottle carrier I made for a friends birthday:

 
This is a Toy chest I made for my Grandson, which had to be in NY Fire department colors:
 
 
For the chest, I brought my color wheel to Home Depot, and they mixed the red and orange for me.  It worked out really well. 

Color makes the project, and getting the color RIGHT, now that is just Over the Top!

May you have great success with you the Color Wheel!  (My Mom would be proud – she was an Art Teacher in the NYC Public Schools).

Thanks for reading my Blog! I hope you found my point of view enlightening and informative. 

What kind of tape/adhesive can I use on walls?

Command Strips are the best. in my opinion.
Command Picture Hanging Strips Value Pack, Medium, White, 12-Pairs (17204-12ES)
Command Strips, available on Amazon
They have adhesive strips, hooks, and velcro. Just make sure you use the right ones for what you are hanging, to ensure they can support the weight. I usually clean the wall first, so there is no grease or anything that will cause the command strip to fail. I buy them on Amazon, but you can get them at Home Depot, Lowes, Target, Ace, and other stores.
Because the command strips are not permanent, you can pull the adhesive off the wall when you move – with no damage.
If the wall is very smooth, you can use suction cup hooks.
double sided tape should be used with care, as it may permanently adhere and cause problems when you try to remove the item (like pulling paint of the wall).

Enjoy decorating, it makes your house a home!

Are you ready to make a no-frills Tiki bar?

Sometimes you need to cut loose – and you want to have a really cool place to do it; so you do what any self respecting carpenter does – you build a Tiki bar!

I had some treated wood left over from some projects, and some waferboard from a siding repair.  Perfect for a basic bar!  Plus I had some exterior paint and a set of casters, so the bar could roll out of the way.  Here is the basic bar:

I rabbeted the landscape ties for the bar rail, and used simple butt joints and exterior screws for almost everything else.  The shelves are fixed and fit buckets and covered storage bins, for extra glasses, napkins, bar tools, straws, and giveaways for kids (tiki necklaces, porpoise bracelets, and stickers, From Amazon).
The important thing to remember is that you are using scrap wood, leftovers and pallet pieces.  there is no “wrong” way to build a Tiki bar.
The important dimensions are as follows:
  • Bar height = 42″ (pl;us or minus an inch or 2)
  • bar width = greater than 36″ depending on available material
  • Bar depth = greater than 14″, Top should overhang and be supported to prevent falling forward (see the “foot” extensions on my design)
  • Bar stool height = 30″ or so
  • Bar stool seat = big enough to support someone’s bottom
Make sure you sand everything smooth, so your guests don’t get splinters, and paint the bar to get the appropriate Tiki look.  Here is a Tiki bar I built for a client on Long Island, complete with roof, Back bar and a salvaged ceiling fan:
 
The author and his Daughter at the Tiki bar.  Yum!
 
Now you have no excuse, but to get ready for the spring and summer with a neat Tiki bar of your own design and some cool tiki drinks!
 
Thanks for reading my blog and Tiki on!  – Aloha!